 Pin it
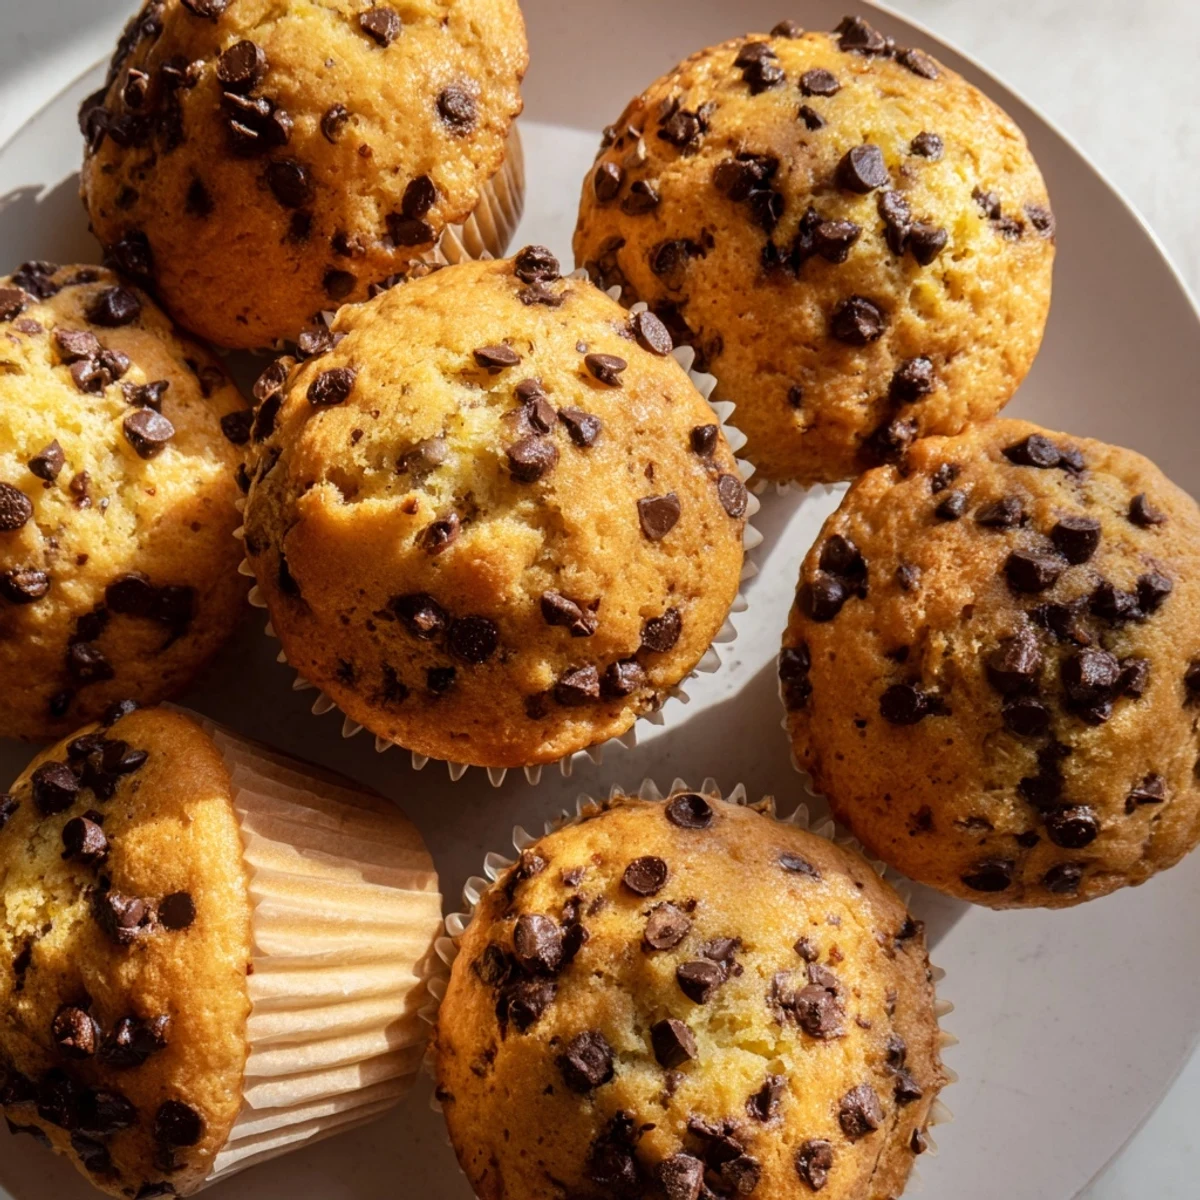
 These bakery-style muffins feature perfectly moist, fluffy interiors with generously domed golden brown tops. The secret combination of melted butter and vegetable oil creates an incredibly tender crumb, while buttermilk adds subtle tang and keeps them soft for days. Loaded with semi-sweet chocolate chips throughout and sprinkled on top, each muffin delivers bursts of rich chocolate in every bite. The unique high-heat baking method creates those signature tall, overflowing bakery tops everyone loves.
The smell of these muffins baking pulls everyone into the kitchen before I even pull them from the oven. My neighbor actually texted me once asking what I was making because the aroma had drifted through our open windows. Those tall bakery style tops were exactly what made me finally stop buying muffins and start mastering my own.
My teenage son started requesting these for weekend breakfasts after his friend raved about them during a sleepover. Now they are his go to contribution whenever we have company over. Something about a homemade muffin still warm from the oven makes people feel instantly welcome.
Ingredients
- All purpose flour: The foundation that gives structure to those tall bakery style tops we all love
- Baking powder and baking soda: This double lifting power is what creates the impressive rise
- Salt: Enhances the chocolate flavor and balances the sweetness
- Butter and oil: Butter provides rich flavor while oil keeps the muffins incredibly moist
- Granulated and brown sugar: The combination gives a crisp exterior and tender interior
- Eggs: Room temperature eggs incorporate better for an even texture
- Buttermilk: Creates tang and tenderness plus activates the baking soda for lift
- Vanilla extract: Pure vanilla makes all the difference in a simple recipe like this
- Semi sweet chocolate chips: Use good quality chips since chocolate is the star here
Instructions
- Preheat your oven:
- Get your oven to 425°F and line a 12 cup muffin tin with liners. That high initial temperature is the secret to the tall bakery style tops.
- Whisk the dry ingredients:
- In a large bowl combine flour baking powder baking soda and salt. Make sure everything is well distributed.
- Mix the wet ingredients:
- Whisk together melted butter oil both sugars eggs buttermilk and vanilla until completely smooth.
- Combine gently:
- Pour the wet ingredients into the dry and mix just until combined. Some lumps are perfectly fine and actually prevent tough muffins.
- Add the chocolate:
- Fold in the chocolate chips saving a small handful to press into the tops before baking.
- Fill to the brim:
- Divide the batter evenly filling each cup completely to the top. This generous filling helps create those beautiful domed muffin tops.
- Use the temperature trick:
- Bake at 425°F for 5 minutes then reduce to 350°F for another 13 to 15 minutes until a toothpick comes out with just a few moist crumbs.
- Cool briefly:
- Let them sit in the tin for 5 minutes before moving to a wire rack. This short rest makes them easier to remove without breaking.
 Pin it
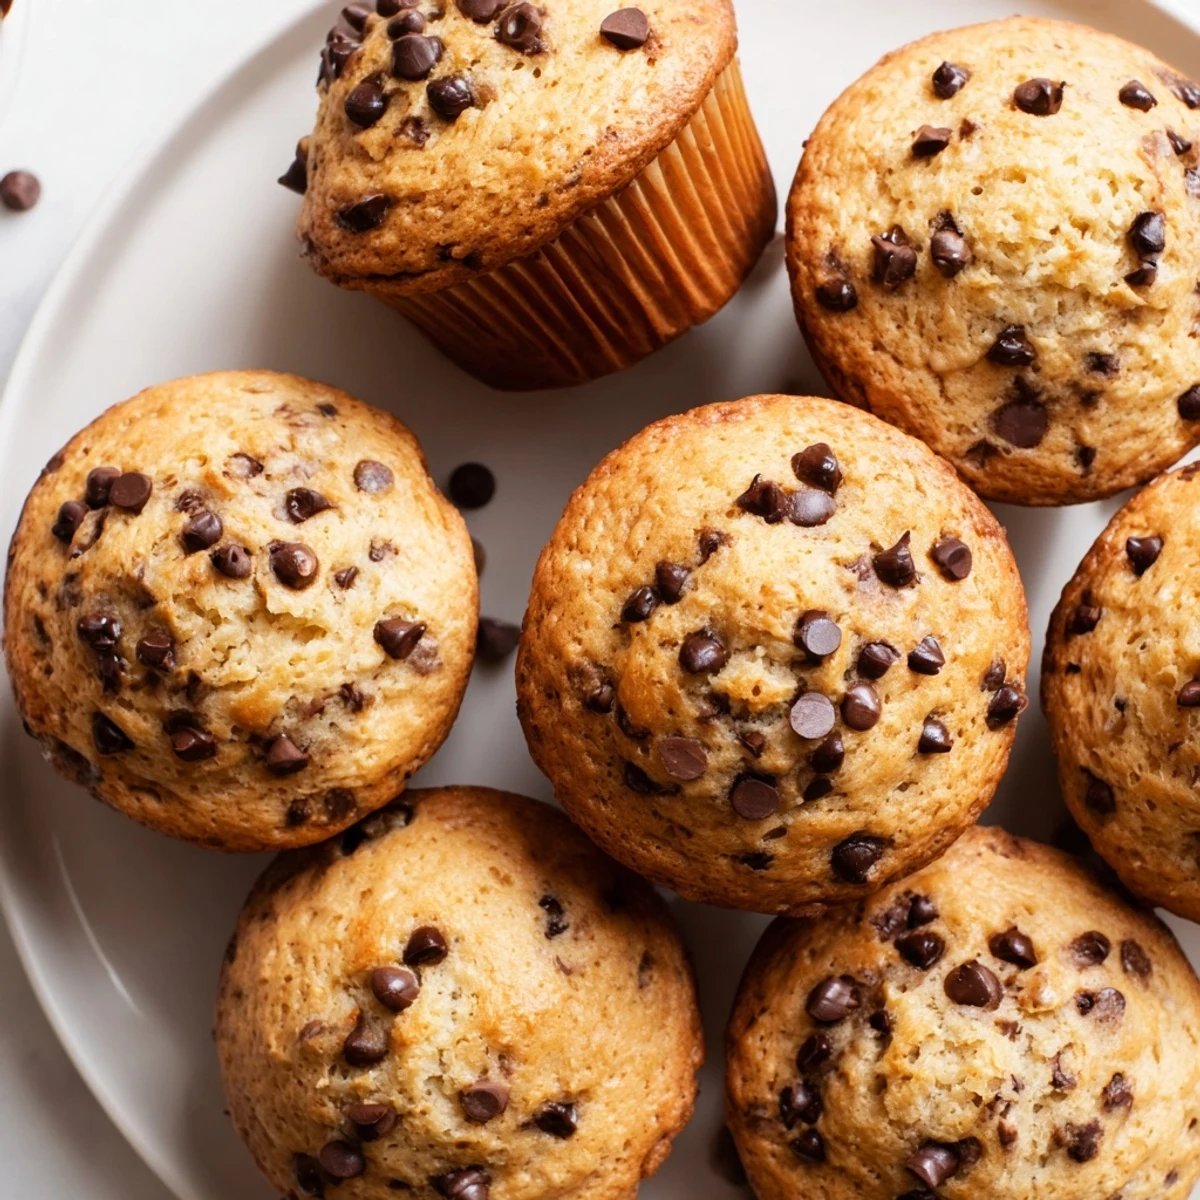
 These became my signature contribution for bake sales after another mom asked for the recipe at school pickup. Now I double the batch whenever they are requested because one dozen never seems to be enough. There is something so satisfying about pulling a muffin tin from the oven and seeing those perfect golden brown peaks.
Getting The Perfect Rise
The initial blast of high heat sets the outside quickly creating steam that forces the muffin upward. This technique comes from commercial bakeries and makes all the difference. Fill those cups to the very top and do not be afraid to mound the batter slightly.
Making Them Your Own
Swap half the chocolate chips for nuts or dried fruit if you want variation. You can also add citrus zest or cinnamon to the dry ingredients for a flavor twist. Just keep the total add in amount the same so the bake time stays consistent.
Storage And Freshness
These muffins are honestly best within the first 24 hours when the tops are still slightly crisp. If storing longer place a paper towel in the container to absorb excess moisture. They also freeze beautifully for up to three months if wrapped well.
- Warm leftover muffins in the microwave for 15 seconds to refresh them
- Press extra chips into the tops before baking for that professional bakery look
- Use a cookie scoop for evenly sized muffins every time
 Pin it
 Every time I make these I am reminded that simple recipes done well are often the most satisfying. Hope these become your go to muffin recipe too.
Recipe FAQs
- → What makes bakery-style muffins different from regular muffins?
-
Bakery-style muffins have tall, domed tops and a denser, moister crumb. They use more sugar and fat than home-style versions, plus a high-temperature baking start creates that signature overflowing top.
- → Why do you start baking at a higher temperature?
-
Starting at 425°F creates rapid oven spring, pushing the muffin tops up and out quickly. Reducing the temperature afterward ensures the centers bake through without over-browning the tops.
- → Can I use regular milk instead of buttermilk?
-
Yes, though buttermilk adds tenderness and subtle tang. Substitute with plain yogurt or sour cream for similar results, or make your own buttermilk by adding 1 tablespoon vinegar to 1 cup milk and letting it sit for 5 minutes.
- → Why use both butter and oil?
-
Butter provides rich flavor while oil keeps the muffins moist and tender for days. This combination gives you the best of both—excellent taste and extended freshness.
- → How do I know when the muffins are done?
-
Insert a toothpick into the center—it should come out clean or with just a few moist crumbs. Avoid overbaking, which leads to dry muffins. The tops should be golden brown and spring back when lightly touched.
- → Can I freeze these muffins?
-
Absolutely. Cool completely, wrap individually in plastic wrap, then place in a freezer bag for up to 3 months. Thaw at room temperature or warm briefly in the microwave for that fresh-baked taste.
