 Pin it
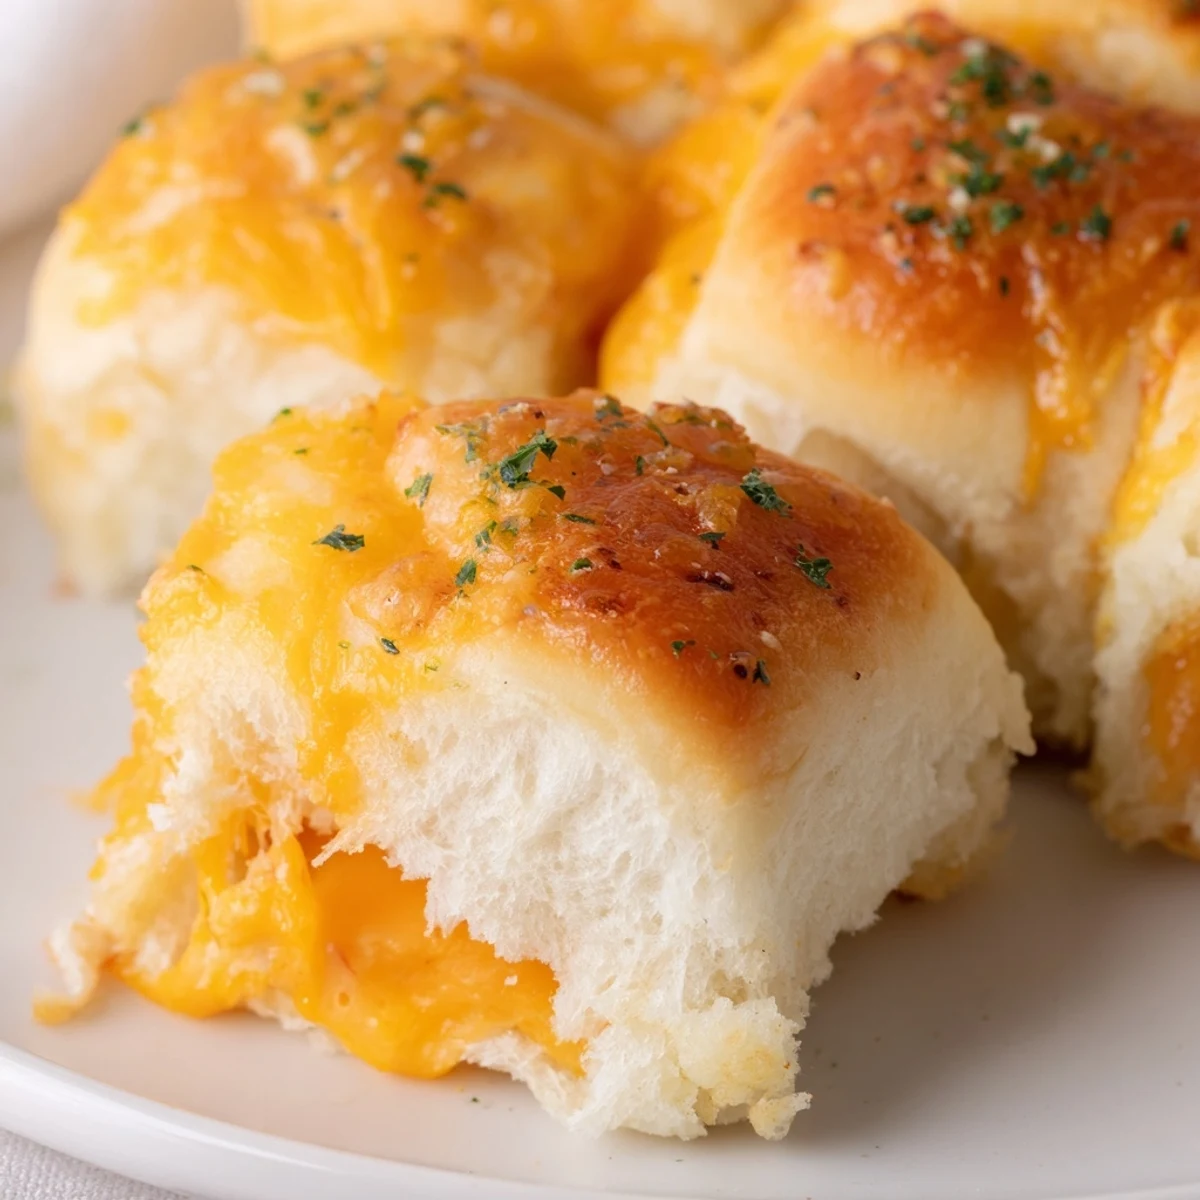
 These bite-sized sandwiches feature Hawaiian sweet rolls sliced horizontally and filled with cheddar cheese, then baked until golden and bubbly. The natural sweetness of the rolls pairs perfectly with savory melted cheese, creating an irresistible sweet-savory combination. Ready in just 25 minutes, they make ideal party appetizers, game day snacks, or kid-friendly lunchbox additions.
Brush the tops with melted butter and optional seasonings like garlic powder and parsley for extra flavor and beautiful golden color. The rolls stay connected during baking, making assembly effortless before cutting into individual servings.
The game was on TV and I needed something fast, something that would disappear before halftime. I grabbed a package of Hawaiian rolls from the pantry and some cheddar from the fridge, not expecting much. Twenty minutes later, my husband walked in, took one bite, and gave me that look. These little sandwiches have been requested at every gathering since.
Last Thanksgiving, my sister-in-law brought her famous stuffing. I made these on a whim as a pre-dinner snack. The platter was empty before she even finished unpacking her Tupperware. Now every family event starts with the same question: are you bringing those little cheese sandwiches
Ingredients
- Hawaiian sweet rolls: The natural sweetness in these rolls is what makes the recipe work, so do not swap them for plain dinner rolls
- Cheddar cheese: Sharp cheddar gives you that bold flavor punch, but medium works if you are feeding kids who prefer milder cheese
- Unsalted butter: Melting the butter lets you brush it evenly so every roll gets that gorgeous golden finish
- Dijon mustard: This adds just enough tang to cut through the sweetness, but it is completely optional
- Garlic powder and parsley: These turn a simple appetizer into something that looks and tastes like it came from a restaurant
Instructions
- Preheat your oven:
- Set it to 350°F and line a baking sheet with parchment paper for easy cleanup later
- Prep the rolls:
- Keep the rolls connected and slice the entire block horizontally like you are making a giant sandwich
- Add flavor base:
- Mix the mustard and mayonnaise if using, then spread it on both cut sides of the rolls
- Layer the cheese:
- Arrange the cheddar slices over the bottom half, then place the top half back on like a lid
- Butter and season:
- Brush the tops generously with melted butter, then sprinkle with garlic powder and parsley
- Bake covered:
- Cover loosely with foil and bake for 10 minutes to heat everything through
- Get them golden:
- Remove the foil and bake 5 more minutes until the cheese melts completely and tops turn golden brown
- Rest and serve:
- Let them sit for 2 minutes, then cut into individual sandwiches and serve warm
 Pin it
 My daughter turned her nose up at grilled cheese for years. Then she tried these at a birthday party and came home asking if we could make them for dinner. That night I watched her dip each sandwich into tomato soup, the same way I did as a kid. Some recipes are just bridges between generations.
Cheese Variations
I have experimented with so many combinations in my quest to keep things interesting. Pepper jack adds a subtle kick that adults love, while mozzarella creates that incredible cheese pull everyone photographs for social media. Sometimes I mix half sharp cheddar with half gruyère when I want to feel fancy without the extra work.
Make Ahead Strategy
You can assemble these completely up to eight hours before baking, just wrap the baking sheet tightly in plastic and store in the fridge. Add the butter coating right before they go into the oven. This trick saved me when I hosted Christmas Eve and had zero counter space left for prep work.
Serving Suggestions
These mini sandwiches shine alongside a warm cup of tomato soup or as part of a larger appetizer spread. I have served them with everything from spinach artichoke dip to a simple veggie tray, and they always disappear first.
- Pair them with miniature pickles for a cute appetizer platter
- Set out toothpicks nearby so guests can easily grab them
- Keep them warm in a 200°F oven if serving over a long period
 Pin it
 Hope these little sandwiches become a staple at your table too. There is something magical about watching everyone reach for seconds before the platter even hits the table.
Recipe FAQs
- → Can I make these ahead of time?
-
Yes, assemble the rolls up to 24 hours in advance, cover tightly, and refrigerate. Add the butter coating just before baking. You may need an extra 2-3 minutes baking time if baking cold.
- → What other cheeses work well?
-
Mozzarella creates excellent melt, pepper jack adds spice, Swiss brings nutty flavor, or try mixing multiple cheeses. Provolone and gruyere also pair beautifully with the sweet rolls.
- → Can I freeze these mini sandwiches?
-
Freeze assembled, unbaked sandwiches wrapped tightly for up to 1 month. Thaw overnight in refrigerator, then bake as directed. For best results, add butter coating after thawing.
- → How do I prevent the tops from burning?
-
Cover loosely with aluminum foil for the first 10 minutes of baking. The foil traps heat to melt the cheese while protecting the tops from over-browning. Remove for the final 5 minutes to achieve golden color.
- → Can I add meat inside?
-
Absolutely. Layer cooked bacon, ham, or turkey slices with the cheese. Pre-cooked meats work best to avoid excess moisture. Canadian bacon or deli ham add delicious savory contrast to the sweet rolls.
- → What temperature should I bake at?
-
Bake at 350°F (175°C) for 15 minutes total. This moderate temperature allows the cheese to melt completely while the rolls become golden without drying out. Higher heat may burn the tops before cheese melts.
