 Pin it
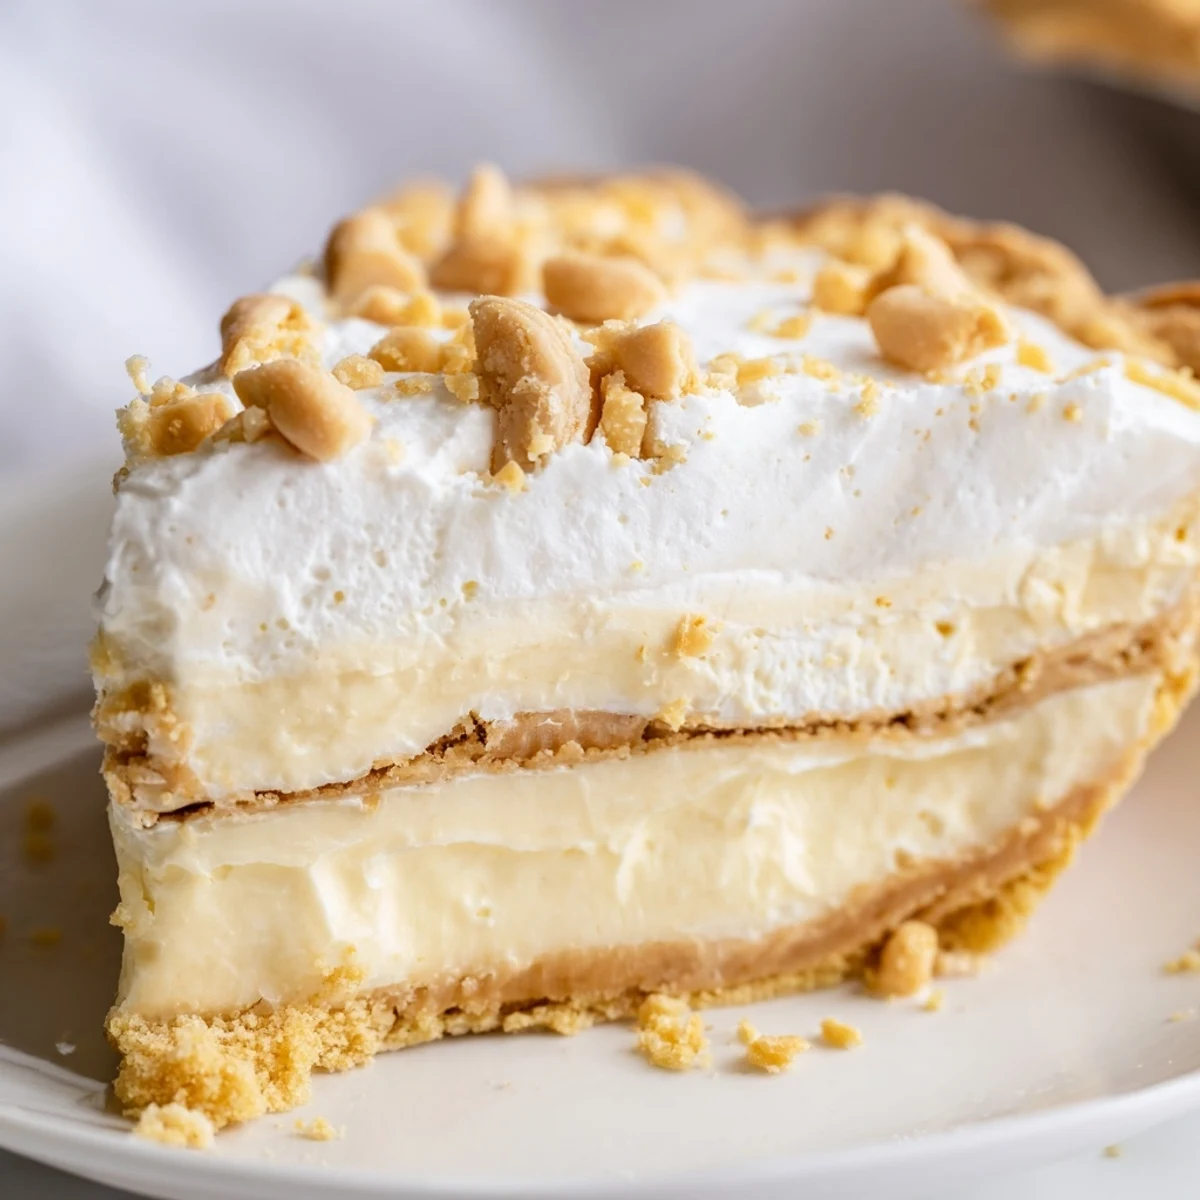
 This dreamy Amish-style dessert combines the beloved nutty flavor of peanut butter in a silky, smooth custard filling. The classic preparation involves layering crumbly peanut butter and sugar mixture at the base, topped with a thickened vanilla-infused milk pudding, and finished with freshly whipped cream. The result is a perfect balance of textures—crisp shell, creamy filling, airy whipped topping, and crunchy peanut butter crumbles.
Traditional Amish baking techniques shine through in the simple, wholesome ingredients and careful stovetop method. This comforting sweet treat requires minimal active time but delivers maximum satisfaction with its rich, nostalgic flavor profile that evokes memories of homemade country baking.
The first time I encountered this pie at an Amish market in Lancaster County, I stood frozen at the dessert table. Something about that imperfect, rustic whipped cream swirling over golden crumbs pulled me in before I even knew what flavor it was. One forkful later and I understood why they call it a dream pie, the texture alone unlike anything Id ever experienced.
I brought this to a summer potluck last year and watched three different people ask for the recipe before dessert even ended. My friend Sarah texted me the next morning saying her husband kept asking when she was making that pie again. Now it is my go to when I need something impressive but do not want to stress.
Ingredients
- 1 9-inch prepared pie crust: Having this baked and ready before you start makes everything smoother
- 3/4 cup creamy peanut butter: The traditional creamy style creates the perfect crumb texture
- 1 cup powdered sugar: This sweetens the crumbs without making them too dense
- 2/3 cup granulated sugar: Balances the rich peanut butter flavor in the filling
- 1/3 cup all-purpose flour: The essential thickener that gives the filling structure
- 1/4 teaspoon salt: Enhances the peanut butter and keeps it from being too sweet
- 2 cups whole milk: The higher fat content makes the filling noticeably silkier
- 3 large egg yolks: These create the lush custard like consistency
- 1 teaspoon pure vanilla extract: Pure extract makes a real difference in the final flavor
- 2 tablespoons unsalted butter: Adds richness and helps the filling set perfectly
- 1 cup heavy whipping cream: Cold cream whips up best and holds its shape longest
- 2 tablespoons powdered sugar: Just enough to sweeten the cream without making it stiff
- 1/2 teaspoon vanilla extract: Echoes the vanilla in the filling beautifully
Instructions
- Make the crumbly magic:
- Mix the peanut butter and powdered sugar with a fork until crumbles form and set aside half for topping
- Build the foundation:
- Press the remaining crumbs into the bottom of your cooled pie crust in an even layer
- Start the filling base:
- Whisk the granulated sugar, flour, and salt in a saucepan, then gradually add milk until completely smooth
- Cook to thicken:
- Heat over medium heat while whisking constantly until the mixture just begins to bubble
- Temper the eggs:
- Whisk a small amount of the hot milk into your yolks before adding them back to the saucepan
- Finish the filling:
- Cook for two more minutes until glossy and thick, then stir in butter and vanilla until smooth
- Assemble and chill:
- Pour the warm filling over the crumbs, cool for fifteen minutes, then refrigerate for at least two hours
- Add the cloud like topping:
- Beat the cream, powdered sugar, and vanilla to stiff peaks and spread over the chilled pie
- Finish with crumbs:
- Sprinkle the remaining peanut butter crumbs over the whipped cream just before serving
 Pin it
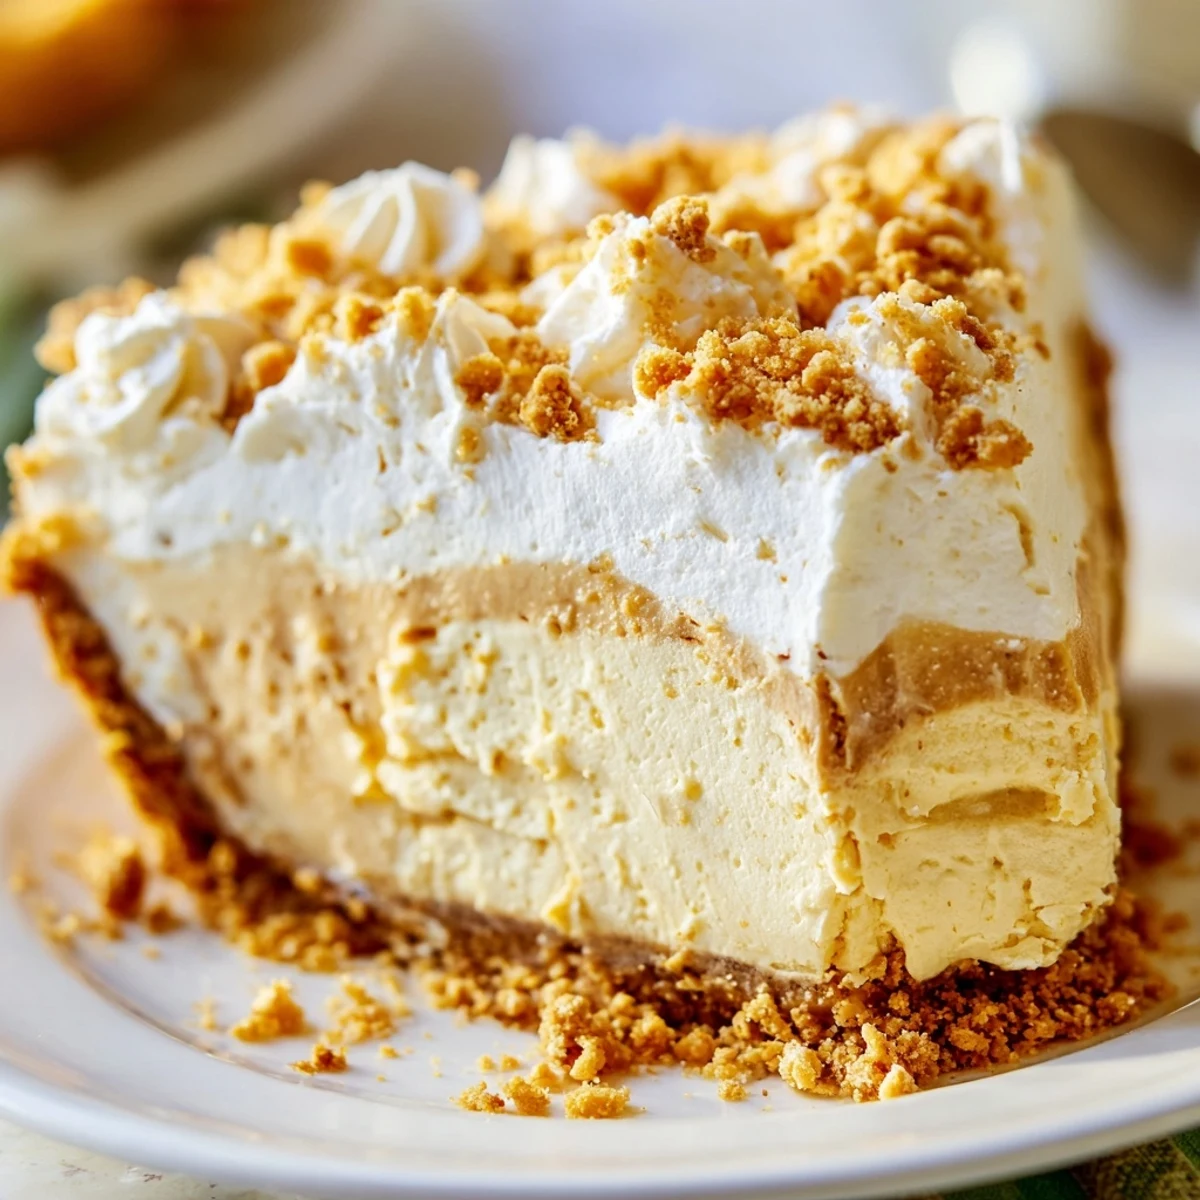
 This pie has become my comfort dessert on rainy Sunday afternoons. The whole house fills with the warm scent of vanilla and milk while the filling cooks, something that feels deeply nurturing no matter how many times I make it.
Getting The Crust Right
I have tried every crust variation imaginable and the graham cracker version remains my absolute favorite. The slight crunch and honey notes complement the peanut butter in ways a traditional flour crust never quite achieves. Just press the crumbs firmly into your pan and bake until set before adding your filling.
Making It Ahead
The beauty of this recipe is that it actually improves with a little time in the refrigerator. The flavors meld together and the texture becomes even more luxurious after a full night of chilling. I often prepare it the day before a gathering knowing it will be perfect when serving time arrives.
Serving Suggestions
A cold glass of milk or hot coffee cuts through the richness perfectly and makes for a classic combination. For special occasions, I like to drizzle some melted chocolate across individual slices right before plating.
- Let chilled pie sit at room temperature for ten minutes before slicing
- Run your knife under hot water between cuts for clean slices
- Store any leftovers covered in the refrigerator for up to three days
 Pin it
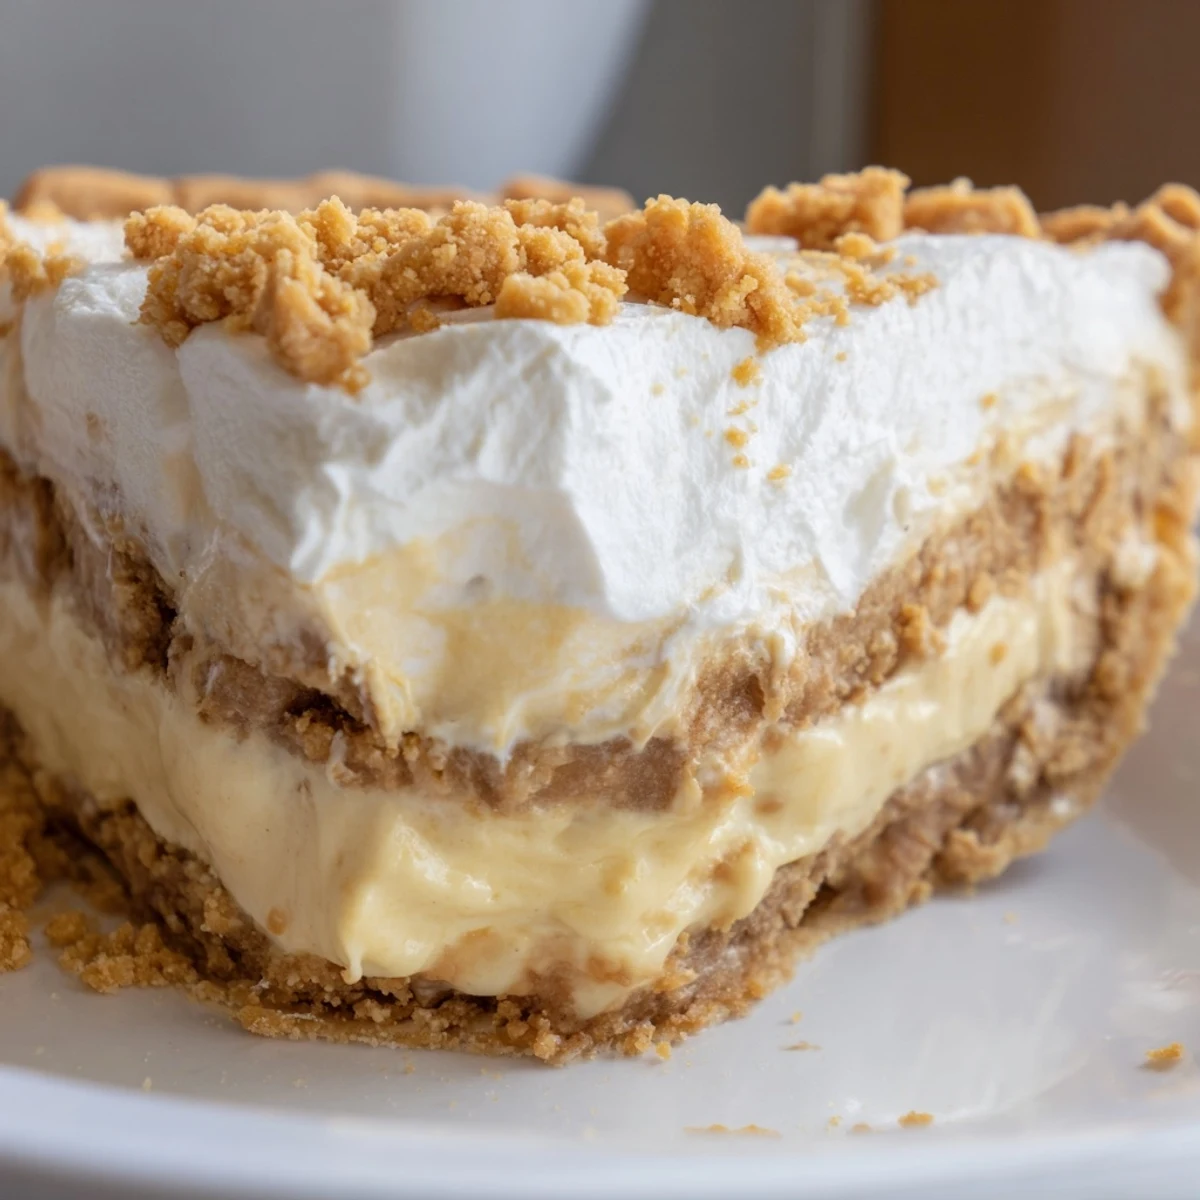
 There is something deeply satisfying about serving a pie that looks and tastes this impressive while being so approachable to make. This is the dessert that converts self proclaimed pie skeptics into devoted fans.
Recipe FAQs
- → What makes this Amish-style pie special?
-
The combination of a silky cooked custard filling with layers of crumbly peanut butter mixture creates exceptional texture and depth of flavor. The traditional Amish method yields a denser, richer result than modern no-bake versions.
- → Can I make this ahead of time?
-
Yes, this dessert actually improves after chilling for several hours or overnight. The flavors meld beautifully and the filling sets perfectly, making it ideal for preparing the day before serving.
- → What type of peanut butter works best?
-
Creamy commercial peanut butter provides the smoothest texture for both the crumble layer and overall consistency. Natural varieties can separate and affect the final texture of the custard filling.
- → How do I know when the custard is thick enough?
-
The mixture is ready when it coats the back of a spoon and leaves a clear line when you run your finger through it. It should bubble gently and reach approximately 200°F for proper thickening.
- → Can I freeze this dessert?
-
While possible, freezing affects the texture of both the custard and whipped cream. For best results, store in the refrigerator for up to 3 days. The crust may soften slightly over time but remains delicious.
- → What's the purpose of tempering the eggs?
-
Tempering prevents the eggs from scrambling when introduced to the hot liquid. Gradually warming them with a small amount of hot mixture ensures they incorporate smoothly into the custard base.
