 Pin it
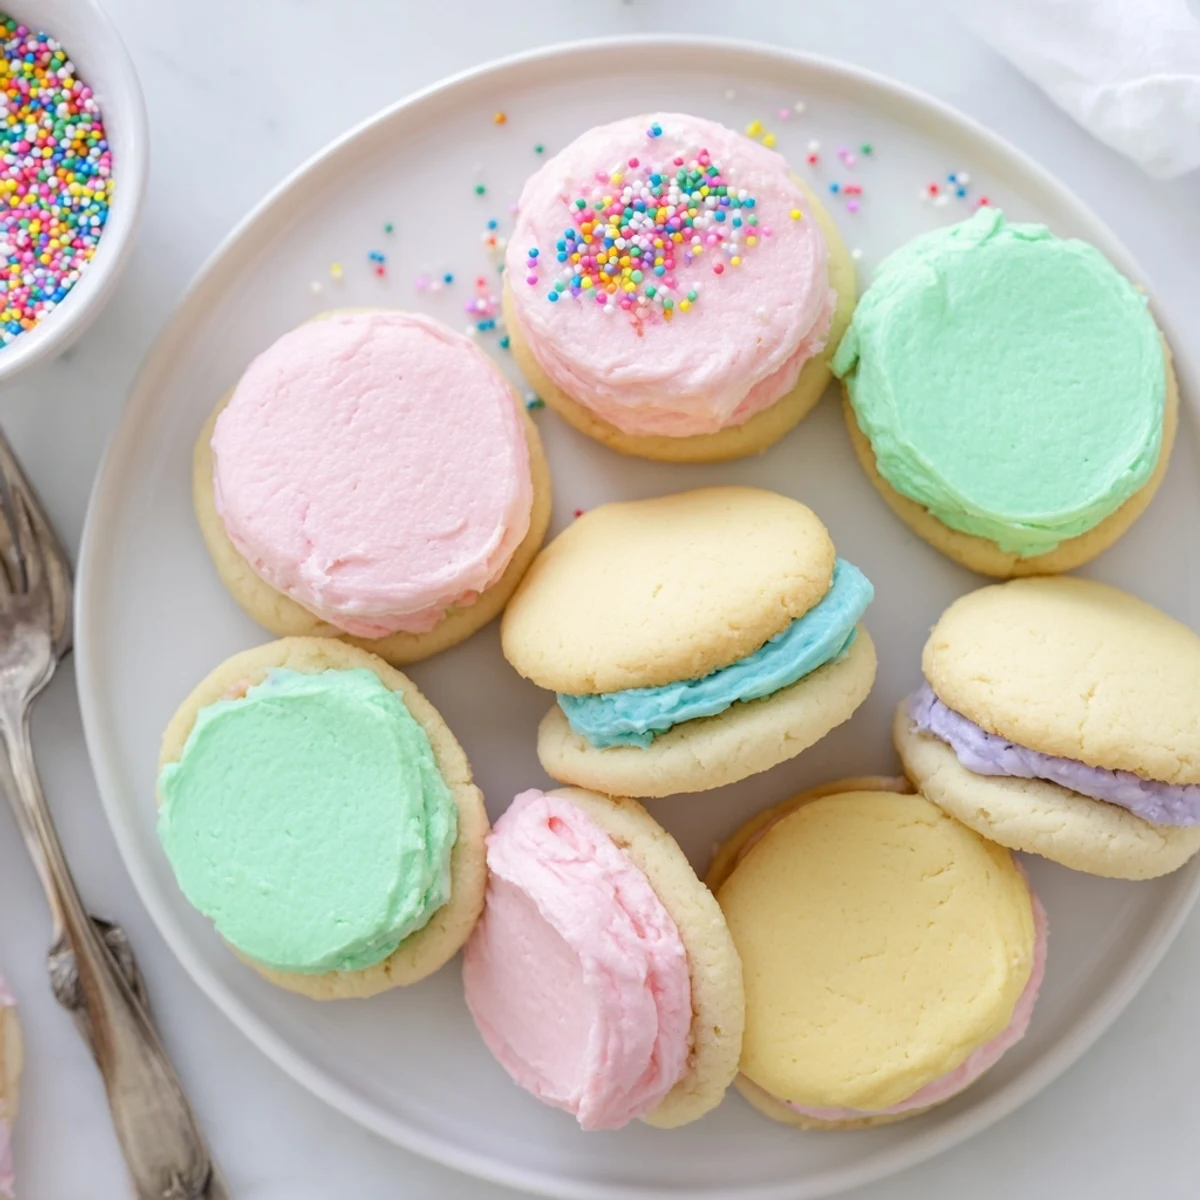
 These delicate sandwich cookies feature melt-in-your-mouth buttery sugar cookies paired with silky pastel buttercream filling. The soft, tender cookies provide the perfect canvas for the light and creamy colored frosting, creating treats that are as beautiful as they are delicious.
Ideal for spring gatherings, baby showers, birthday parties, or any occasion calling for something special. The pastel colors—soft pink, lavender, mint green, lemon yellow, or baby blue—add an elegant touch that impresses guests. The dough requires chilling for best results, ensuring clean shapes and easy handling.
Customization options include rolling the edges in sprinkles for extra flair or swapping vanilla for almond or lemon extract. These handheld desserts stay fresh for days when stored properly, making them excellent for advance preparation.
My kitchen counter looked like a pastel explosion when I first attempted these for my niece's spring birthday party. I'd never worked with gel food coloring before and may have gotten carried away creating five different shades of buttercream. The kids went absolutely wild for them, reaching for the pink ones first, then green, then yellow, creating a rainbow of cookie halves across their plates.
Last Easter, my sister-in-law asked if I could bring something festive but not too heavy for dessert. I made these in soft lavender, mint, and butter yellow, arranged them on a vintage cake stand, and watched as her mother immediately took three before dinner even started. They are now the requested dessert for every family gathering, no matter the season.
Ingredients
- All-purpose flour: The foundation of these tender cookies, measuring precisely ensures they hold their shape without becoming tough
- Unsalted butter: Use softened butter straight from the counter, not the microwave, for proper aeration and that melt-in-your-mouth texture
- Granulated sugar: Cream this thoroughly with the butter until the mixture looks pale and fluffy, which creates the delicate cookie structure
- Egg: Room temperature eggs incorporate better and help bind the dough without making it dense
- Vanilla extract: Pure vanilla extract makes these taste like a proper bakery cookie, nothing artificial about it
- Powdered sugar: Sifting this first prevents lumps in your buttercream and creates that silky smooth texture
- Gel food coloring: A tiny drop goes a long way, and gel colors won't thin out your frosting like liquid versions can
Instructions
- Whisk the dry ingredients together:
- Combine flour, baking powder, and salt in a medium bowl, using a whisk to aerate the mixture and ensure everything is evenly distributed
- Cream the butter and sugar:
- Beat softened butter and granulated sugar on medium-high speed for 2 to 3 minutes until the mixture becomes pale and fluffy, scraping down the bowl halfway through
- Add the egg and vanilla:
- Crack in the egg and pour in the vanilla extract, beating until the mixture looks smooth and glossy, about 30 seconds
- Combine the mixtures:
- Gradually add the flour mixture to the butter mixture on low speed, mixing just until no dry streaks remain
- Chill the dough:
- Divide the dough in half, flatten into discs, wrap tightly in plastic, and refrigerate for at least 1 hour or overnight
- Preheat and prepare:
- Heat your oven to 350°F and line baking sheets with parchment paper while the dough chills
- Roll and cut:
- On a lightly floured surface, roll dough to 1/4-inch thickness and cut rounds with a 2-inch cookie cutter, gathering and rerolling scraps once
- Bake to perfection:
- Place cookies 1 inch apart on prepared sheets and bake for 8 to 10 minutes until edges just begin to turn golden
- Cool completely:
- Let cookies rest on baking sheets for 2 minutes before transferring to wire racks to cool completely
- Make the buttercream:
- Beat softened butter until creamy, gradually add powdered sugar, then mix in milk and vanilla until light and fluffy
- Color the frosting:
- Divide buttercream into small bowls and add a tiny drop of gel food coloring to each, mixing until you achieve soft pastel shades
- Assemble the sandwiches:
- Spread or pipe colored buttercream onto half the cookies and gently press remaining cookies on top to create sandwiches
 Pin it
 When my daughter was learning to bake, she wanted to make something for her school's spring festival. We spent an entire Saturday afternoon practicing our piping techniques and creating the perfect shade of robin's egg blue buttercream. She was so proud carrying that platter to school, and later told me her teacher asked for the recipe.
Making Perfect Pastel Colors
Start with a tiny amount of gel coloring on a toothpick, because you can always add more but cannot take it back. For the softest pastels, I mix one drop of pink with two parts white buttercream, or combine yellow and blue drops to make mint green. The colors will deepen slightly as they sit, so aim for a shade lighter than your target.
Rolling Without Sticking
Place your dough between two sheets of parchment paper instead of using flour on your counter, which keeps the cookies tender and prevents them from becoming tough from excess flour. If the dough becomes too soft and sticky while rolling, just pop it in the freezer for 10 minutes and try again.
Storage and Serving Tips
These sandwich cookies actually taste better on day two as the buttercream softens slightly and melds with the cookies. Store them in a single layer in an airtight container at room temperature, separating layers with wax paper if you must stack them. Bring to room temperature before serving for the best texture experience.
- Set up a cookie sandwich bar at your next party with bowls of different colored buttercream and let guests build their own combinations
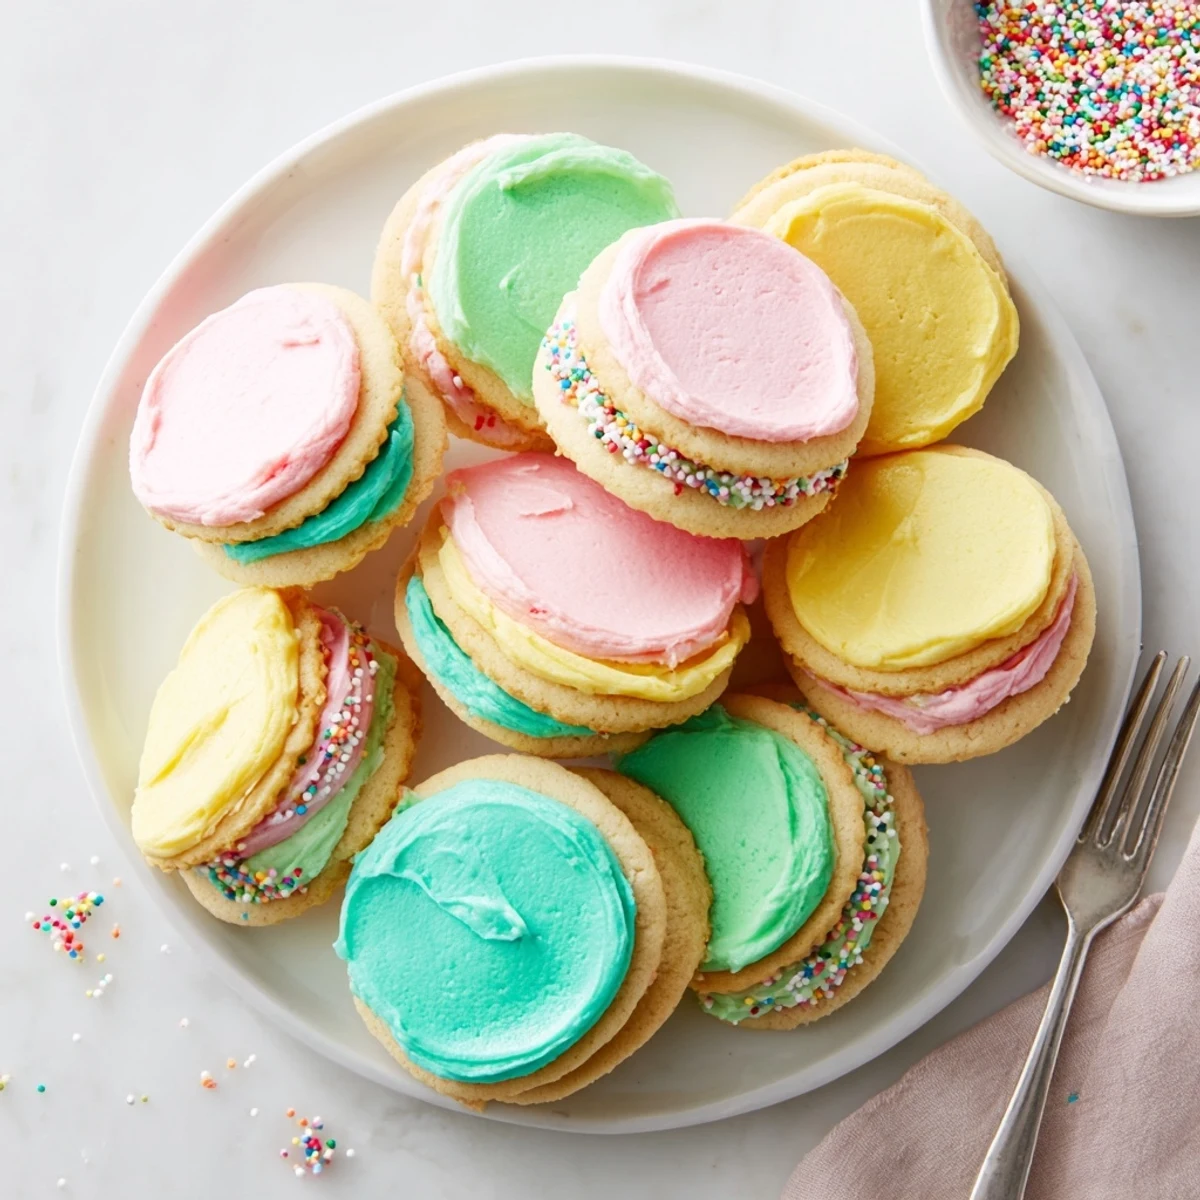
- Roll the edges of finished sandwiches in pastel sprinkles or nonpareils for extra celebration factor
- These freeze beautifully for up to 2 months if wrapped well and thawed overnight in the refrigerator
 Pin it
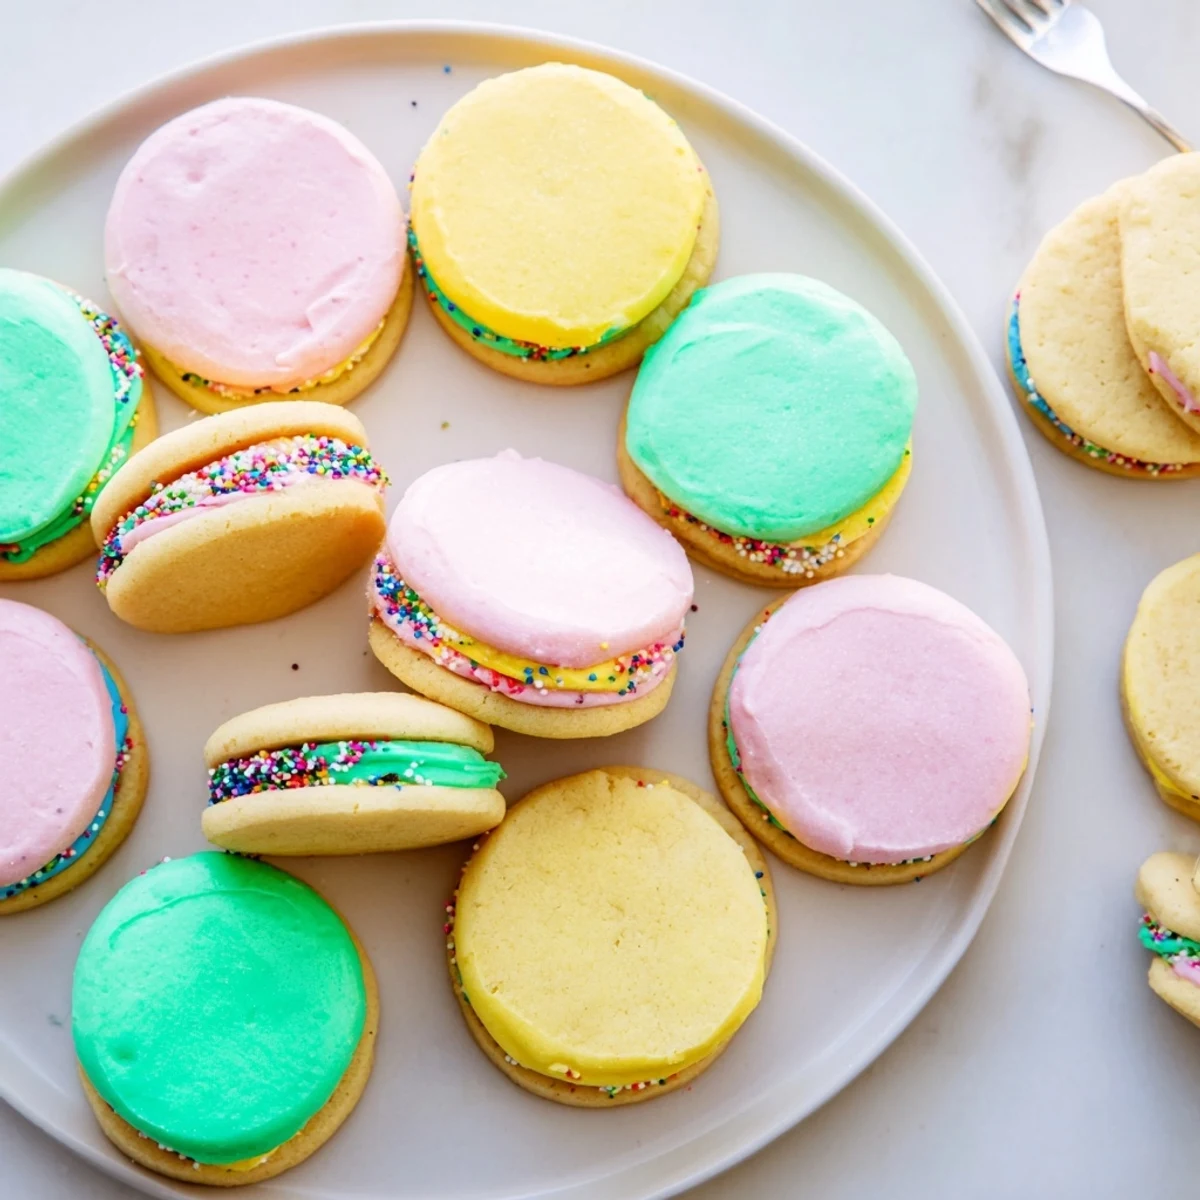
 There is something deeply satisfying about biting into these and seeing those cheerful layers of pastel cream peeking out from the edges. They are the kind of cookie that makes any ordinary Tuesday feel like a celebration.
Recipe FAQs
- → How long should I chill the cookie dough?
-
Chill the dough for at least 1 hour before rolling. This firms the butter, preventing the cookies from spreading too much during baking and making them easier to cut into clean shapes. You can chill overnight if needed.
- → Can I make these cookies ahead of time?
-
Absolutely. Bake the cookies up to 2 days in advance and store in an airtight container. The buttercream can also be prepared ahead and kept at room temperature. Assemble the sandwiches on the day of serving for the freshest texture.
- → What's the best way to achieve pastel colors?
-
Use gel food coloring rather than liquid drops for vibrant yet soft hues. Start with a tiny amount on a toothpick—you can always add more. Gel coloring provides concentrated pigment without thinning the buttercream consistency.
- → Why did my cookies spread in the oven?
-
This typically happens when the dough is too warm before baking. Ensure proper chilling time and work with one dough disc at a time, keeping the other refrigerated. A hot baking sheet can also cause spreading—let the sheet cool between batches.
- → Can I freeze these sandwich cookies?
-
Yes, freeze unfilled baked cookies for up to 3 months in freezer bags. Thaw at room temperature before filling. For assembled sandwiches, freezing works but the filling may weep slightly. For best results, fill after thawing.
- → How do I prevent the buttercream from oozing out?
-
Pair cookies of similar size and thickness when assembling. Use a piping bag to create a ring of frosting around the edge first, then fill the center. This creates a dam that contains the filling. Don't overfill—about 1 tablespoon per sandwich works well.
