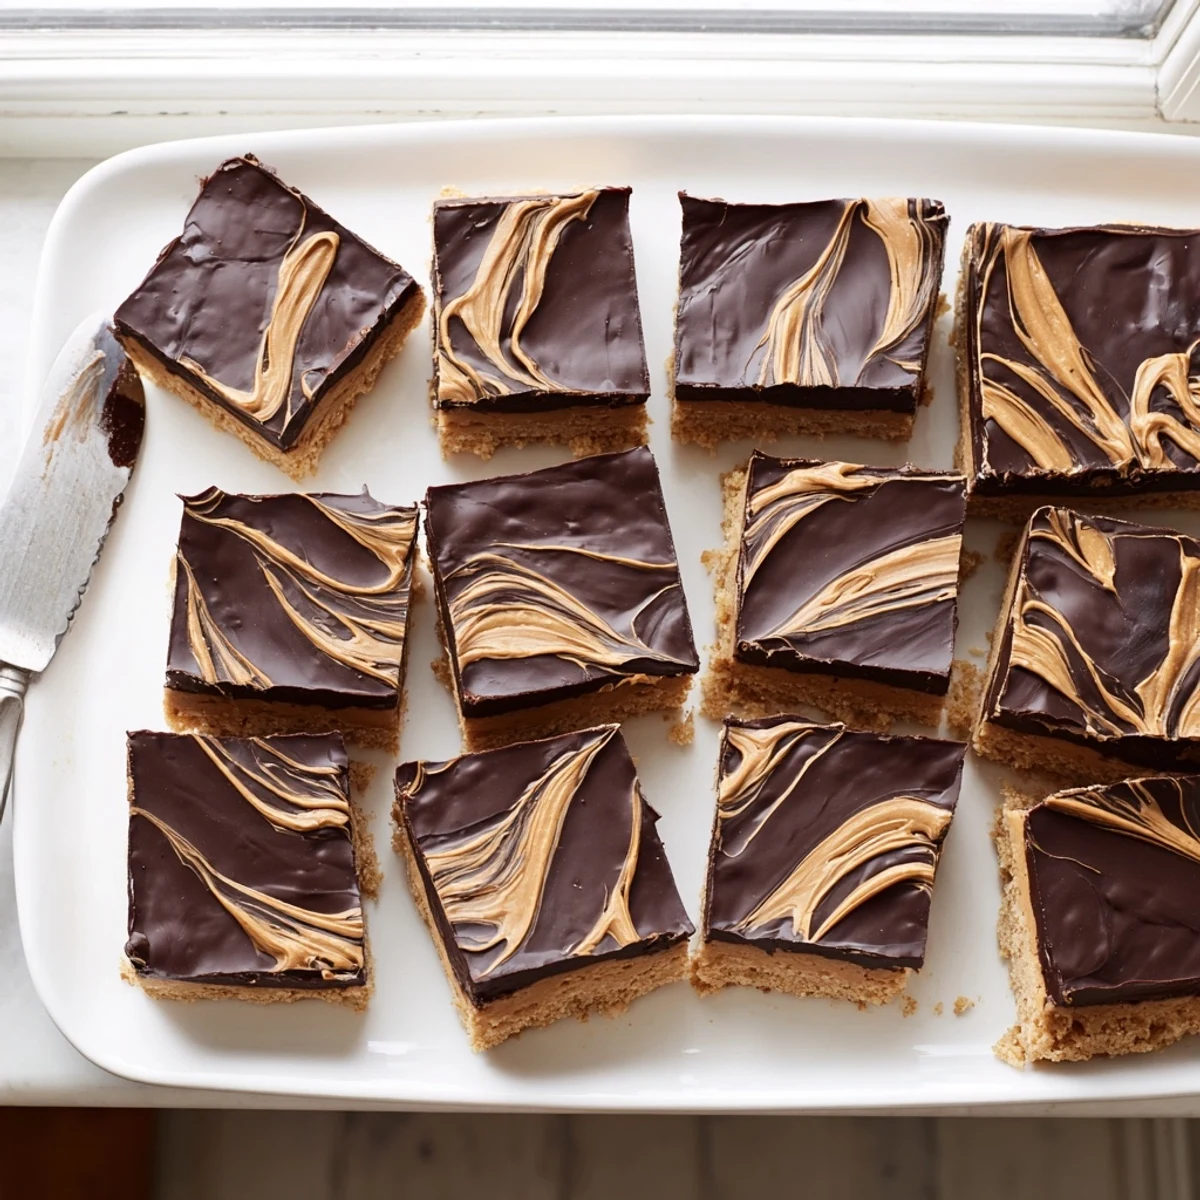
 Pin it
 These indulgent layered bars combine a velvety peanut butter base with a glossy chocolate topping. The no-bake method means you can have them ready in just 15 minutes of active prep time—simply melt, mix, press, and chill. The graham cracker foundation adds subtle crunch while balancing the sweetness. Each bar delivers a satisfying blend of salty-sweet flavors and creamy textures that make them perfect for gatherings, potlucks, or whenever a craving strikes.
The humidity was suffocating that July afternoon, and the last thing anyone wanted was to turn on the oven. My sister raided the pantry and tossed a jar of peanut butter onto the counter with a look that said figure something out. Two hours later, we were cross-legged on the kitchen floor with a pan of these bars between us, barely speaking because our mouths were too full. That was the day peanut butter bars became a permanent fixture in my summer rotation.
I brought a batch to a potluck once and watched a grown man silently eat four of them while pretending to examine the cheese platter. People lose all composure around these bars, and honestly, I respect it.
Ingredients
- Creamy peanut butter (1 cup for base, 1/4 cup for topping): Use the regular kind, not natural, because the stabilizers help the bars set properly and the texture stays smooth.
- Unsalted butter, melted (1/2 cup): Melted butter binds everything together without needing to cream anything, keeping this a true no-bake recipe.
- Powdered sugar, sifted (2 cups): Sifting is non-negotiable here, unless you enjoy biting into unexpected sugar boulders.
- Graham cracker crumbs (1 1/2 cups): These give the base structure and a subtle honey sweetness that plain breadcrumbs never could.
- Semisweet chocolate chips (1 1/2 cups): Semisweet strikes the right balance against the salty peanut butter layer without tipping into cloying territory.
Instructions
- Prep your pan:
- Line a 9x9-inch baking dish with parchment paper, leaving enough overhang on the sides to grab later like handles. This small act of foresight will save you from the tragedy of bars stuck to the pan.
- Build the base:
- Stir the melted butter and 1 cup of peanut butter together until completely smooth, then fold in the powdered sugar and graham cracker crumbs. The mixture will be thick and stubborn, which is exactly how it should feel.
- Press it down:
- Transfer the dough to your lined pan and press it firmly into an even layer using a spatula or, frankly, your hands. The tighter you pack it, the cleaner your bars will slice later.
- Melt the topping:
- Combine the chocolate chips and remaining 1/4 cup of peanut butter in a microwave-safe bowl and heat in 20-second bursts, stirring between each one. Patience here prevents scorched chocolate, which smells terrible and tastes worse.
- Spread and chill:
- Pour the melted chocolate over the peanut butter layer and spread it gently to the edges. Slide the whole pan into the refrigerator for at least 2 hours until everything is firm and set.
- Cut and serve:
- Grab the parchment overhang to lift the entire slab out of the pan, then cut into 16 squares with a sharp knife. A clean knife dipped in hot water makes neater cuts if you care about that sort of thing.
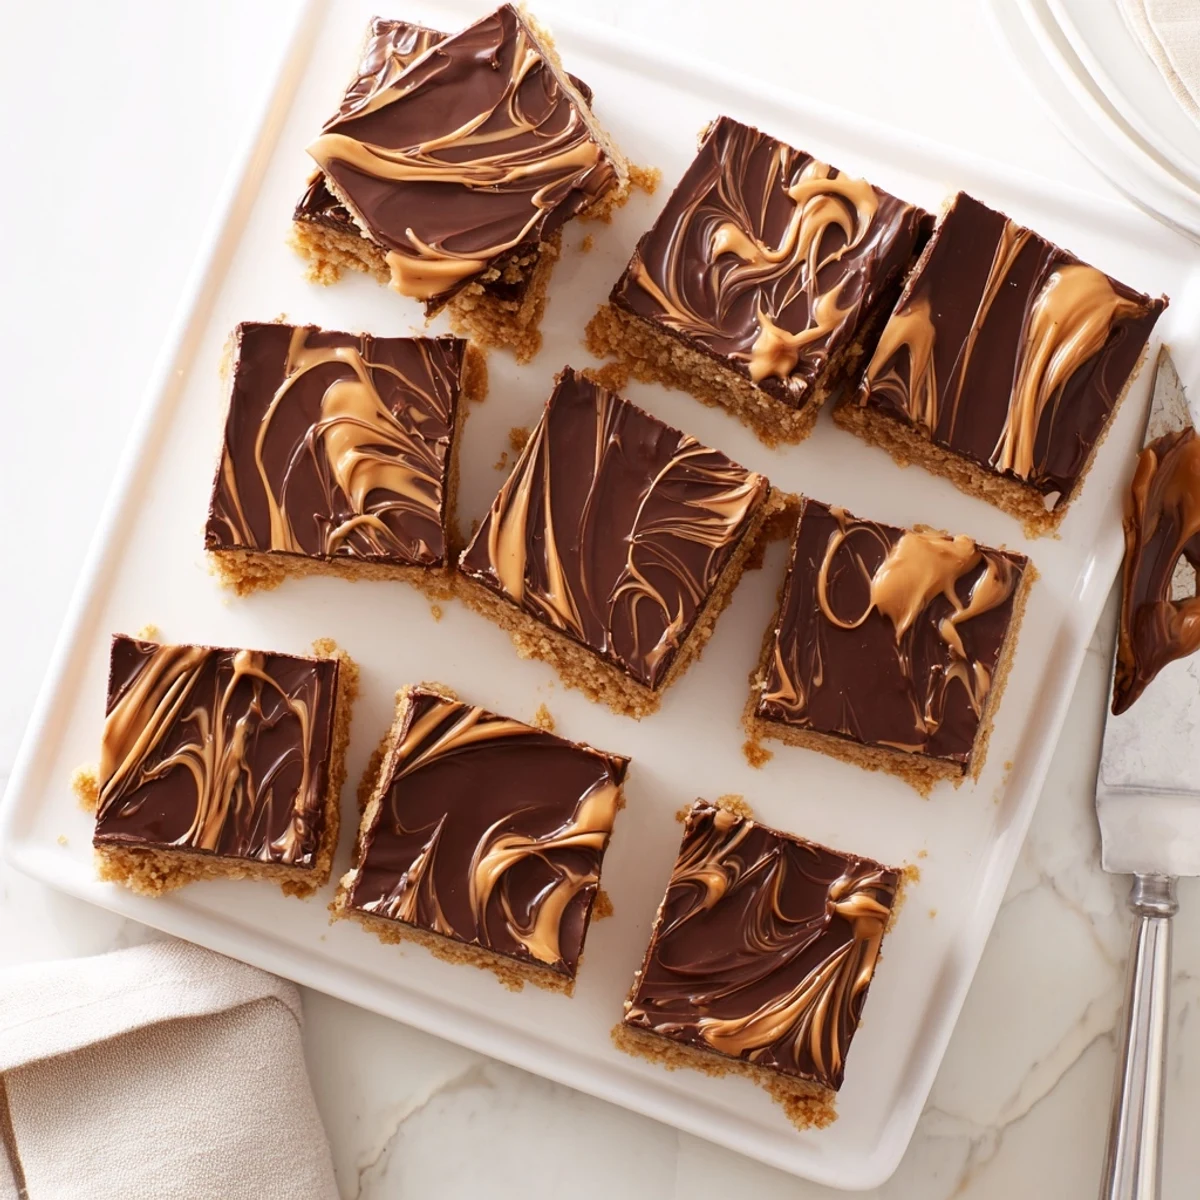 Pin it
 My neighbor knocked on my door last August asking if I had any sugar, and I handed her a plate of these instead. She came back twenty minutes later with the empty plate and a look of genuine desperation in her eyes.
Swaps and Substitutions
Chunky peanut butter works beautifully if you want a more textured base with little pockets of crunch throughout. You can also swap graham cracker crumbs for crushed digestive biscuits or gluten-free cookies without changing the character of the bars. I once used crushed pretzels by accident and ended up with something dangerously addictive, so consider that an official recommendation.
Serving Suggestions
These bars are rich enough on their own, but a cold glass of milk standing next to one is a pairing that feels almost elementary school in the best way. A sprinkle of flaky sea salt on top of the chocolate before it sets takes things from crowd-pleaser to conversation-stopper. Serve them straight from the fridge, because at room temperature the chocolate softens and the bars lose their satisfying snap.
Storage and Make-Ahead Notes
These bars keep beautifully in an airtight container in the refrigerator for up to a week, which makes them an ideal make-ahead dessert for gatherings. You can also freeze them for up to three months, layered between sheets of parchment so they do not stick together in existential despair.
- Let frozen bars thaw in the fridge overnight rather than on the counter to keep the chocolate layer from blooming.
- Always store them chilled, because warmth makes the base soft and the topping tacky.
- Label the container before it disappears into the back of the fridge, or you will forget what treasure lies beneath the lid.
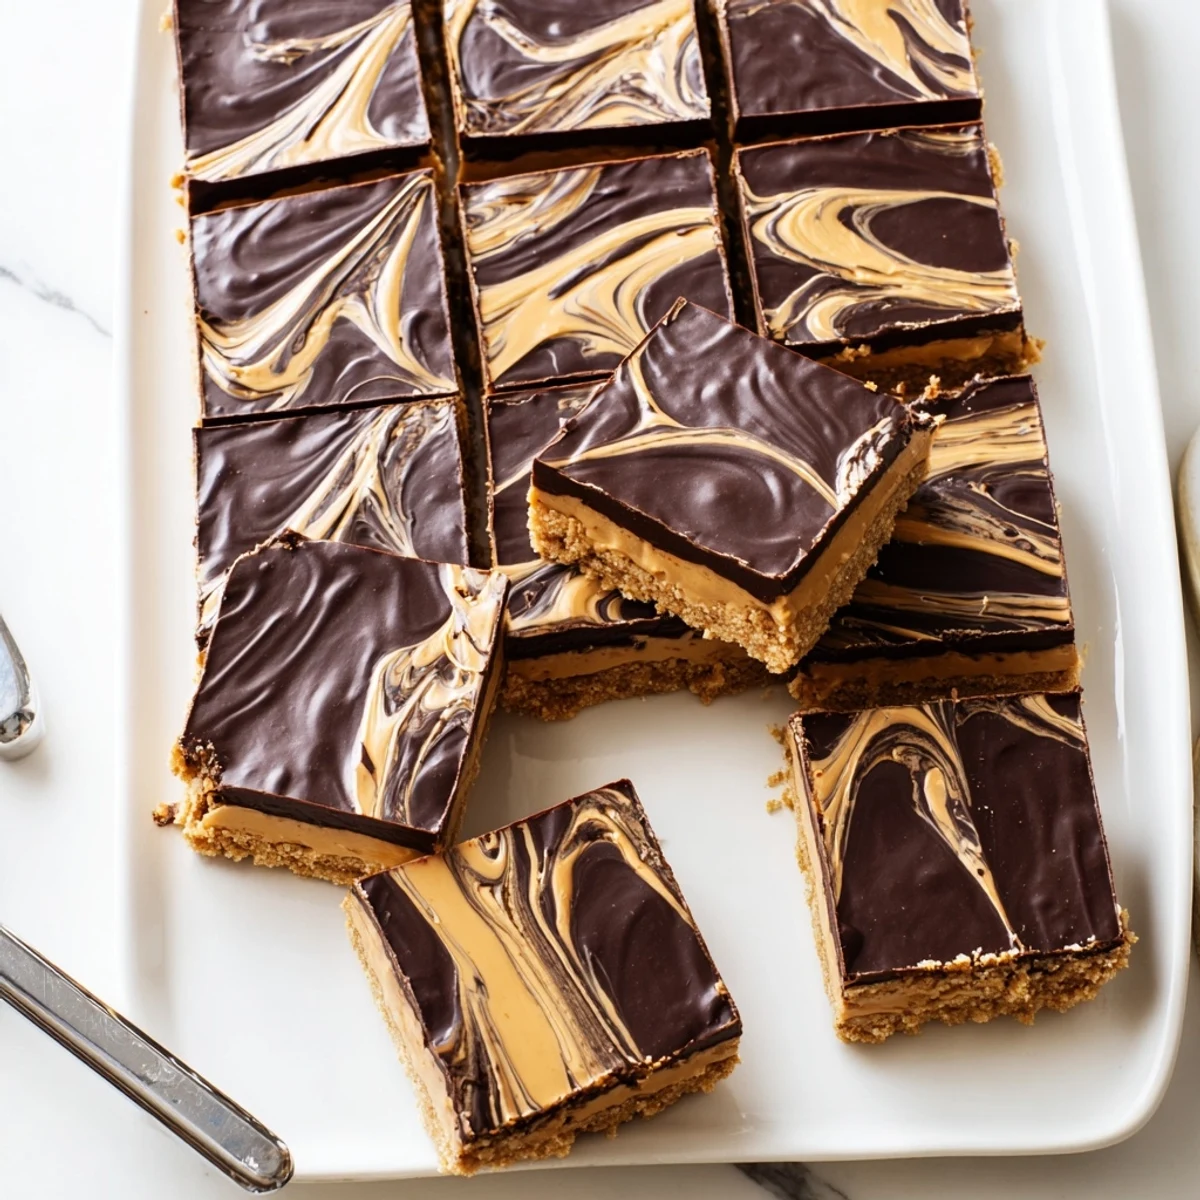 Pin it
 Some recipes earn their place in your life not through complexity but through the simple fact that they make people happy every single time. These bars do exactly that, no oven required.
Recipe FAQs
- → How long do peanut butter bars need to chill?
-
Refrigerate for at least 2 hours until the layers are completely firm. For best results, chill overnight—the texture improves and cutting becomes easier.
- → Can I freeze these bars?
-
Yes, they freeze beautifully for up to 3 months. Wrap individual portions in plastic wrap, place in an airtight container, and thaw in the refrigerator before serving.
- → What's the best way to cut clean squares?
-
Use a sharp knife warmed under hot water and wiped dry between cuts. Lift the entire slab from the pan using parchment overhang, then cut on a cutting board for even edges.
- → Can I use natural peanut butter?
-
Natural peanut butter works, but the bars may be softer due to oil separation. Stir well before measuring and consider reducing butter slightly. Regular creamy peanut butter yields the firmest texture.
- → How should I store leftovers?
-
Keep refrigerated in an airtight container for up to 1 week. Separate layers with parchment paper to prevent sticking. They're best served slightly chilled but can sit at room temperature for short periods.
- → Can I make these gluten-free?
-
Absolutely. Replace graham cracker crumbs with certified gluten-free cookie crumbs or crushed gluten-free graham-style crackers. All other ingredients are naturally gluten-free.
