 Pin it
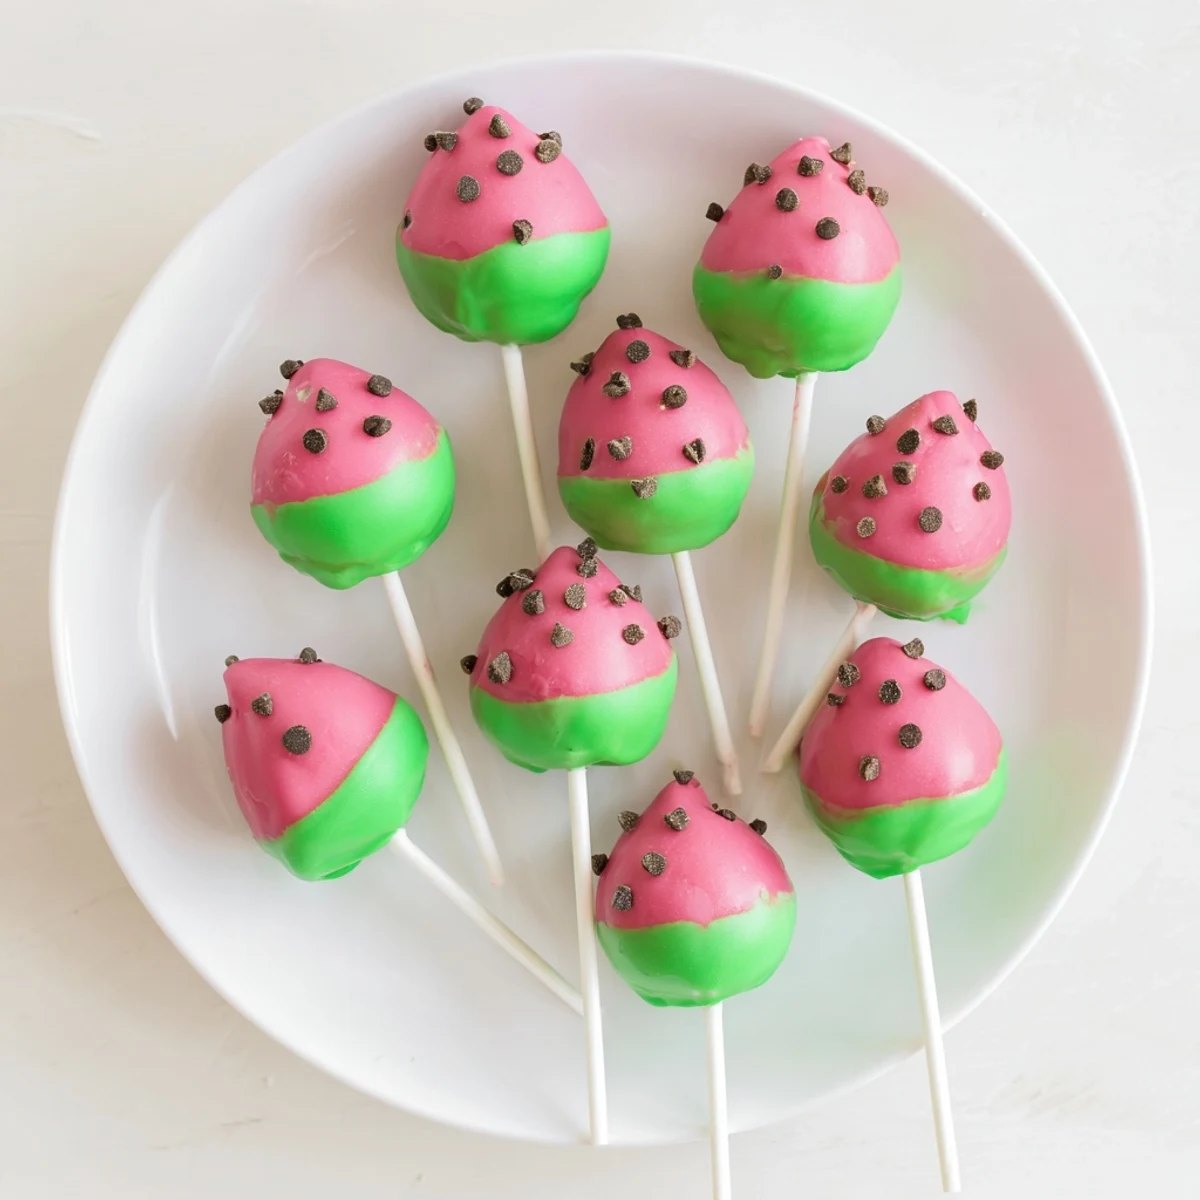
 Create adorable bite-sized watermelon treats with moist vanilla cake mixed with creamy cream cheese frosting. These popsicle-shaped delights feature a vibrant pink-red coating, green candy rind, and playful chocolate chip seeds. Each handmade piece captures summer essence in every bite, making them perfect for poolside gatherings, birthday bashes, or afternoon treats. The process involves crumbling baked cake, blending with frosting, shaping into teardrop forms, and dipping in melted candy coating. Assembly takes about an hour plus chilling time, yielding 24 portable portions ready for your next sunny celebration.
The first time I made watermelon cake pops was for my daughter's fourth birthday party. I'd seen them on Pinterest and thought, 'How hard could it be?' Three hours later, I was covered in pink chocolate and laughing at my lopsided, seed-sprinkled creations. But you know what? The kids didn't care—they grabbed them by the stick and declared them the best thing ever. That messy afternoon taught me that sometimes the most whimsical desserts create the biggest smiles.
Last summer, I brought a platter of these to a neighborhood potluck. My neighbor Sarah took one look and said, 'You made these yourself?' then proceeded to eat three while explaining how she'd failed at cake pops twice. We spent the next hour swapping dessert disaster stories while others kept sneaking back to the platter. Sometimes food is just the bridge that starts the best conversations.
Ingredients
- Vanilla cake mix (or 400 g homemade vanilla cake, cooled): The foundation—using a box mix keeps it simple, but homemade adds that extra love
- 3 large eggs: Structure for your cake base, exactly as your mix requires
- 120 ml vegetable oil: Keeps the cake tender and moist after baking
- 240 ml water: The liquid that brings your batter together
- 120 g cream cheese, softened: Adds tangy richness that balances the sweet candy coating perfectly
- 60 g unsalted butter, softened: Creates a silky frosting texture that holds the cake crumbs together
- 120 g powdered sugar: Sweetens the frosting without making it grainy
- 1 tsp pure vanilla extract: Pure extract makes a difference you can taste
- 300 g pink or red candy melts: The vibrant watermelon flesh—candy melts coat smoother than chocolate chips
- 200 g green candy melts: Forms the recognizable rind that sells the watermelon illusion
- 24 lollipop sticks: The handles that make these pop both literally and figuratively
- 2 tbsp mini chocolate chips: These become your watermelon seeds, so choose them small
- 1 tbsp vegetable oil: Thins stubborn candy melts for that perfect dipping consistency
Instructions
- Bake your foundation:
- Prepare the vanilla cake according to package or recipe instructions, then let it cool completely. Warm cake will turn your frosting into a sad, melty situation.
- Whip up the glue:
- Beat softened cream cheese, butter, powdered sugar, and vanilla until silky smooth. This frosting is what holds your cake balls together, so don't rush the mixing.
- Create the crumble:
- Break your cooled cake into fine crumbs in a large bowl, then add frosting one spoonful at a time. You want a texture like damp sand—moist enough to hold shape but not so wet that it collapses.
- Shape the illusion:
- Roll the mixture into 24 balls, then gently press each into a slight teardrop or triangle shape. Think watermelon wedge, not perfect sphere—imperfections make them look more authentic.
- Secure the sticks:
- Melt a small portion of green candy melts and dip each lollipop stick tip before inserting. This chocolate weld prevents tragic pop-sliding accidents later. Freeze for 20 minutes to set everything firmly.
- Apply the red coat:
- Melt pink candy melts with a tiny oil splash if needed, then dip each chilled pop leaving the bottom exposed. Let excess drip off patiently—rushing creates drips and frustration. Press chocolate chips into the wet surface while it's still tacky.
- Add the green rind:
- Melt the green candy melts and dip just the bottom portion of each pop to create that watermelon border. Stand them upright in a cake pop stand or piece of styrofoam to set completely.
 Pin it
 My niece turned six last month and requested 'those watermelon things' for her party. I watched her face light up when she saw the platter, then caught her explaining to her friends how they were made with such serious authority. There's something magical about food that makes kids feel like insiders to a secret delicious world.
Making Them Your Way
I've experimented with adding tiny drops of watermelon extract to the frosting for an extra layer of authenticity. The first time I did this, my husband took a bite and stopped mid-chew, trying to place what made them different. That subtle surprise—the flavor matching the visual—is what transforms these from cute to clever.
The Short Cut Secret
Sometimes you need adorable dessert without the three-hour timeline. Store-bought cake and pre-made frosting work absolutely fine—no one will know your secret except you, standing there with clean hands and extra time. I keep a box of cake mix in the pantry specifically for emergency cute-dessert situations.
Common Cake Pop Crises
In my early cake pop days, I lost half a batch to the dreaded slide—where the cake ball slowly descends the stick while drying. I learned that proper chilling time is non-negotiable, no matter how eager you are to see the finished result. Those 20 minutes in the freezer make the difference between Pinterest success and kitchen comedy.
- If your cake mixture feels too dry, add frosting teaspoon by teaspoon until it holds together when squeezed
- Work with just a few cake pops at a time during coating—keep the rest in the fridge until you're ready
- Store finished pops in the fridge, but serve at room temperature for the best texture and flavor
 Pin it
 These little watermelon wedges have become my go-to for any summer gathering that needs a dose of whimsy. There's pure joy in watching someone realize what they're looking at, then take that first delighted bite.
Recipe FAQs
- → How long do watermelon cake pops stay fresh?
-
Store these treats in an airtight container at room temperature for up to 3 days. For longer freshness, refrigerate for up to a week. Bring to room temperature before serving for the best texture and flavor experience.
- → Can I make these ahead of time for a party?
-
Absolutely! Prepare the cake mixture and shape into balls one day in advance. Keep them covered in the refrigerator. Dip and decorate the morning of your event. The candy coating sets beautifully, giving you perfect presentation-ready treats.
- → What if my candy coating is too thick?
-
Add one teaspoon of vegetable oil to melted candy melts and stir gently. This thins the consistency without affecting flavor or setting time. Work in small batches, reheating briefly if the coating begins to cool and thicken during dipping.
- → Can I use homemade cake instead of box mix?
-
Homemade vanilla cake works wonderfully! Bake your favorite from-scratch version, let it cool completely, then crumble into fine pieces. The key is achieving the right crumb texture—slightly dry actually helps the pops hold their shape better when mixed with frosting.
- → How do I prevent the sticks from falling out?
-
The secret is dipping stick tips into melted coating before inserting. This acts as glue once set. Also, chill formed pops for 20 minutes before inserting sticks. Let them set upright in a stand or foam block rather than lying flat, which ensures the coating hardens evenly around each stick.
- → What's the best way to display these at a party?
-
Use a dedicated cake pop stand, floral foam wrapped in decorative paper, or even a sturdy box with holes poked in the top. Arrange them at varying heights for visual impact. Keep them out of direct sunlight, as warm temperatures can cause the candy coating to soften or melt.
