 Pin it
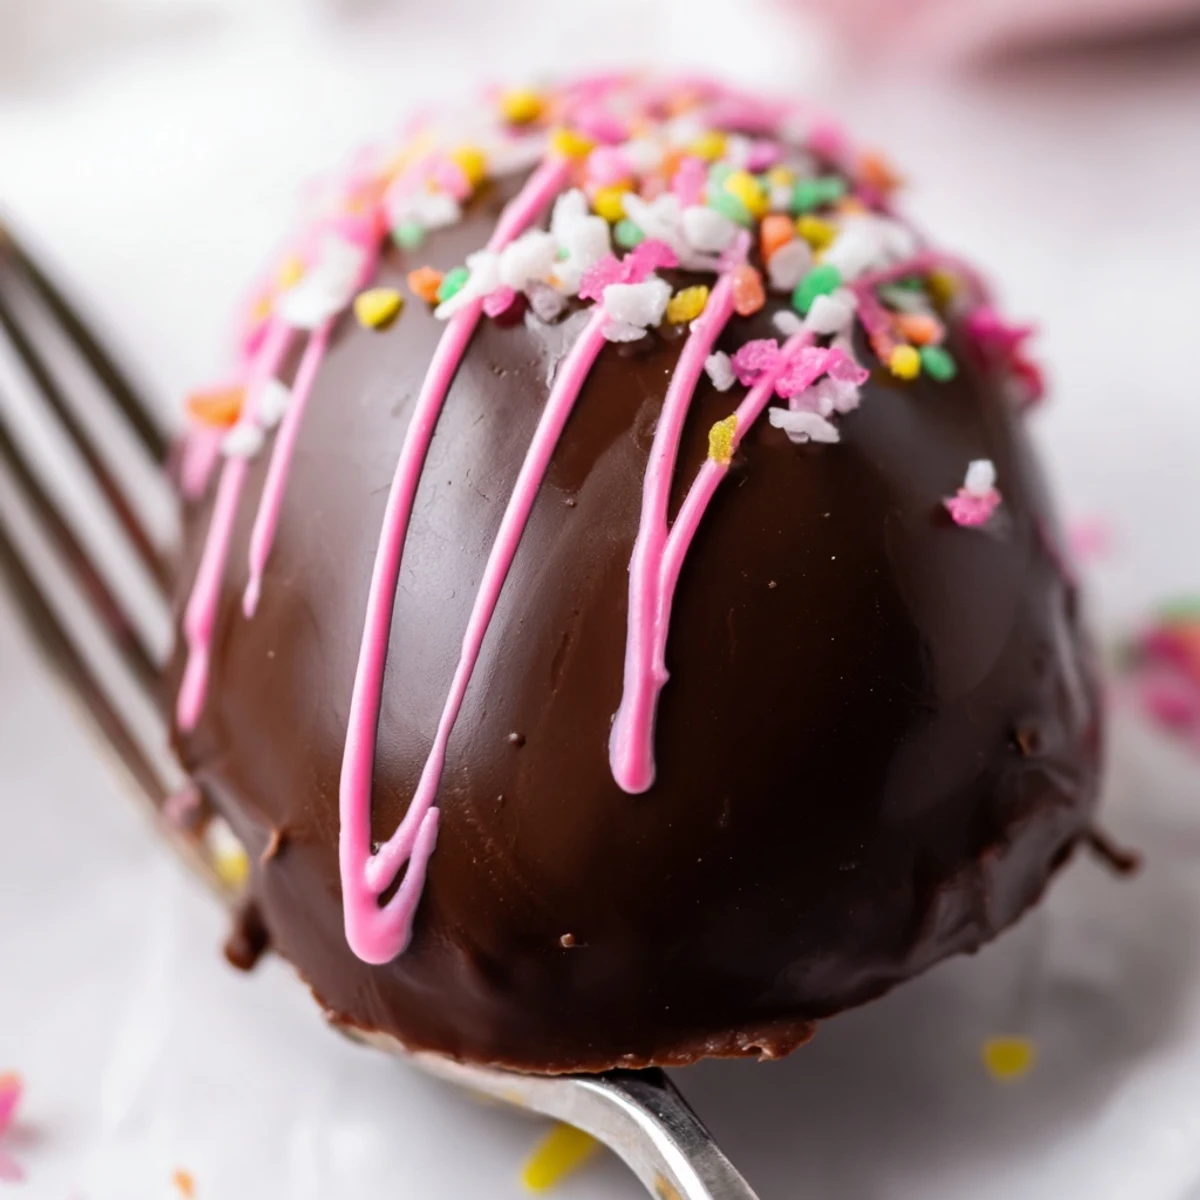
 These delightful Easter treats combine a light, fluffy filling made from Cool Whip, cream cheese, and powdered sugar, all coated in rich semi-sweet chocolate. The creamy center pairs perfectly with the crisp chocolate shell, creating a festive dessert that's both impressive and simple to make.
The process involves mixing the creamy filling, freezing it into egg shapes, then dipping in melted chocolate. The chilling steps ensure the eggs hold their shape beautifully during coating. Kids love helping decorate with colorful sprinkles and candy melts, making these perfect for family bonding time during Easter preparations.
My kitchen looked like a pastel explosion that first Easter I attempted these, with sprinkles scattered everywhere and chocolate smudges on the counter. My daughter stood on a stool beside me, carefully dipping each egg while I tried to keep the chocolate at the perfect temperature. We laughed so hard when one egg slipped off her fork and splashed into the bowl, creating a tiny chocolate wave that threatened our aprons.
Last spring I made three batches for a neighborhood potluck and watched adults beam like children when they bit into that first creamy chocolate covered bite. Someone actually asked if I had spent hours in the kitchen, never guessing the secret was just a tub of Cool Whip and some melting chocolate. Now theyre the first thing people ask about when April rolls around.
Ingredients
- 2 cups Cool Whip (thawed): This creates the impossibly light mousse like filling that sets beautifully when chilled
- 1/2 cup cream cheese, softened: Adds just enough tang and structure to hold the egg shape without making it dense
- 2 cups powdered sugar: Sweetens while helping the mixture firm up enough for dipping
- 1 teaspoon vanilla extract: Pure vanilla makes everything taste homemade and premium
- 2 cups semi sweet chocolate chips: The perfect balance of sweetness to complement the creamy filling
- 1 tablespoon coconut oil or vegetable oil: This tiny addition makes the chocolate coating smooth and glossy instead of dull and thick
- Assorted pastel sprinkles: Optional but absolutely essential for the full Easter egg experience
- Colored candy melts: Use these to create drizzles or patterns if you want extra festive flair
Instructions
- Prepare the creamy filling:
- Beat the softened cream cheese in a large mixing bowl until completely smooth with no lumps remaining. Fold in the thawed Cool Whip, powdered sugar, and vanilla extract, mixing until everything is well combined and silky smooth.
- Chill for shaping:
- Place the mixture in the freezer for 20 to 30 minutes until it firms up slightly. This step makes shaping the eggs so much easier and prevents the mixture from sticking to your hands.
- Shape into eggs:
- Line a baking sheet with parchment paper. Using slightly damp hands to prevent sticking, scoop out about 2 tablespoons of the mixture and gently shape it into an egg form. Place each shaped egg onto the prepared baking sheet as you work.
- Freeze until firm:
- Freeze the shaped eggs for at least 1 hour or until they are completely firm to the touch. This freezing step is crucial because soft eggs will melt right into your warm chocolate dipping bowl.
- Melt the chocolate coating:
- Combine the chocolate chips and coconut oil in a microwave safe bowl. Microwave in 30 second intervals, stirring thoroughly between each, until the chocolate is completely melted and smooth.
- Dip each egg:
- Using a fork, carefully dip each frozen egg into the melted chocolate, letting any excess drip off. Return the dipped eggs to the baking sheet and work quickly before the frozen filling softens too much.
- Add festive decorations:
- If you are using sprinkles or candy melts, add them immediately while the chocolate is still wet so they stick properly. Drizzle colored candy melts over the tops or press sprinkles gently into the chocolate coating.
- Set and serve:
- Refrigerate the eggs until the chocolate is completely set, about 30 minutes. Serve chilled straight from the refrigerator for the best texture and flavor.
 Pin it
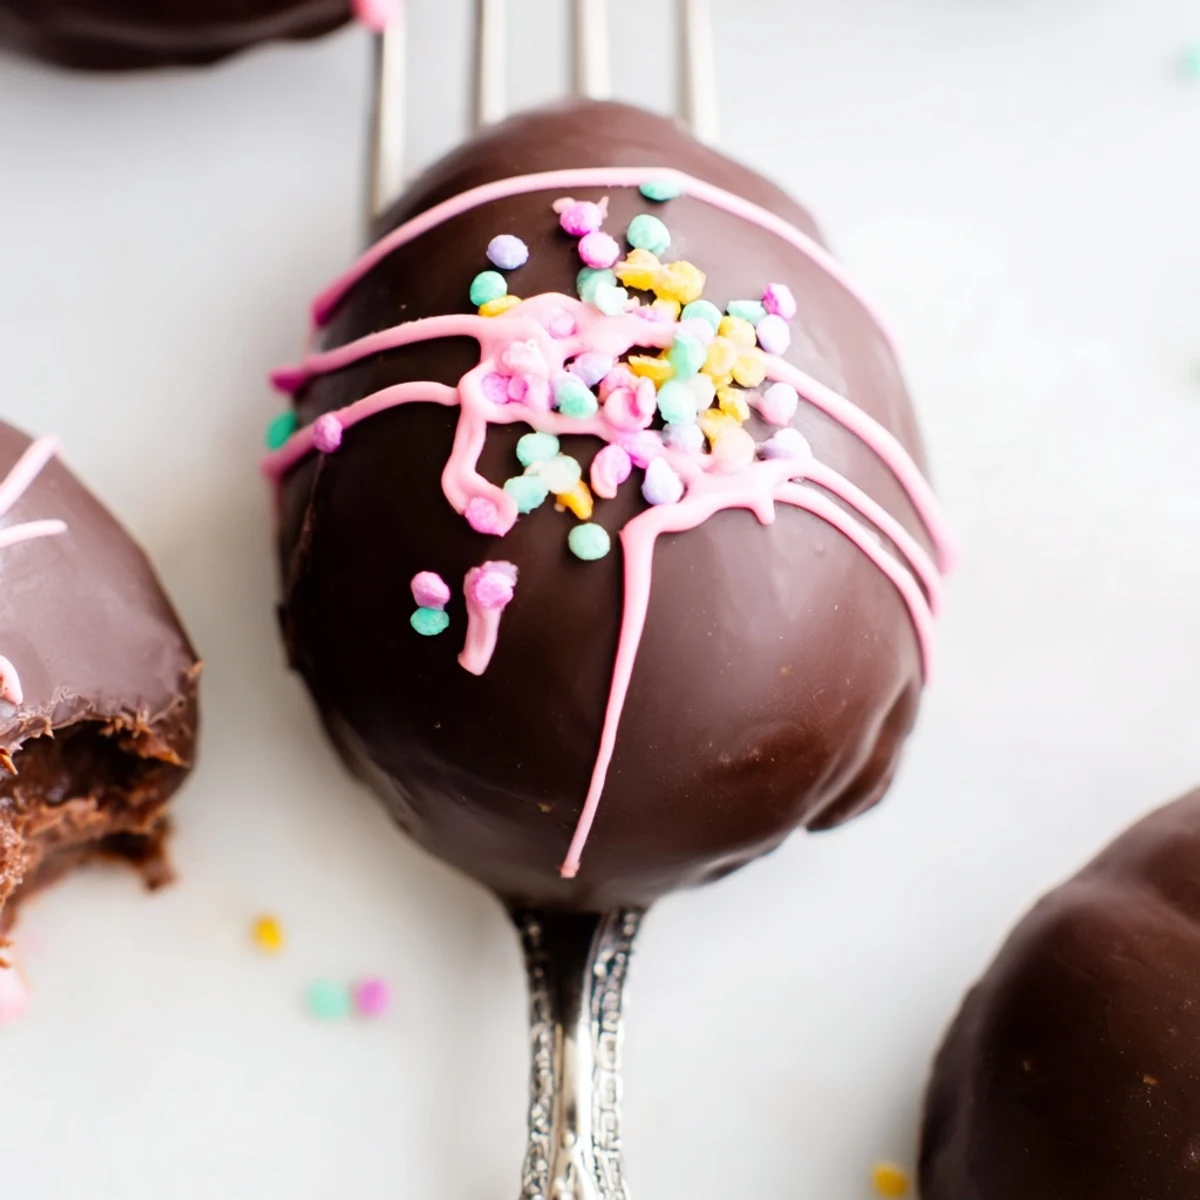
 These have become our Easter morning tradition, arranged on a platter that looks like a spring garden in edible form. Last year my niece declared they were better than anything the Easter bunny could bring, which I took as the ultimate compliment.
Making Them Ahead
You can prepare the filling mixture up to two days in advance and store it in the refrigerator. Shape and freeze the eggs the night before your celebration, then dip them in chocolate the morning of your event for the freshest taste. The dipped eggs keep perfectly in the refrigerator for up to five days, though they rarely last that long in my house.
Flavor Variations
Swap half the vanilla extract for almond or coconut extract to create entirely different flavor profiles. I have also mixed in crushed Oreos for a cookies and cream version that kids go absolutely wild for. For adults, a tablespoon of liqueur added to the filling creates an elegant dessert that feels special.
Chocolate Options
While semi sweet chocolate is classic, milk chocolate creates a sweeter, more kid friendly version. Dark chocolate pairs beautifully with the sweet creamy filling and feels more sophisticated for adult gatherings. White chocolate dyed with pastel food coloring creates gorgeous eggs without any additional decorations needed.
- Use a candy thermometer if you want your chocolate to set with a professional glossy snap
- Try adding a pinch of sea salt on top of the wet chocolate for a salted chocolate version
- Consider using melting wafers instead of chips for an even smoother dipping consistency
 Pin it
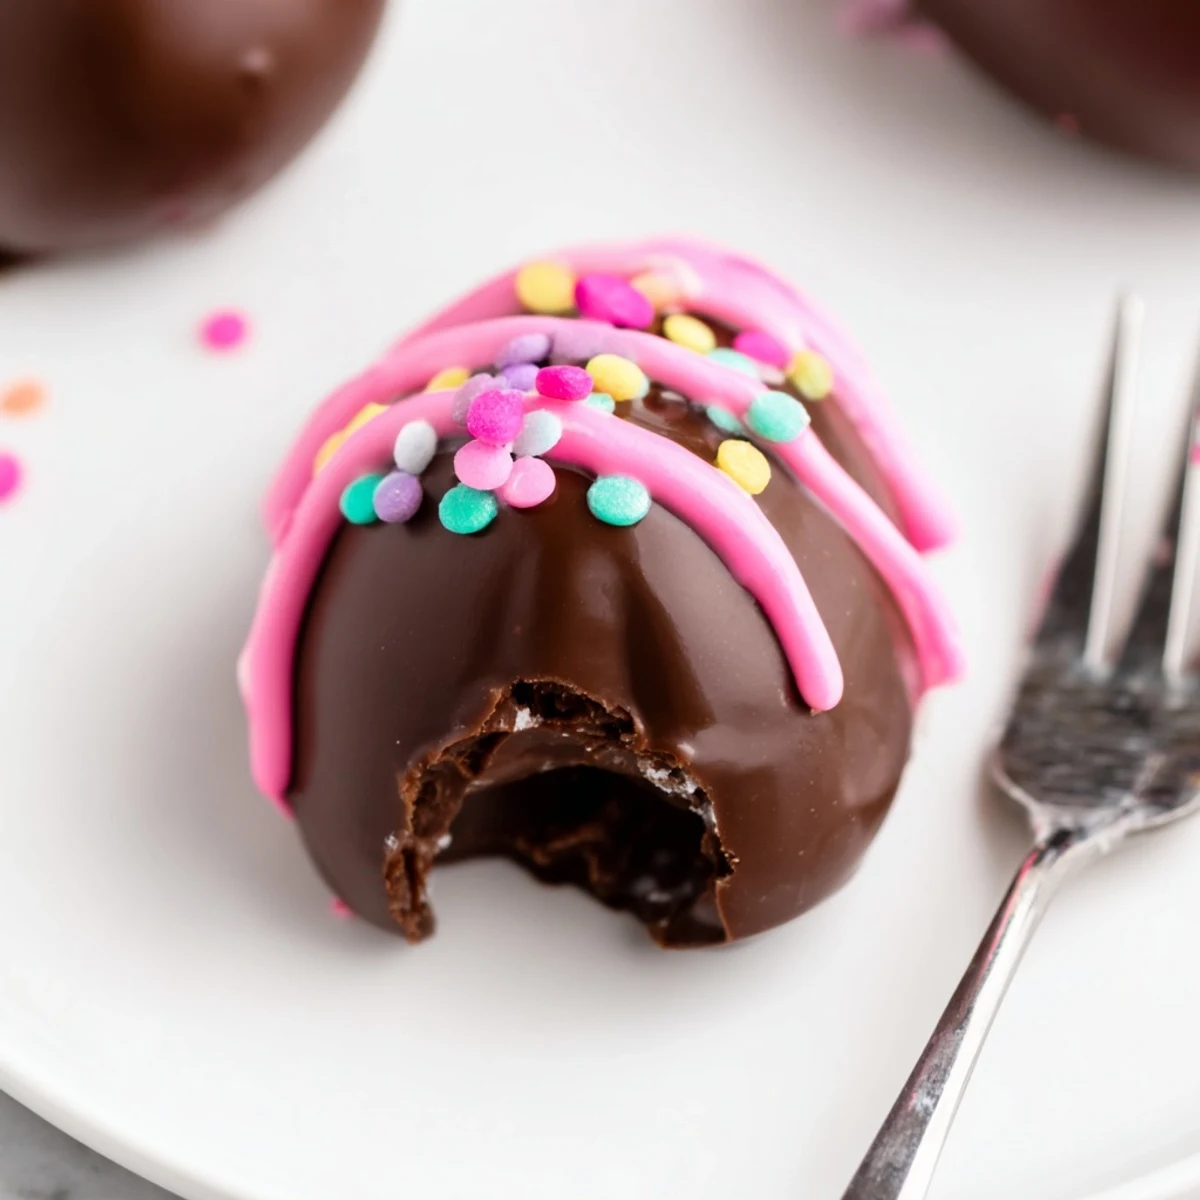
 There is something deeply satisfying about making these cheerful treats year after year, building new memories while carrying on sweet traditions.
Recipe FAQs
- → How long do Cool Whip Easter eggs stay fresh?
-
Store in an airtight container in the refrigerator for up to 5 days. The chocolate coating helps maintain freshness while the creamy filling stays perfectly chilled.
- → Can I freeze these chocolate Easter eggs?
-
Yes, freeze the shaped eggs before dipping in chocolate for up to 2 weeks. Once coated, store in the refrigerator rather than freezing to prevent chocolate bloom.
- → What chocolate works best for coating?
-
Semi-sweet chocolate chips melt smoothly and provide a balanced sweetness. Adding coconut oil helps create a thin, even coating that sets beautifully.
- → How do I prevent the filling from becoming too soft?
-
The key is chilling the filling twice - once before shaping and again after forming the eggs. This ensures firm, workable eggs that dip cleanly into chocolate.
- → Can I make these without Cool Whip?
-
Substitute stabilized whipped cream or make a traditional buttercream filling. The texture will be slightly denser but still delicious when coated in chocolate.
