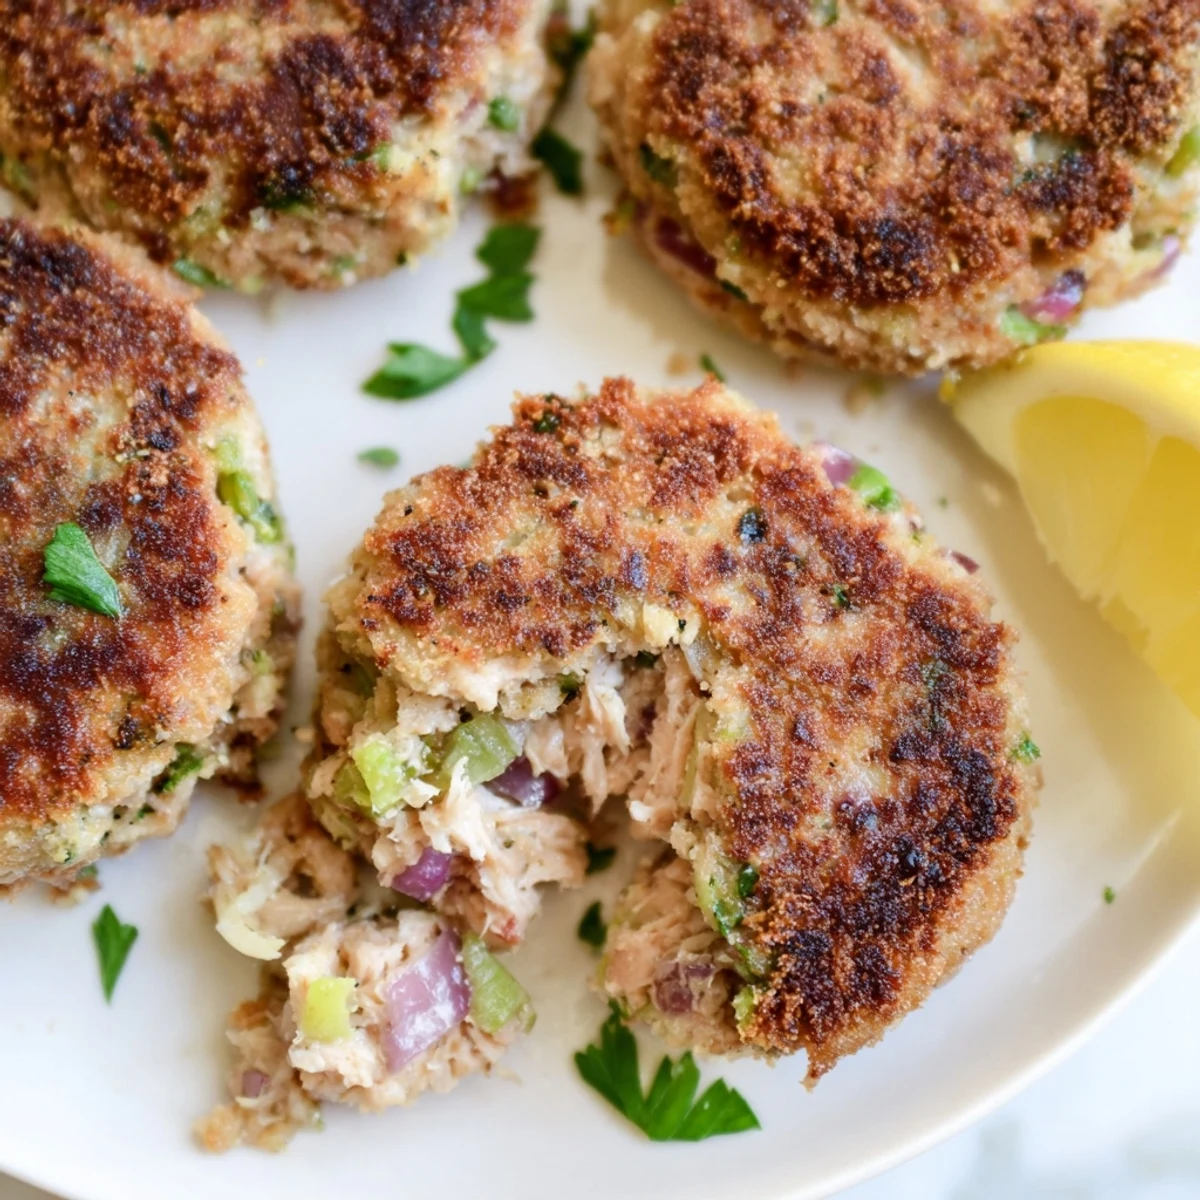
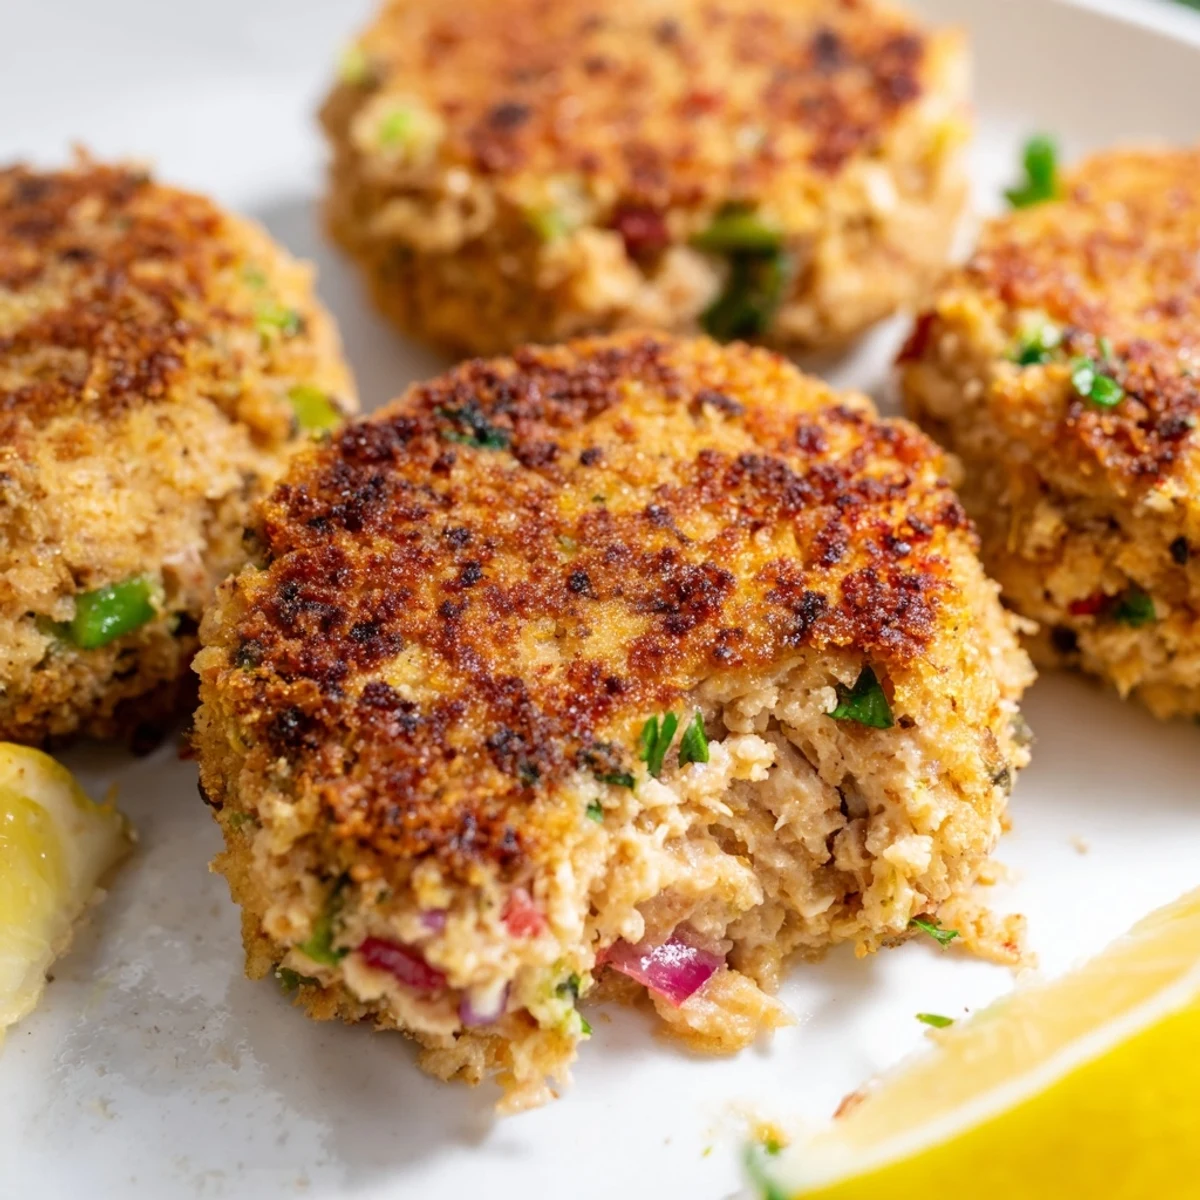
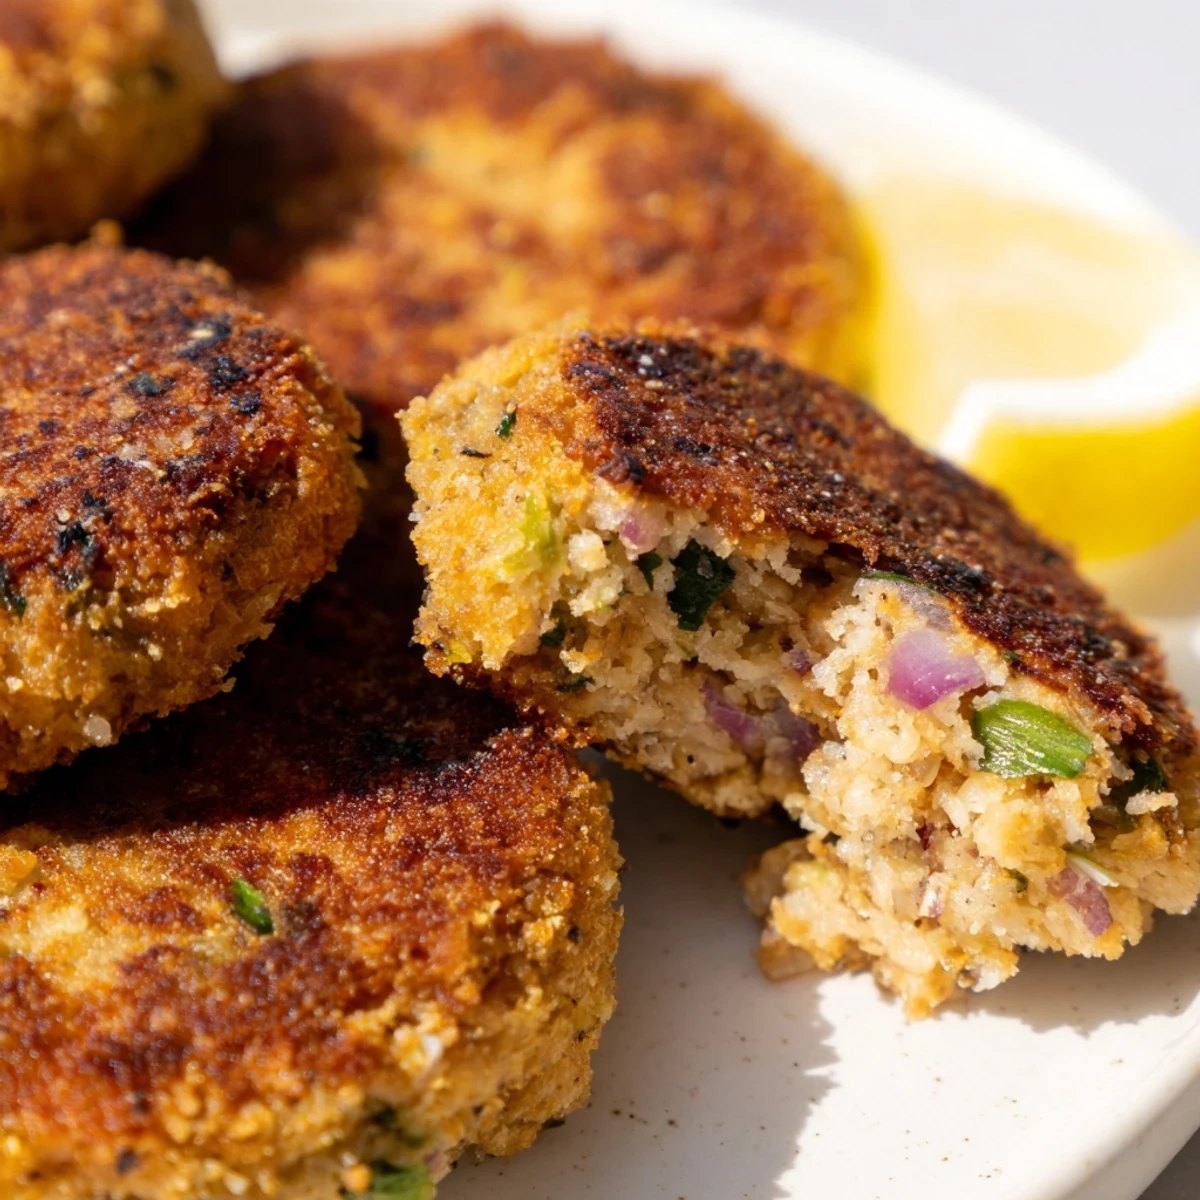
 Pin it
 These golden tuna cakes come together in just 25 minutes with simple ingredients you likely have on hand. Canned tuna gets transformed into crispy, flavorful patties with fresh vegetables, herbs, and seasonings. Pan-fry until golden brown for a satisfying crunch that gives way to tender, flaky fish inside.
The mixture is easy to shape and cooks quickly in a skillet, making these ideal for busy weeknight dinners or last-minute lunches. Serve with lemon wedges, tartar sauce, or a light salad for a complete meal that's both comforting and light.
The first time I made tuna cakes, I was skeptical—could something so simple actually taste good? One golden brown bite later, and I was completely converted. The crispy exterior gives way to this surprisingly tender, flavorful inside that somehow feels fancy despite being ready in under half an hour.
Last Tuesday, I made these for my sister who claims to hate tuna. She watched me form the patties, visibly doubtful, until I slid that first batch into the hot oil. The kitchen filled with this incredible sizzling sound, and when she took her first bite, she actually went quiet for a second before reaching for seconds.
Ingredients
- 2 cans tuna in water, drained: Water-packed tuna gives you control over the moisture level and lets the other flavors shine through
- 1 large egg: This binds everything together without making the mixture too heavy or dense
- 1/3 cup finely chopped celery: Adds this perfect little crunch and fresh flavor that cuts through the richness
- 1/4 cup finely chopped red onion: Finely chopped is key here—you want the flavor without big onion chunks
- 2 tablespoons chopped fresh parsley: Brightens everything up and makes these look as good as they taste
- 1 teaspoon lemon zest: This tiny addition wakes up the whole dish and makes it taste fresh
- 1/2 cup breadcrumbs: Panko will give you extra crunch, but regular breadcrumbs work beautifully too
- 2 tablespoons mayonnaise: Keeps the cakes moist inside while creating that gorgeous crust outside
- 1 teaspoon Dijon mustard: Adds just enough sharpness to balance the mild tuna
- 1/2 teaspoon garlic powder: Provides a subtle background note without overpowering anything
- 1/4 teaspoon salt: Enhances all the flavors without making these taste salty
- 1/4 teaspoon black pepper: Adds a gentle warmth that rounds everything out
- 2–3 tablespoons olive oil: Gives you that perfect golden fry and rich flavor
Instructions
- Combine the tuna mixture:
- In a large bowl, gently break up the drained tuna and add the egg, celery, red onion, parsley, and lemon zest. Mix with your hands until just combined—overworking makes dense cakes.
- Add binders and seasonings:
- Sprinkle in the breadcrumbs, mayonnaise, Dijon, garlic powder, salt, and pepper. Fold everything together until the mixture holds its shape when squeezed.
- Form the patties:
- Divide the mixture into 8 equal portions and gently shape each into a patty about 1/2 inch thick. Do not pack them too tight or they will be tough.
- Heat your skillet:
- Pour the olive oil into a large nonstick skillet and set it over medium heat. You want the oil shimmering but not smoking.
- Fry until golden:
- Carefully place the tuna cakes in the hot oil and fry for 3–4 minutes per side. They are done when deeply golden brown and crispy all over.
- Drain and serve:
- Transfer the cooked cakes to a paper towel-lined plate to drain any excess oil. Serve them warm while still crispy.
 Pin it
 My roommate started requesting these every Sunday after I first made them on a whim. Now it has become this little tradition—the smell of tuna cakes frying means the week is about to begin, but at least we started it with something good.
Making Them Extra Crispy
Panko breadcrumbs are my secret weapon for that restaurant style crunch that makes these feel special. I also learned to let the oil get properly hot before adding the first patty—that sizzle sound is music.
Serving Ideas That Work
These tuna cakes are incredibly versatile and pair with so many sides. I love them with a simple arugula salad dressed in lemon vinaigrette, but they are also perfect tucked into a bun for an elevated fish sandwich experience.
Customizing Your Cakes
Once you have the basic method down, the variations are endless and fun to explore. I sometimes add a handful of shredded sharp cheddar or swap the parsley for fresh dill when I want something different.
- Try Old Bay seasoning instead of garlic powder for a coastal vibe
- Mix in a tablespoon of capers for briny pops of flavor
- Serve with a quick homemade tartar sauce or garlic aioli
 Pin it
 There is something deeply satisfying about turning simple canned tuna into something this delicious. Hope these become a regular in your kitchen rotation too.
Recipe FAQs
- → Can I use fresh tuna instead of canned?
-
Yes, you can use cooked fresh tuna. Grill or pan-sear a tuna steak, let it cool, then flake it into pieces before combining with the other ingredients. This adds a more pronounced tuna flavor but requires extra prep time and cost.
- → How do I prevent the cakes from falling apart?
-
Ensure the mixture is well combined and chilled for 10-15 minutes before shaping. Don't skip the breadcrumbs and egg—they're essential binders. When shaping, pack the patties firmly and let them rest briefly before frying to help them hold their shape in the pan.
- → Can I bake these instead of frying?
-
Absolutely. Place shaped patties on a greased baking sheet and brush with olive oil. Bake at 400°F for 12-15 minutes per side, flipping once, until golden and heated through. The exterior won't be quite as crispy as pan-fried but still delicious.
- → How long do these keep and can I freeze them?
-
Cooked tuna cakes keep in the refrigerator for 3-4 days. Reheat in a skillet or oven. To freeze, shape uncooked patties and freeze on a baking sheet before transferring to a freezer bag. They'll keep for up to 3 months—thaw overnight before frying.
- → What can I serve with tuna cakes?
-
Lemon wedges are classic for brightening the flavor. Try tartar sauce, garlic aioli, or Greek yogurt dip for creaminess. A fresh green salad, coleslaw, or roasted vegetables make great sides. They also work well in slider buns for a twist on fish sandwiches.
- → Can I make these gluten-free?
-
Simply substitute regular breadcrumbs with certified gluten-free breadcrumbs or almond flour. The texture will still be crispy and delicious. Always double-check your mayonnaise and mustard labels to ensure they're gluten-free as well.
