 Pin it
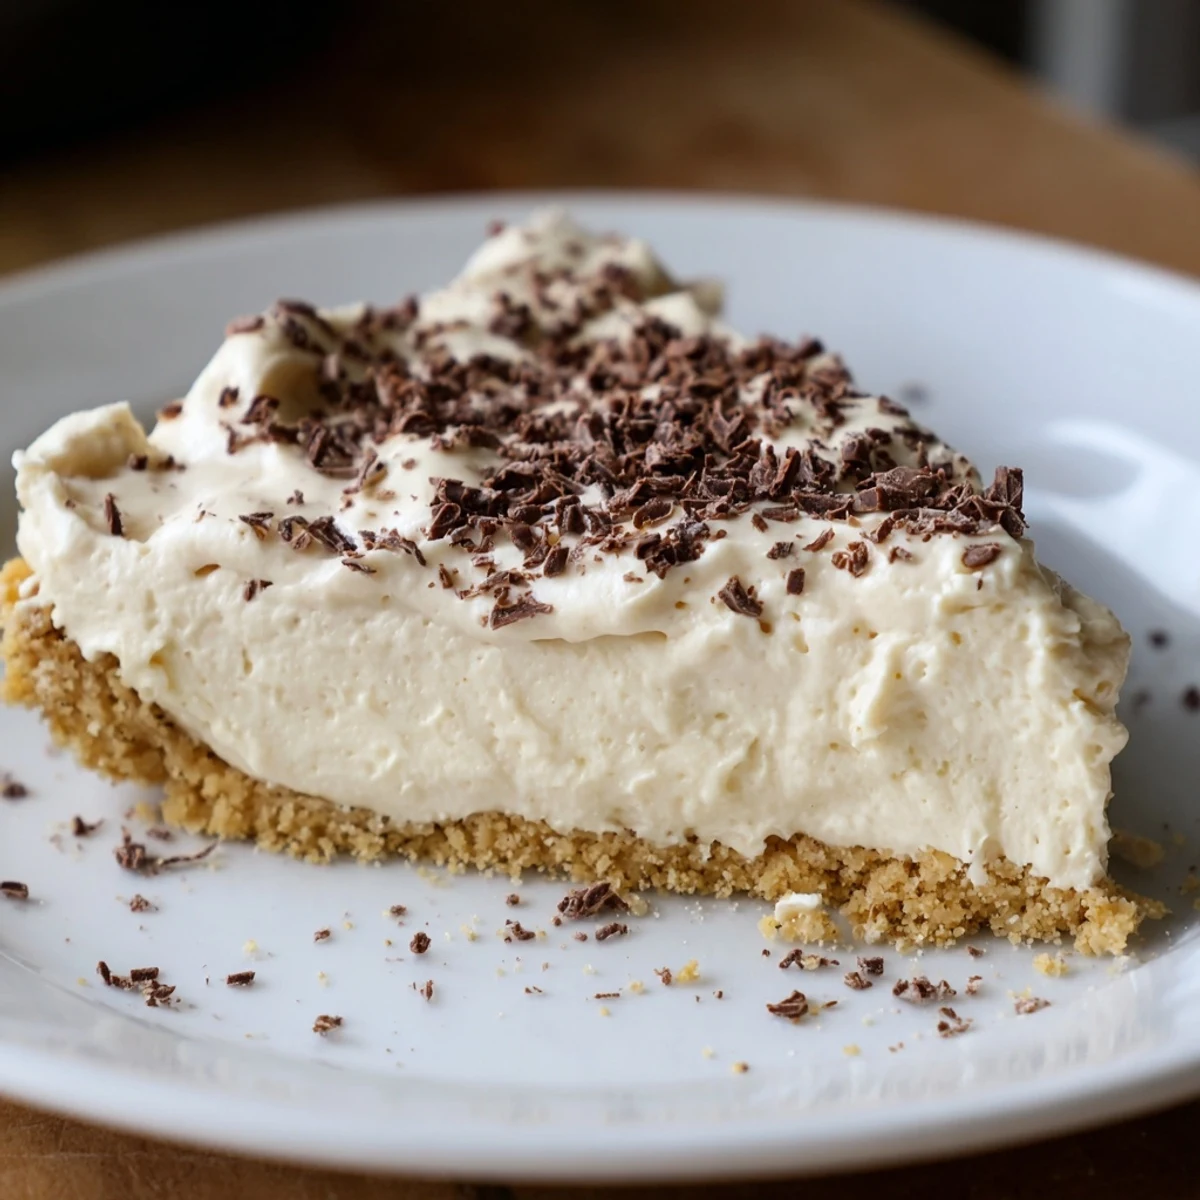
 This luscious Irish cream cheesecake features a buttery digestive biscuit crust topped with a silky, creamy filling blended with alcohol-free Irish cream syrup, vanilla, and smooth cream cheese. Baked to perfection, it rests chilled for hours to enhance its rich, velvety texture. Often garnished with whipped cream and grated chocolate, this dessert is ideal for celebrations or indulgent moments. Its careful combination of sweet and creamy elements results in a balanced, elegant finish loved by many.
The first time I made this Irish Cream Cheesecake, my kitchen smelled like a cozy coffee shop on a rainy afternoon. That warm, caramel vanilla scent filled every corner of the house and had my family wandering in, asking what magical thing was happening in the oven. What they loved most was discovering it tasted just as luxurious as the restaurant versions we'd tried, but with a comforting homemade touch.
I brought this cheesecake to my friend's birthday dinner last winter, and honestly, it almost stole the show from her actual birthday cake. Her aunt leaned over after her first bite and asked me for the recipe right then and there, pen already in hand. There's something about that combination of smooth vanilla cream cheese and Irish cream notes that makes people close their eyes and smile.
Ingredients
- Digestive biscuits or graham crackers (200g): These create that classic buttery, slightly crunchy base that balances perfectly with the creamy filling, and digestive biscuits add a lovely subtle sweetness that graham crackers don't always provide
- Unsalted butter (80g melted): Always use unsalted butter so you can control the saltiness, and melt it completely so it coats every crumb evenly for a crust that holds together beautifully
- Cream cheese (600g softened): Room temperature cream cheese is absolutely non-negotiable here, cold cream cheese creates lumps that never quite disappear no matter how long you beat it
- Granulated sugar (200g): This amount sweetens perfectly without overpowering the delicate Irish cream flavor, and granulated sugar incorporates more smoothly than powdered sugar in cheesecake batter
- Heavy cream (200ml): This adds that incredible silky texture that sets this cheesecake apart from denser versions, creating almost a mousse-like quality in the final bake
- Alcohol-free Irish cream syrup (150ml): This is the star of the show, bringing all those gorgeous coffee, vanilla, and cream notes without any alcohol, so everyone can enjoy it
- Large eggs (3): Room temperature eggs blend into the batter more seamlessly, preventing overmixing which can lead to those dreaded cracks on top
- Vanilla extract (2 tsp): Never skimp on vanilla, it amplifies all the other flavors and adds that warm background note that makes everything taste better
- Cornstarch (2 tbsp): This little bit of cornstarch is your insurance policy against cracks and helps stabilize the filling without making it taste chalky or floury
Instructions
- Prepare your pan and preheat:
- Preheat your oven to 160°C (320°F) and grease a 23 cm springform pan with butter, then line the bottom with parchment paper, this makes removing the cheesecake later completely effortless and prevents any sticking heartbreak
- Build the buttery crust:
- Crush those biscuits until they're fine crumbs, I use a food processor but a zippered bag and rolling pin works beautifully too, then stir in the melted butter until every crumb is coated and press it firmly into your pan bottom, really press it down tight so it holds together
- Start the creamy filling:
- Beat your softened cream cheese and sugar together until they're completely smooth with absolutely no lumps, this takes about 2-3 minutes and is worth every second of patience
- Add the eggs one at a time:
- Add each egg separately and beat until fully incorporated before adding the next one, this gradual approach prevents overworking the batter which can lead to cracks
- Blend in the remaining ingredients:
- Mix in that cornstarch until you can't see it anymore, then pour in the heavy cream, Irish cream syrup, and vanilla extract, beating just until everything is smooth and combined
- Fill and settle the batter:
- Pour all that gorgeous creamy filling over your chilled crust, then give the pan a few gentle taps on the counter to release any trapped air bubbles that could create holes or cracks
- Bake to perfection:
- Bake for 55 to 65 minutes, checking at the 55 minute mark, the edges should be set but the center should still have that gentle wobble like gelatin when you gently shake the pan
- The slow cool down:
- Turn off your oven but crack the door open about an inch, letting the cheesecake cool gradually for a full hour inside, this gradual temperature change is the secret to preventing cracks
- The chill phase:
- Remove from the oven and refrigerate for at least 4 hours though overnight is even better, this firming up period is absolutely essential for that perfect creamy slice
- The optional topping:
- Whip the heavy cream with powdered sugar until soft peaks form, then spread it generously over your chilled cheesecake and finish with grated chocolate or a dusting of cocoa powder for that restaurant worthy presentation
 Pin it
 My grandmother originally taught me that cheesecake needs time and patience, and she was absolutely right. She'd say something about good things not being rushed, and watching my family gather around this cheesecake, I finally understood what she meant.
Making It Your Own
Sometimes I'll add a tablespoon of instant espresso powder to the crust for an extra coffee kick that complements the Irish cream beautifully. Other times I've swirled in some melted chocolate on top before baking for a marbled effect that looks impressive but takes almost no extra effort.
Serving Suggestions
This cheesecake tastes best when it's had about 20 minutes out of the fridge before serving, letting those flavors really wake up and become more pronounced. I love serving it with fresh berries on the side, the tartness cuts through all that rich creaminess beautifully.
Storage And Make Ahead Tips
This cheesecake actually improves after a day or two in the fridge, as the flavors meld together and develop more depth. You can make the whole thing up to three days ahead, just add the whipped cream topping right before serving so it stays fresh and fluffy.
- Wrap any leftovers tightly in plastic wrap and they'll stay fresh for up to five days in the refrigerator
- For longer storage, freeze individual slices wrapped well in plastic and foil, they thaw beautifully in the fridge overnight
- The crust can be made up to two days ahead and kept in the fridge, wrapped tightly, ready for the filling
 Pin it
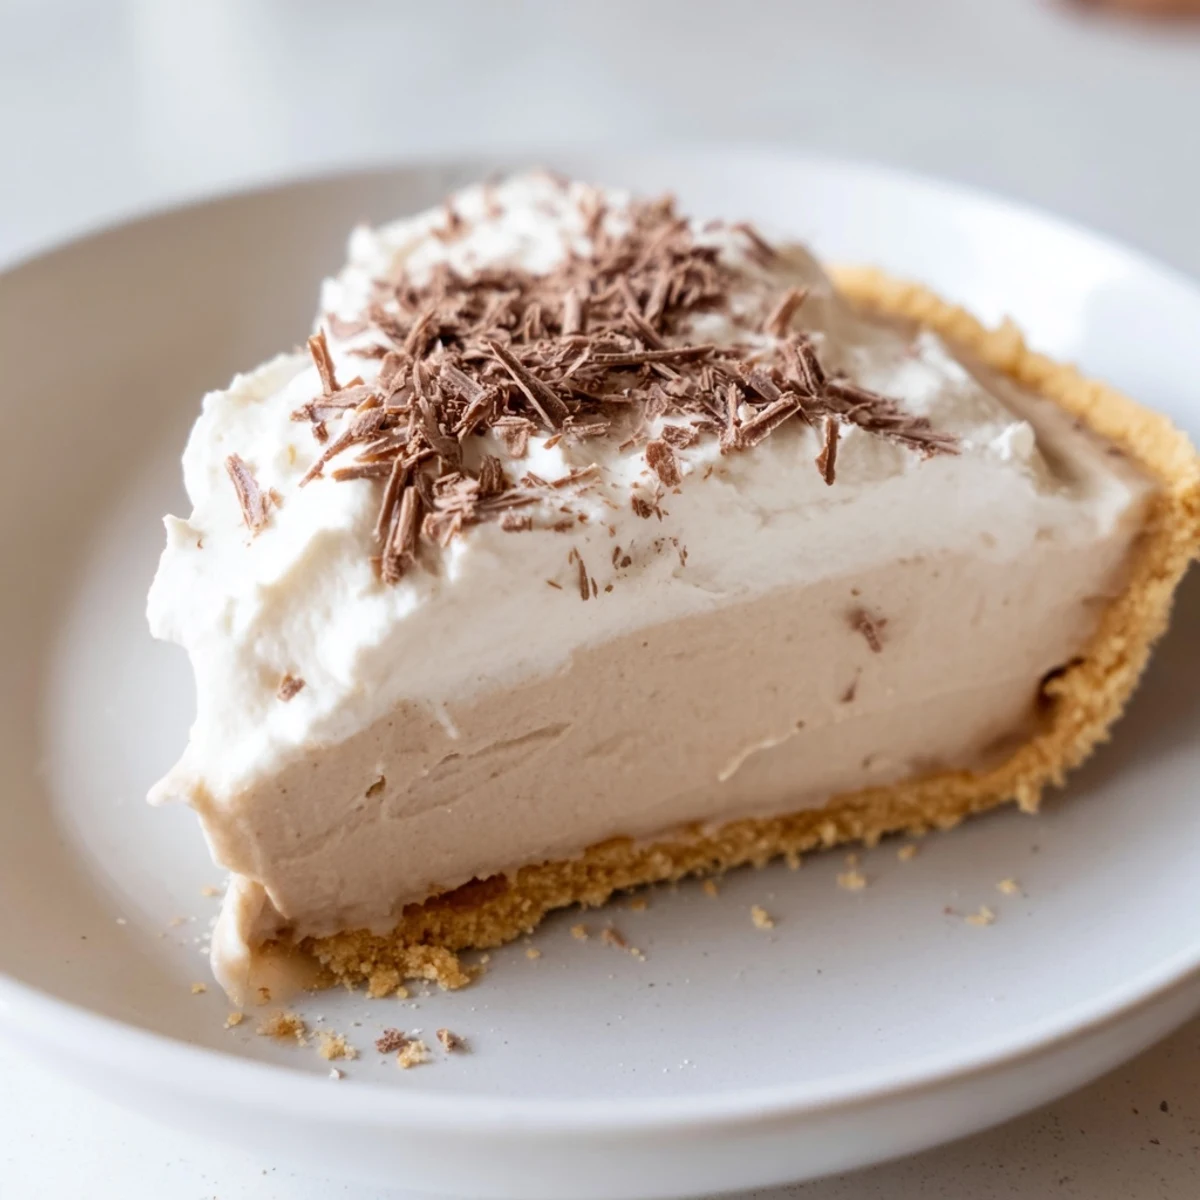
 There's something so satisfying about slicing into this cheesecake and seeing that perfectly smooth, creamy center. Every time I serve it, I'm reminded why it's worth every minute of the wait.
Recipe FAQs
- → How do I achieve a smooth cheesecake filling?
-
Beat the cream cheese and sugar thoroughly until creamy before adding eggs one at a time. This helps ensure a smooth texture without lumps.
- → Can I use gluten-free biscuits for the crust?
-
Yes, substituting regular biscuits with certified gluten-free ones works well and maintains the buttery crust texture.
- → What is the purpose of chilling the cheesecake for several hours?
-
Chilling allows the filling to firm up properly, enhancing texture and flavor development for a silky finish.
- → How can I make the topping richer and fluffier?
-
Whip heavy cream with powdered sugar until soft peaks form to create a light, rich topping perfect for garnishing.
- → Is alcohol-free Irish cream syrup essential?
-
Using alcohol-free Irish cream syrup or a similar flavored creamer provides the signature Irish cream flavor without the alcohol content.
- → What temperature and baking time ensure the best texture?
-
Bake at 160°C (320°F) for about 55 to 65 minutes until the edges are set but the center still gently jiggles for a creamy middle.
