 Pin it
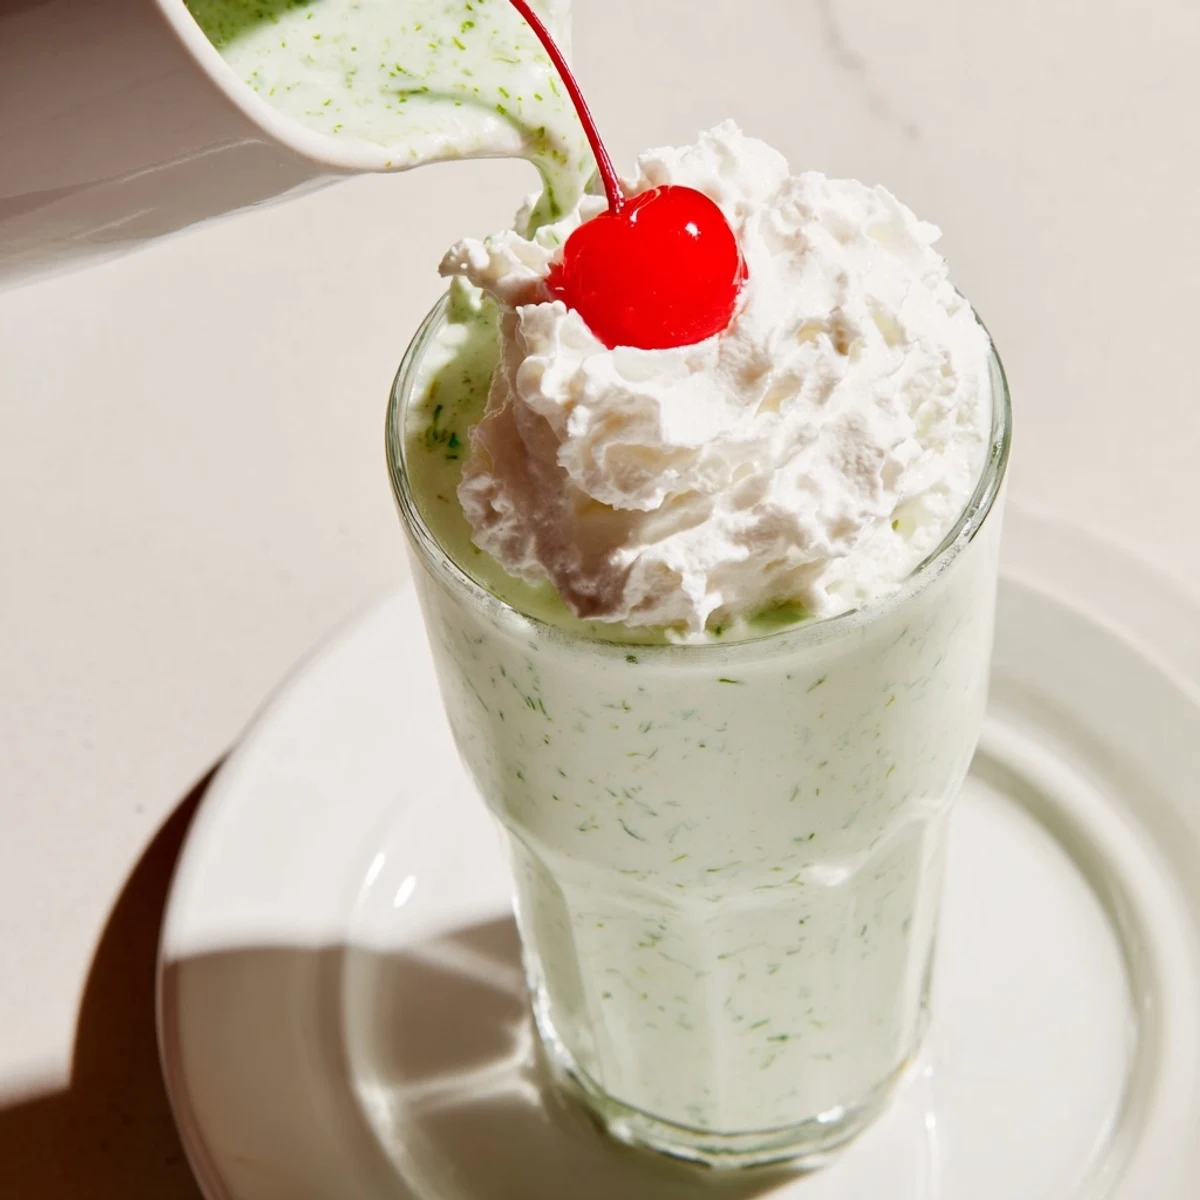
 This cool and creamy shake blends vanilla ice cream, whole milk, and pure peppermint extract to deliver a fresh mint flavor. Optional fresh mint leaves add brightness while granulated sugar adjusts sweetness. Blended smooth and topped with whipped cream and maraschino cherries, it’s a quick and refreshing treat perfect for warm days. Easily customizable with non-dairy options or food color for added visual appeal.
The air conditioning had just broken in my apartment last July, and I was desperate for something that would make me forget the heat entirely. I threw together what I had in the freezer and fridge, not expecting much more than a cold sugar fix. But when that first sip hit me, the mint was so refreshing I actually felt my shoulders drop. My roommate walked in, took one look at the glass in my hand, and demanded I make her one immediately.
I made these for my niece when she was recovering from having her wisdom teeth out, and she sent me a text later saying it was the only thing that made her feel normal again. Theres something about that combination of creamy vanilla and bright mint that feels like being a kid again, but better because you know exactly what goes into it. Now every time I hear the blender whirring, it takes me back to that hot summer afternoon and the sound of ice rattling against glass.
Ingredients
- 2 cups vanilla ice cream: Let it sit on the counter for about five minutes before blending, it makes everything smoother and your blender wont work as hard
- 1 cup whole milk: I use whole milk for that restaurant style creaminess, but any milk you have in your fridge will work perfectly fine
- 1/2 teaspoon pure peppermint extract: Start with less than you think, because this stuff is potent and you can always add more
- 2 tablespoons fresh mint leaves: Totally optional, but throwing these in first and letting them get pulverized gives you this gorgeous restaurant style freshness
- 1 tablespoon granulated sugar: Most vanilla ice creams are sweet enough that you wont need this, but taste test before you decide
- Whipped cream: Real whipped cream from a can is actually perfect here, it holds those beautiful swoopy shapes better than homemade
- 2 maraschino cherries: The finishing touch that makes this feel like a real milkshake shop experience
Instructions
- Gather everything and prep your ingredients:
- Pull the ice cream out to soften slightly and measure all your ingredients into one area, because once you start blending you want to move fast to keep everything icy cold.
- Blend until completely smooth:
- Start on low speed to break things down, then crank it up to high for thirty seconds, scraping down the sides once to make sure no mint leaves are stuck.
- Taste and adjust:
- Take a tiny sip with a spoon, you can always splash in more milk, add another pinch of sugar, or drop in one more mint leaf and blend again.
- Pour into chilled glasses:
- I stick my glasses in the freezer for ten minutes while Im blending, because frosted glasses make milkshakes taste somehow twice as good.
- Add the grand finale toppings:
- Swoop that whipped cream on top however it looks prettiest to you, then nestle one cherry right in the center like its waiting for someone special.
 Pin it
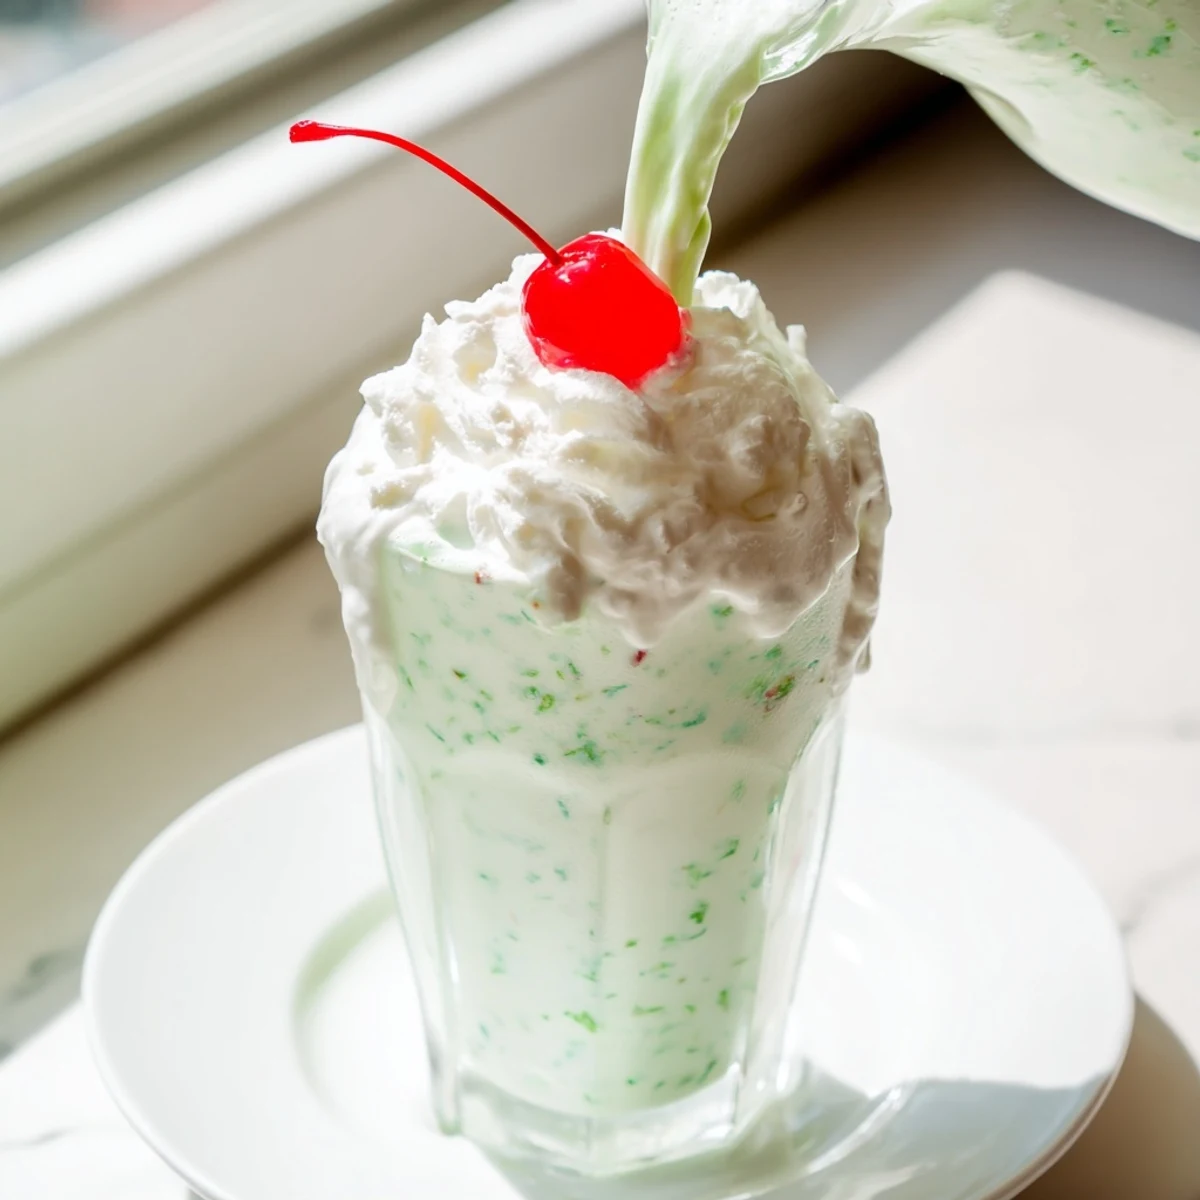
 My friend admitted she makes these for herself as a Friday reward after a long work week, lighting a candle and sitting on her balcony like shes at a fancy restaurant. Theres something so ceremonious about sipping a milkshake from a real glass instead of sucking it down from a fast food cup. Its the difference between a snack and a moment.
Getting That Perfect Texture
The secret to milkshake texture is all about temperature and ratios. If your ice cream is too hard, your blender will struggle and youll get chunks, but if its too melted, youll end up with sweet soup. I pull my ice cream out exactly five minutes before I need it, and I never skip the chilled glasses trick that I learned from an old soda fountain cookbook.
Playing with Flavors
Once you master the basic ratio of two parts ice cream to one part milk, you can spin this into so many directions. Swap the vanilla ice cream for chocolate and add a splash of raspberry syrup. Use strawberry ice cream and fresh basil instead of mint. The peppermint extract is your canvas, and the base recipe is just the frame.
Making It Your Own
Some of the best variations come from just paying attention to what you already love. If you are an Andes mint person, chop some up and fold them in after blending. A tablespoon of chocolate syrup swirled into the glass before pouring creates this gorgeous marble effect. Think about what flavors already make you happy and bring them into the mix.
- Crush a peppermint candy cane on top during winter months for that holiday feeling
- Add a drop of green food coloring if you want that classic St Patricks Day look
- Stir in a tablespoon of marshmallow fluff if you want something almost like a peppermint cloud
 Pin it
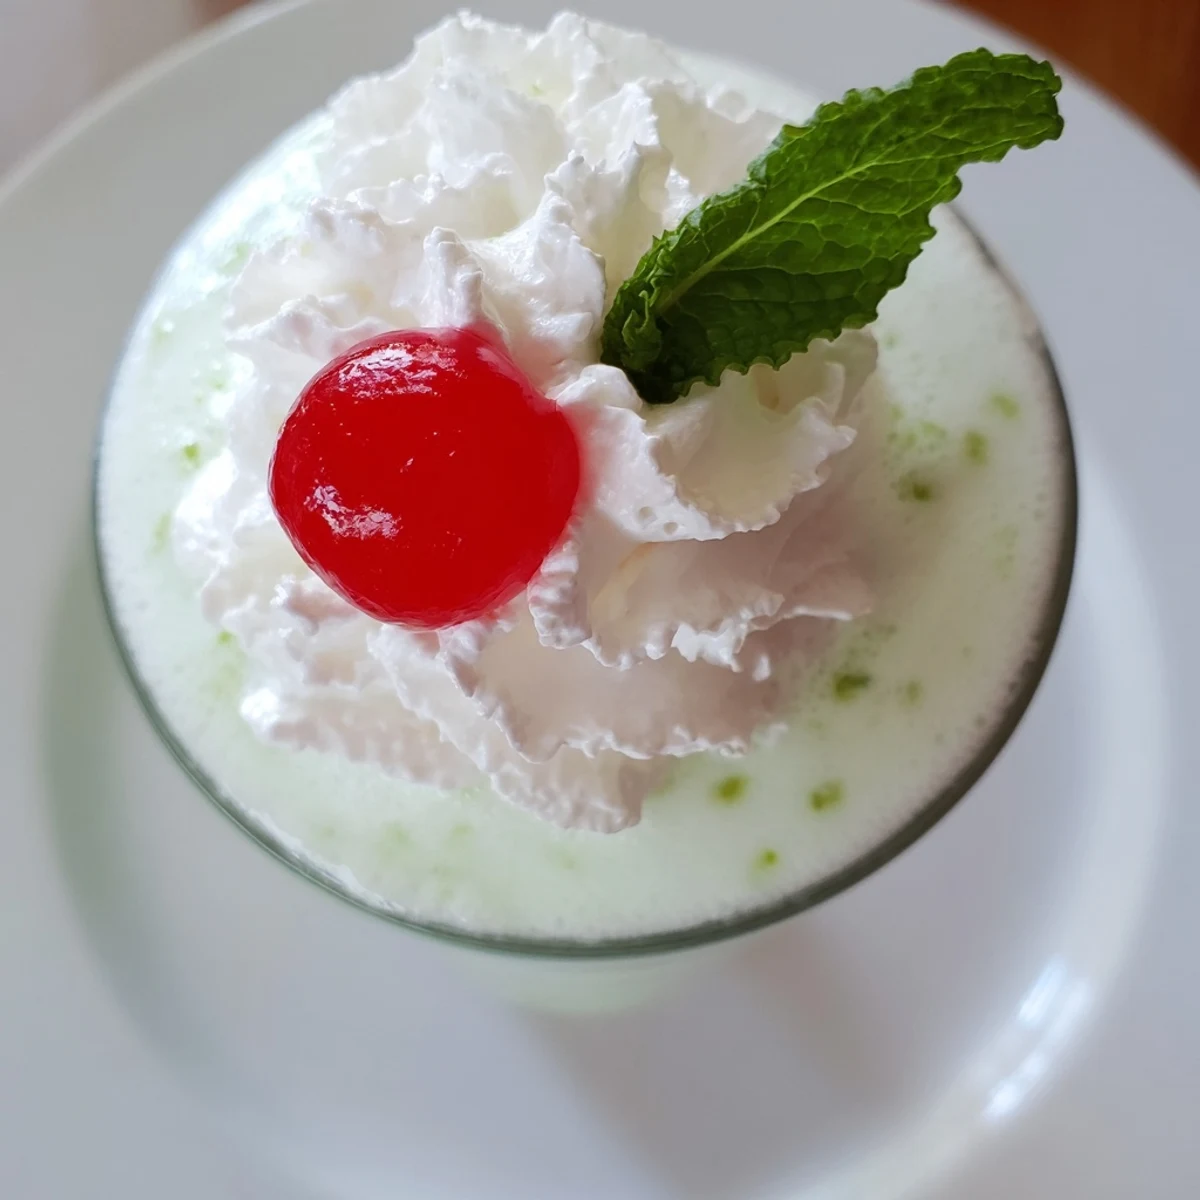
 Sometimes the simplest recipes are the ones that stick with you the longest, showing up exactly when you need them most. I hope this becomes your go to for celebrating tiny victories or just cooling down on impossible days.
Recipe FAQs
- → Can I use non-dairy milk alternatives?
-
Yes, non-dairy milk like almond, soy, or oat milk can be used to suit dietary preferences without compromising creaminess.
- → How can I make the shake greener naturally?
-
Add fresh mint leaves or a drop of natural green food coloring to enhance the vibrant green hue.
- → Is it necessary to use maraschino cherries for topping?
-
While maraschino cherries add sweetness and a pop of color, fresh cherries or other fruit toppings can be used as alternatives.
- → Can the sweetness level be adjusted?
-
Yes, the granulated sugar amount can be modified or omitted depending on your taste preference.
- → What is the best tool for blending the shake?
-
A blender is ideal for combining ingredients into a smooth, creamy texture efficiently.
