 Pin it
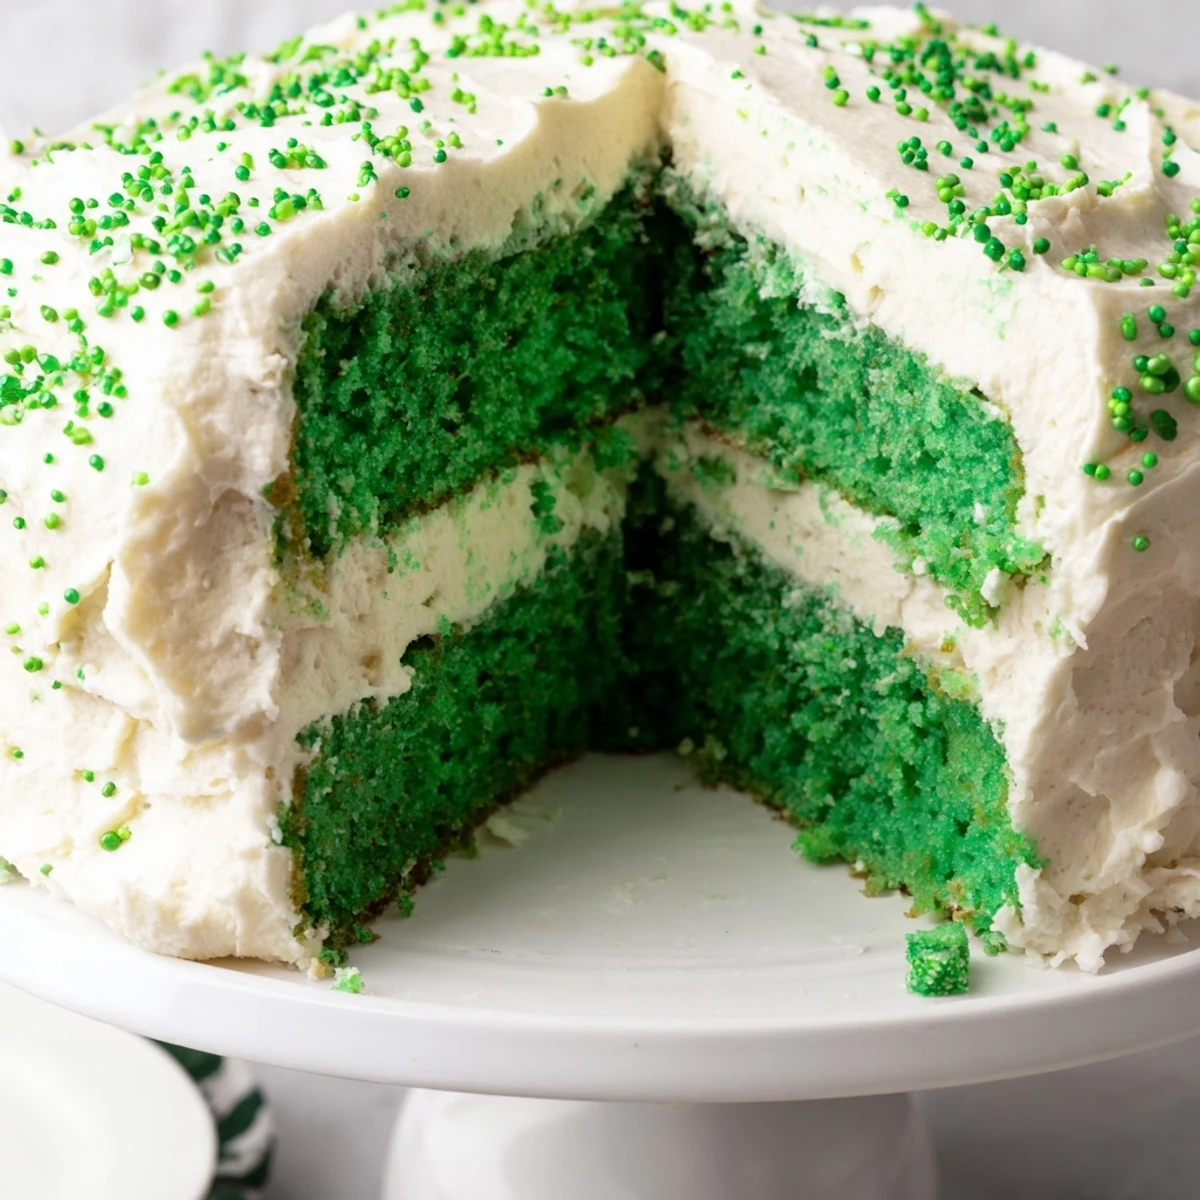
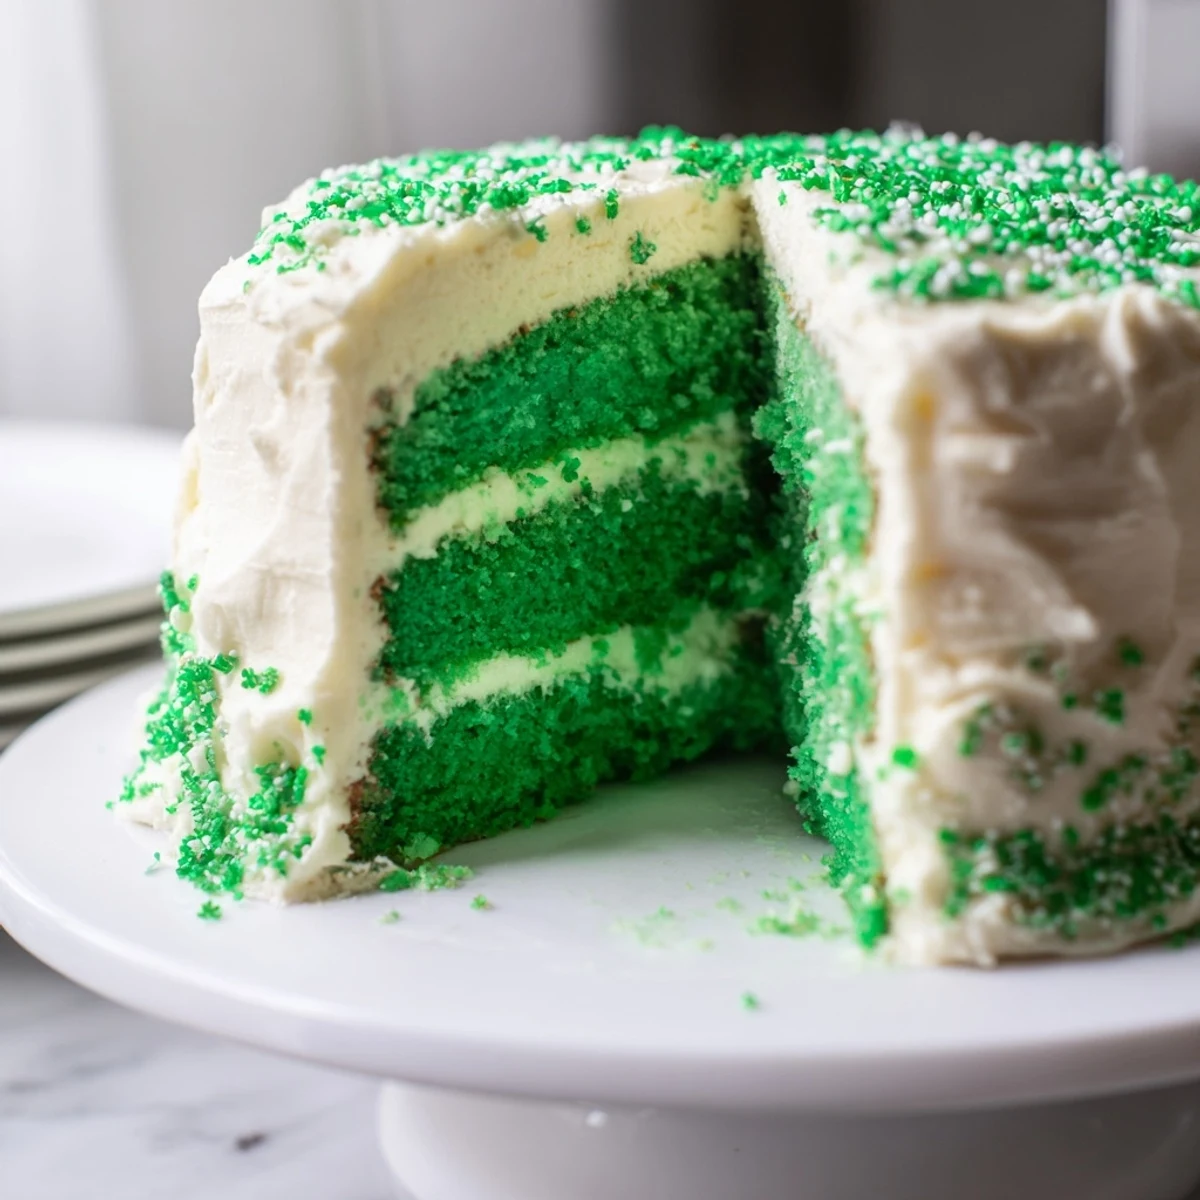
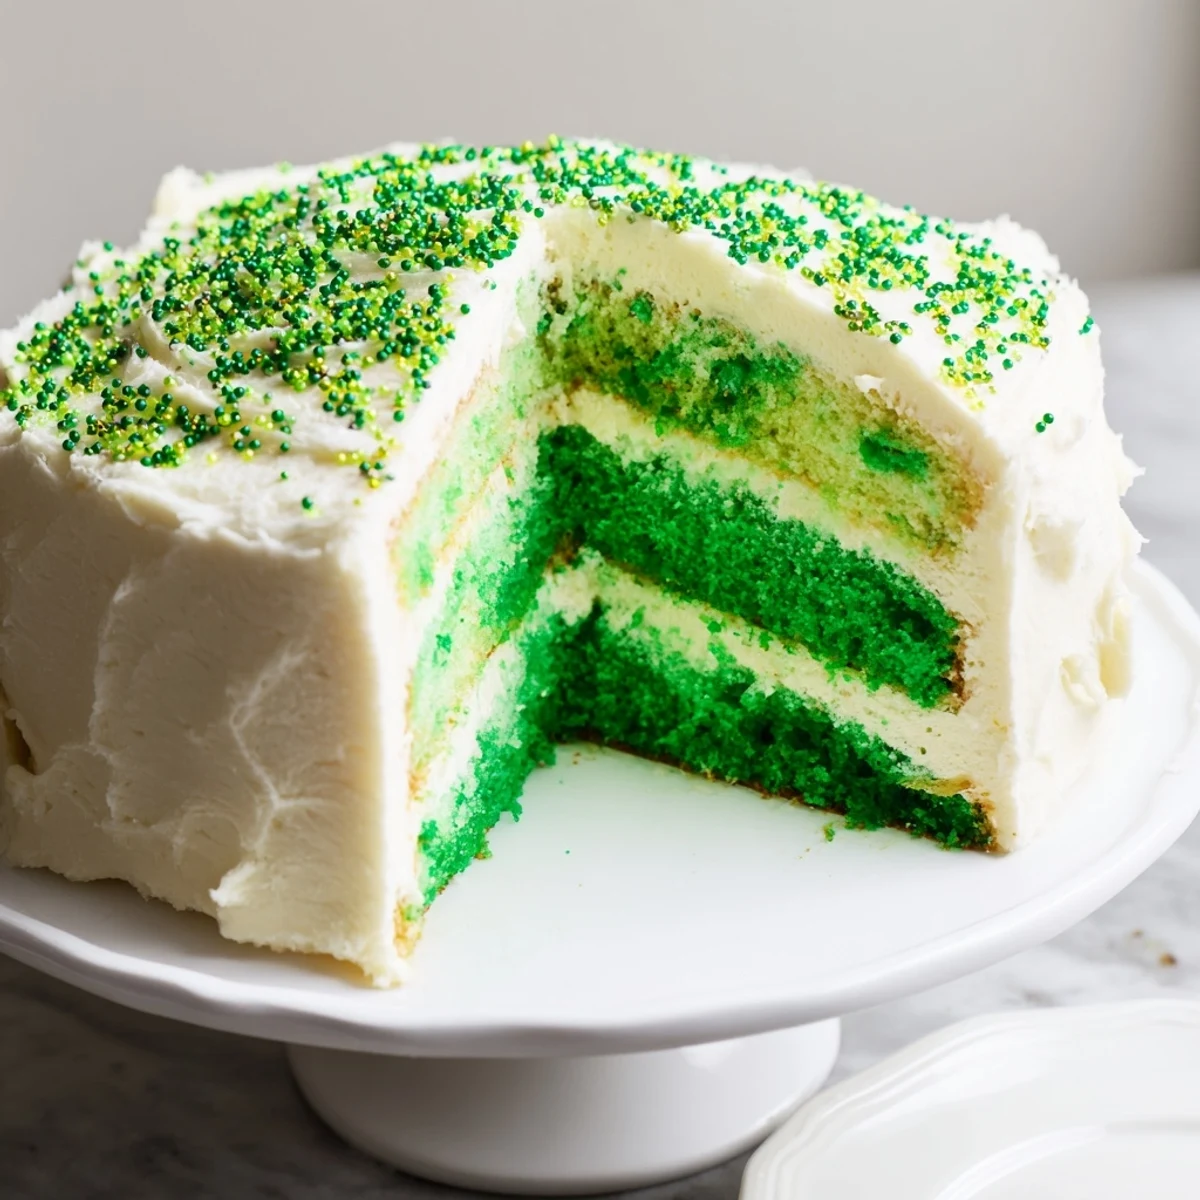
 This festive green layered cake brings vibrant color to your St. Patricks Day celebration. The moist, tender sponge gets its signature hue from food coloring, while the creamy vanilla frosting adds rich sweetness. With three layers and optional mint flavor, this stunning centerpiece takes about an hour from start to finish and serves twelve guests comfortably.
The first time I attempted a St. Patrick's Day cake, I accidentally used way too much food coloring and ended up with something that looked more like radioactive slime than a festive dessert. My roommate took one look and asked if it was safe to eat, but we sliced it anyway, laughing through each neon-green bite. Since then, I've learned that a light hand with the gel creates the most beautiful soft mint hue that actually makes people want seconds.
Last year my daughter's class had an international food day and she begged me to make something green. I was rushing between work and pickup so I threw this together the night before, expecting it to be just another contribution among store-bought treats. When I picked her up, her teacher mentioned that every single child had asked for seconds and some parent actually texted me for the recipe.
Ingredients
- 2½ cups all-purpose flour: Spoon and level your flour rather than scooping directly, which packs it down and creates dense cake layers
- Baking powder and baking soda: Both leavening agents work together here, but check that yours are fresh since expired ones won't give you the proper rise
- 1 cup unsalted butter, softened: Leave it on the counter for exactly one hour, room temperature butter creates the best aeration and emulsification
- 4 large eggs, room temperature: Cold eggs can cause the butter to seize up, so give them a quick warm water bath if you forgot to take them out ahead of time
- 1 cup buttermilk: The acidity tenderizes the gluten strands while creating that classic moist velvety crumb structure
- Pure vanilla and almond extract: The almond is optional but I personally love how it rounds out the vanilla and adds this lovely bakery-quality depth
- Green gel food coloring: Gel is much more concentrated than liquid, so start with a tiny bit on a toothpick, you can always add more but you can't take it back
- 1 cup unsalted butter for frosting: Again, properly softened butter is the secret to silky smooth frosting without those stubborn tiny lumps
- 4 cups powdered sugar, sifted: Sifting might feel like an extra step but it guarantees that perfectly smooth professional finish
Instructions
- Preheat and prepare your pans:
- Position your oven racks in the center and preheat to 350°F, then generously grease three 8-inch round pans with butter and line the bottoms with parchment circles for easy release later.
- Whisk the dry ingredients together:
- In a medium bowl, combine the flour, baking powder, baking soda, and salt, whisking them thoroughly so they're evenly distributed throughout the batter.
- Cream the butter and sugar:
- Beat the softened butter and granulated sugar on medium-high speed for about 4 minutes until the mixture becomes pale and fluffy, creating those essential air pockets.
- Add the eggs and extracts:
- Add the eggs one at a time, beating well after each addition until fully incorporated, then mix in both extracts until the batter smells heavenly.
- Alternate wet and dry ingredients:
- Add the flour mixture in three additions, alternating with buttermilk in two parts, beginning and ending with the flour, mixing just until combined after each addition.
- Add your green color:
- Dip a toothpick into the gel food coloring and add it to the batter, mixing gently until you reach your desired shade, keeping in mind it will bake slightly lighter.
- Bake the layers:
- Divide the batter evenly among your prepared pans, smooth the tops, and bake for 25-30 minutes until a toothpick comes out clean or the layers spring back when touched.
- Cool completely:
- Let the cakes rest in their pans for 10 minutes before turning them out onto wire racks to cool entirely, which is crucial because warm cakes will melt your frosting.
- Make the buttercream:
- Beat the butter until creamy, gradually add sifted powdered sugar on low speed, then pour in the milk, vanilla, and salt, beating on high until fluffy and spreadable.
- Assemble and decorate:
- Place one cooled layer on your serving plate, spread with frosting, repeat with remaining layers, then frost the top and sides and add any festive sprinkles or shamrocks.
 Pin it
 My grandmother never measured anything and her cakes were always perfect, so when I started baking I thought precision was overrated. The first green cake I made for St. Patrick's Day was dense and slightly sunken in the middle because I was too casual with my measurements, but my family ate it anyway, calling it charming.
Making It Ahead
You can bake the cake layers up to two days in advance, wrap them tightly in plastic wrap while still slightly warm, and store at room temperature. The frosting can also be made ahead and kept in an airtight container in the refrigerator, then brought to room temperature and re-whipped before using.
Getting That Perfect Green Shade
Start with the smallest amount of gel coloring on a toothpick, remember that you can always add more but you can't remove excess color once it's incorporated. I prefer a soft mint green that looks elegant rather than the vibrant shamrock green, and the color will become slightly more muted after baking.
Serving and Storage
This cake actually tastes better on the second day as the flavors have time to meld and the frosting softens the crumb slightly. Store any leftovers covered at room temperature for up to three days, though in my house it rarely lasts that long once people have tasted it.
- Use a hot knife to get perfectly smooth frosting edges, just dip your knife in hot water and wipe dry between each swipe
- If your layers bake with domed tops, use a serrated knife to level them before stacking for a professional straight-sided finish
- The buttermilk substitute works in a pinch, but true buttermilk really does make a noticeable difference in tenderness
 Pin it
 There's something joyful about cutting into this cake and seeing that cheerful green sponge surrounded by clouds of white frosting. Whether you're Irish or just along for the festivities, this dessert brings a little luck to any celebration.
Recipe FAQs
- → Can I make this cake ahead of time?
-
Yes, bake the layers up to two days in advance. Wrap tightly in plastic and store at room temperature. Frost the day of serving for best results.
- → How do I get the perfect green color?
-
Start with a small amount of green gel food coloring and gradually add more. Gel coloring provides deeper hues without thinning the batter like liquid dyes can.
- → Can I use natural food coloring?
-
Matcha powder or spirulina can create natural green tints, though the color will be more subtle. Adjust amounts to reach your desired shade.
- → What if I don't have buttermilk?
-
Combine regular milk with one tablespoon of lemon juice or vinegar per cup. Let sit for 5-10 minutes before using in the batter.
- → How should I store leftovers?
-
Cover tightly with plastic wrap or store in an airtight container. Keeps at room temperature for 2-3 days or refrigerated for up to a week.
- → Can I make this as a two-layer cake?
-
Absolutely. Use two 9-inch pans instead of three 8-inch ones. Increase baking time slightly to 30-35 minutes for the larger layers.
