 Pin it
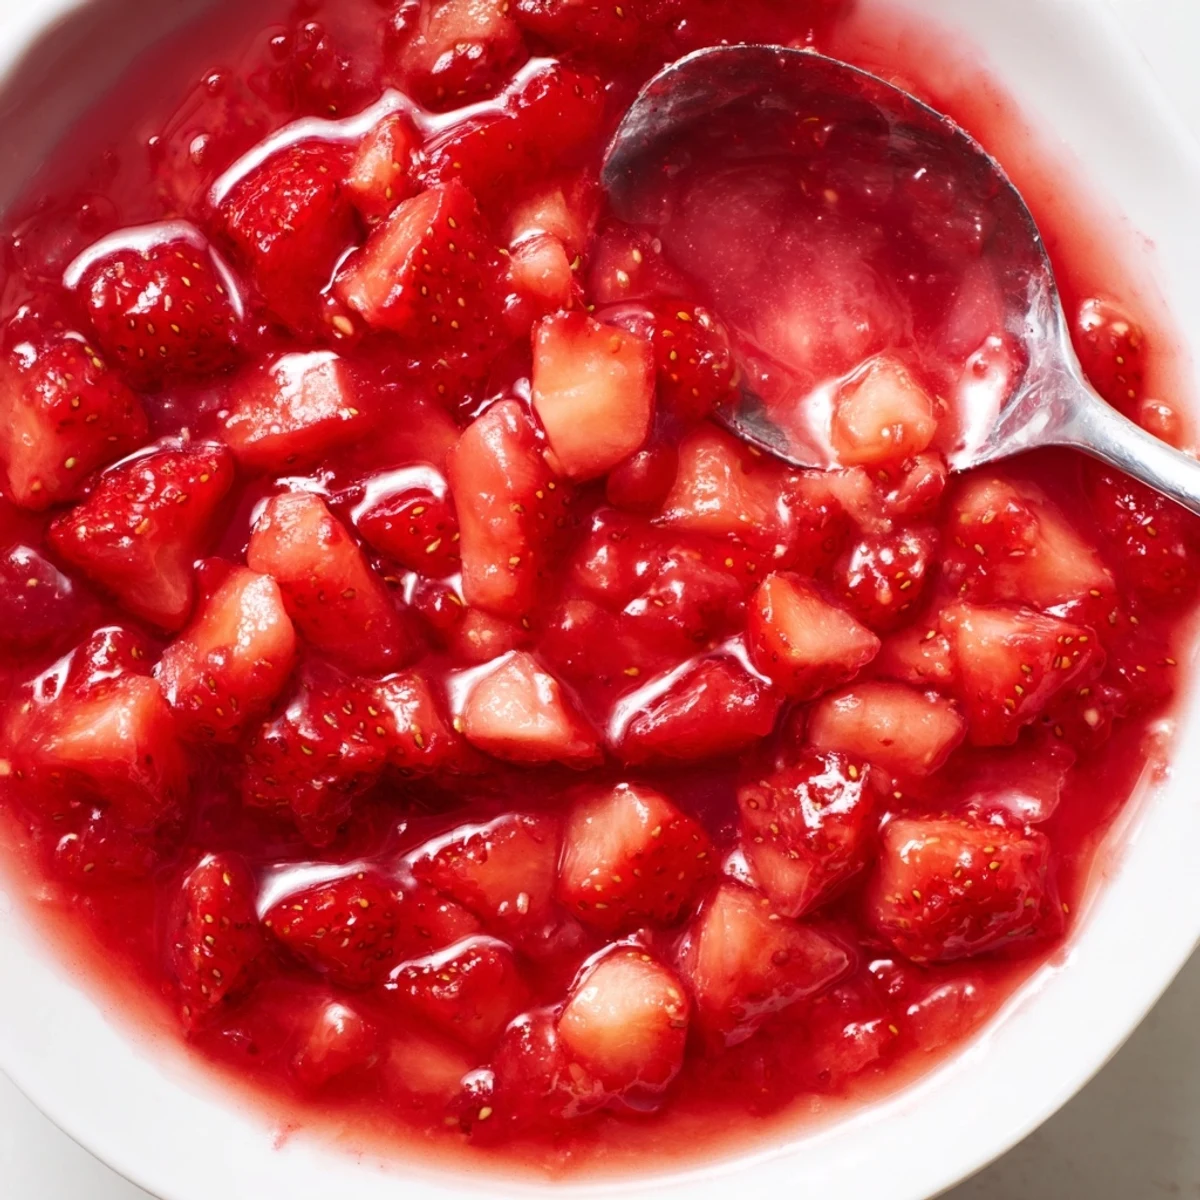
 Bright strawberries are simmered with sugar and lemon until they release juices, then a cornstarch slurry is whisked in and cooked until glossy and thick, about 10-12 minutes total. Allow the mixture to cool so it sets further before layering. Mash or blitz briefly for a smoother texture, or leave chunks for rustic bite. Keeps chilled up to 5 days; reheat gently to loosen.
The sparkling red of ripe strawberries always calls up early summer for me, but the first time I made this cake filling, I was actually caught indoors during a spring downpour. The kitchen smelled of rain and fruit, and I couldn't resist dipping my spoon in as it bubbled away. The jammy sweetness sent a cheery buzz through the house, brightening the gray outside. Sometimes the best treats come from making your own sunshine.
I still laugh remembering the time I made this for a friend's birthday—a hasty afternoon mixing strawberries between conversations and music, with someone sneaking tastes directly from the saucepan. Watching everyone guess if it was homemade was half the fun, and the pink-stained smiles at the party were proof enough I’d done something right.
Ingredients
- Fresh strawberries: Chopped berries are essential, and I’ve learned the sweeter and redder they are, the richer the flavor—don’t skimp on the ripeness.
- Granulated sugar: The sugar isn't just for sweetness, it helps draw out the strawberry juices and creates that beautiful syrupy base.
- Lemon juice: Freshly squeezed adds tang and brightens the fruit—I've tried bottled, but it just doesn't pop the same way.
- Cornstarch: This is your key to that luscious, spoonable texture—whisk it with water first to prevent clumps (a lesson learned from a lumpy batch or two).
- Water: Mixing with cornstarch, it smooths the thickener evenly through the filling.
- Pure vanilla extract (optional): Just a touch softens the flavor and adds warmth, perfect if you want a dessert bakery vibe.
Instructions
- Start the Strawberries:
- Combine the diced strawberries, sugar, and lemon juice in a medium saucepan, giving everything a thorough stir so the sugar clings to the fruit.
- Simmer to Juiciness:
- Place the pan over medium heat and listen for the gentle sizzle; after 5–7 minutes, the strawberries should slump into a juicy, fragrant pool, perfect for a quick taste test.
- Mix the Thickener:
- Whisk the cornstarch and water together until you have a cloudless, milky slurry free of lumps—don’t rush here.
- Thicken the Filling:
- Pour the slurry into the bubbling fruit and stir constantly for 3–5 minutes; the filling will quickly gloss up and thicken, so keep your eyes (and nose) sharp.
- Finish and Cool:
- Remove the pan from heat, gently stir in the vanilla if using, then let the filling rest until completely cool—it'll firm up even more as it sits.
 Pin it
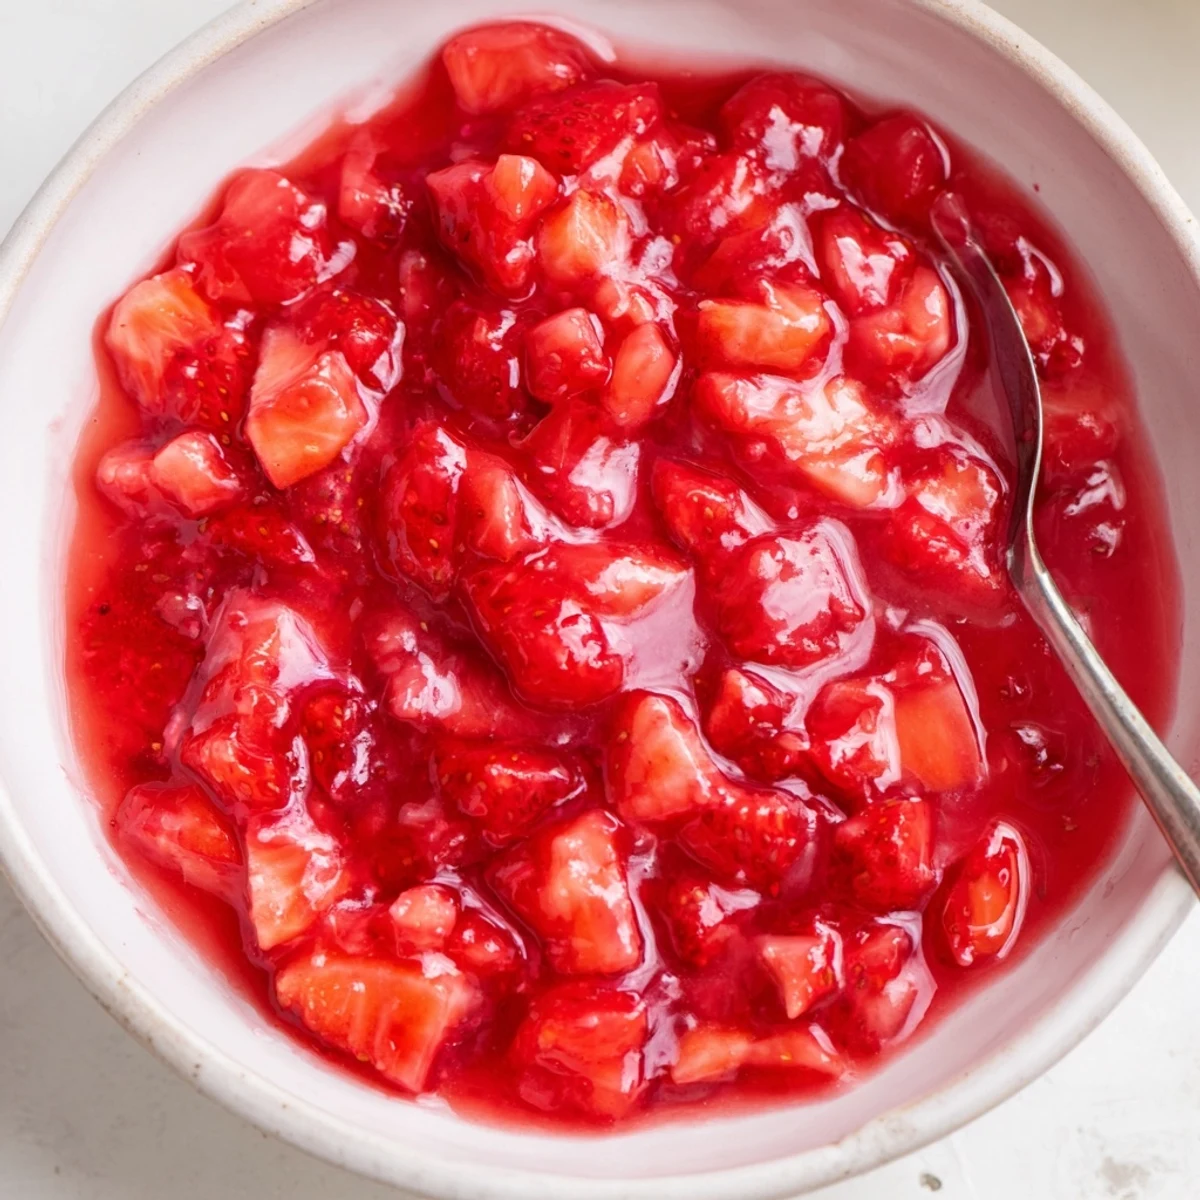
 One rainy evening, I ended up swirling the cooled filling into plain yogurt for dessert, realizing it barely made it into a cake at all. It’s funny how a spoonful of this, shared at the counter, can feel just as celebratory as a decorated slice on a plate.
Swaps and Creative Twists
Sometimes when the market overflows with berries, I'll grab raspberries or blueberries instead—each version brings a new twist but works just as well. A friend once requested it with a splash of almond extract, making it taste like a bakery classic, but honestly, even as-is, it always disappears fast.
Getting a Smooth or Chunky Filling
My kitchen adventures have shown that mashing with a fork makes the filling more rustic and chunky, perfect for those who love finding pockets of fruit. Using an immersion blender turns it velvety smooth—a good trick when you want things to look elegant for special occasions.
Serving and Storage Smarts
I can vouch that this filling stays bright and tasty for days in the fridge, and it's a handy make-ahead for birthday cakes and brunch pastries.
- Let the filling cool completely before layering—warm filling will melt your frosting.
- Leftovers are great swirled into oatmeal or yogurt.
- Airtight containers are your friend for keeping it fresh and vibrant.
 Pin it
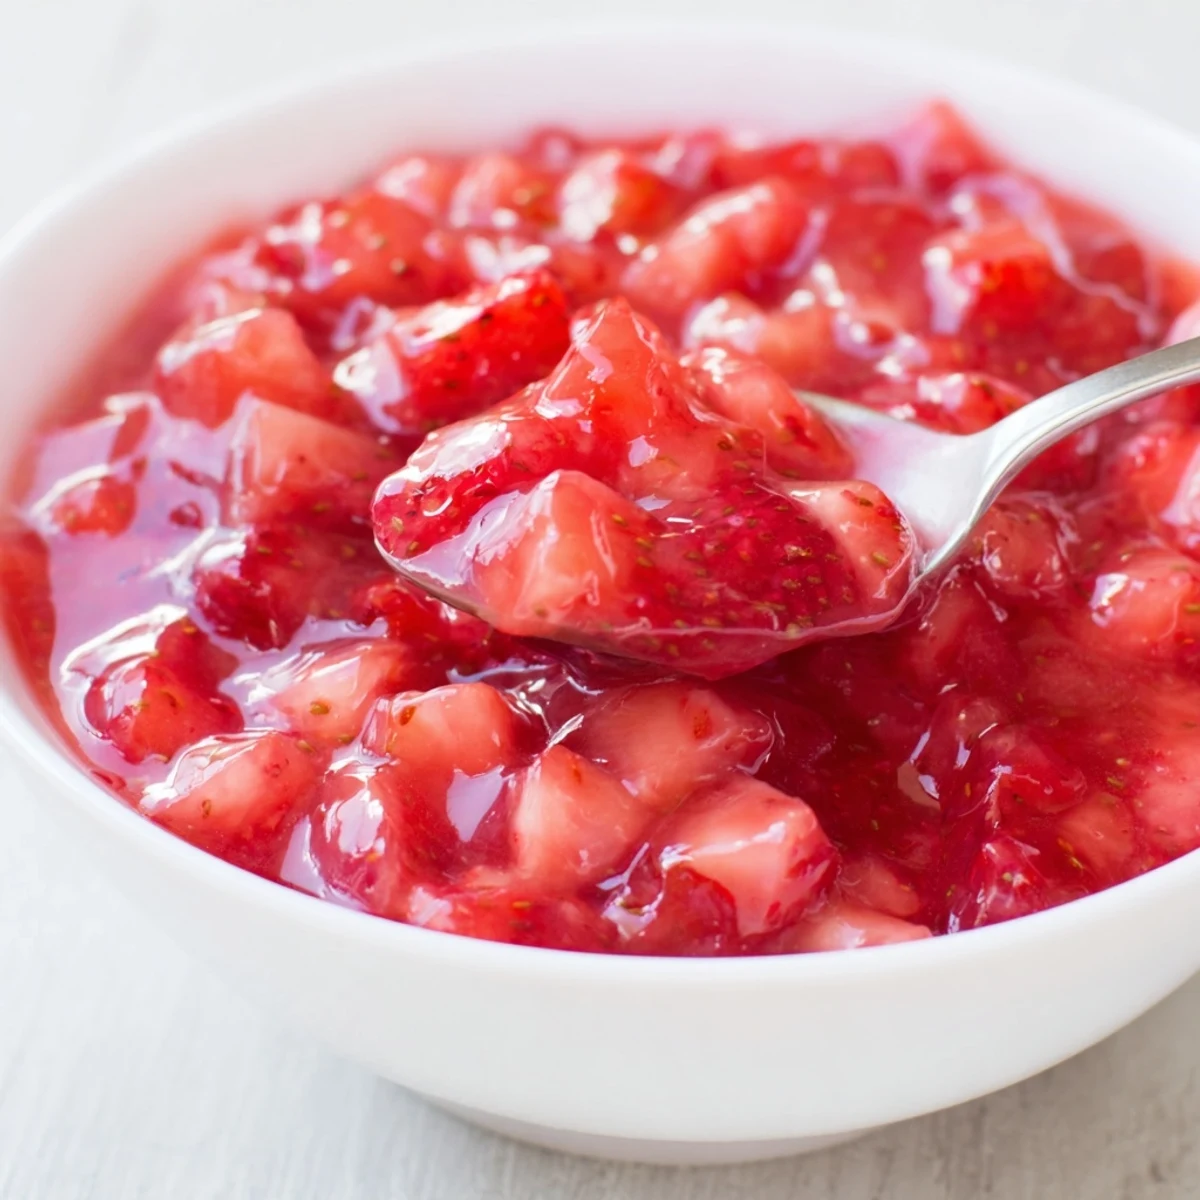
 This strawberry cake filling has turned quick get-togethers into something a bit more special in my house. Hope it brings a bit of fruit-brightened joy to your next cake—or simply by the spoonful.
Recipe FAQs
- → How do I make the filling smoother?
-
For a silkier texture, mash the strawberries with a fork once softened or briefly blitz with an immersion blender before adding the cornstarch. Straining through a sieve removes seeds and results in a refined finish.
- → Can I use frozen strawberries?
-
Yes. Thaw and drain excess liquid before cooking, then proceed as usual. Frozen berries release more juice, so adjust the cooking time or cornstarch slightly to reach the desired thickness.
- → What else can I use instead of cornstarch?
-
Arrowroot or tapioca starch work well as gluten-free alternatives; use similar proportions. Cook briefly until the mixture becomes glossy, as different thickeners set at slightly different temperatures.
- → How long does the filling keep?
-
Stored in an airtight container in the refrigerator, the filling stays good for up to 5 days. Reheat gently on the stove or microwave to loosen before using; cool again to allow it to set.
- → Can I change the flavor profile?
-
Add a splash of vanilla, a pinch of salt, or a bit more lemon to brighten the fruit. Swap strawberries for raspberries or blueberries for a different note, adjusting sugar to taste.
- → How do I use it in layers without sogginess?
-
Cool the filling completely and avoid over-saturating sponge surfaces. Spread a thin, even layer and chill briefly to firm it up; you can also pipe a ring of buttercream to seal the edge before adding the filling.
