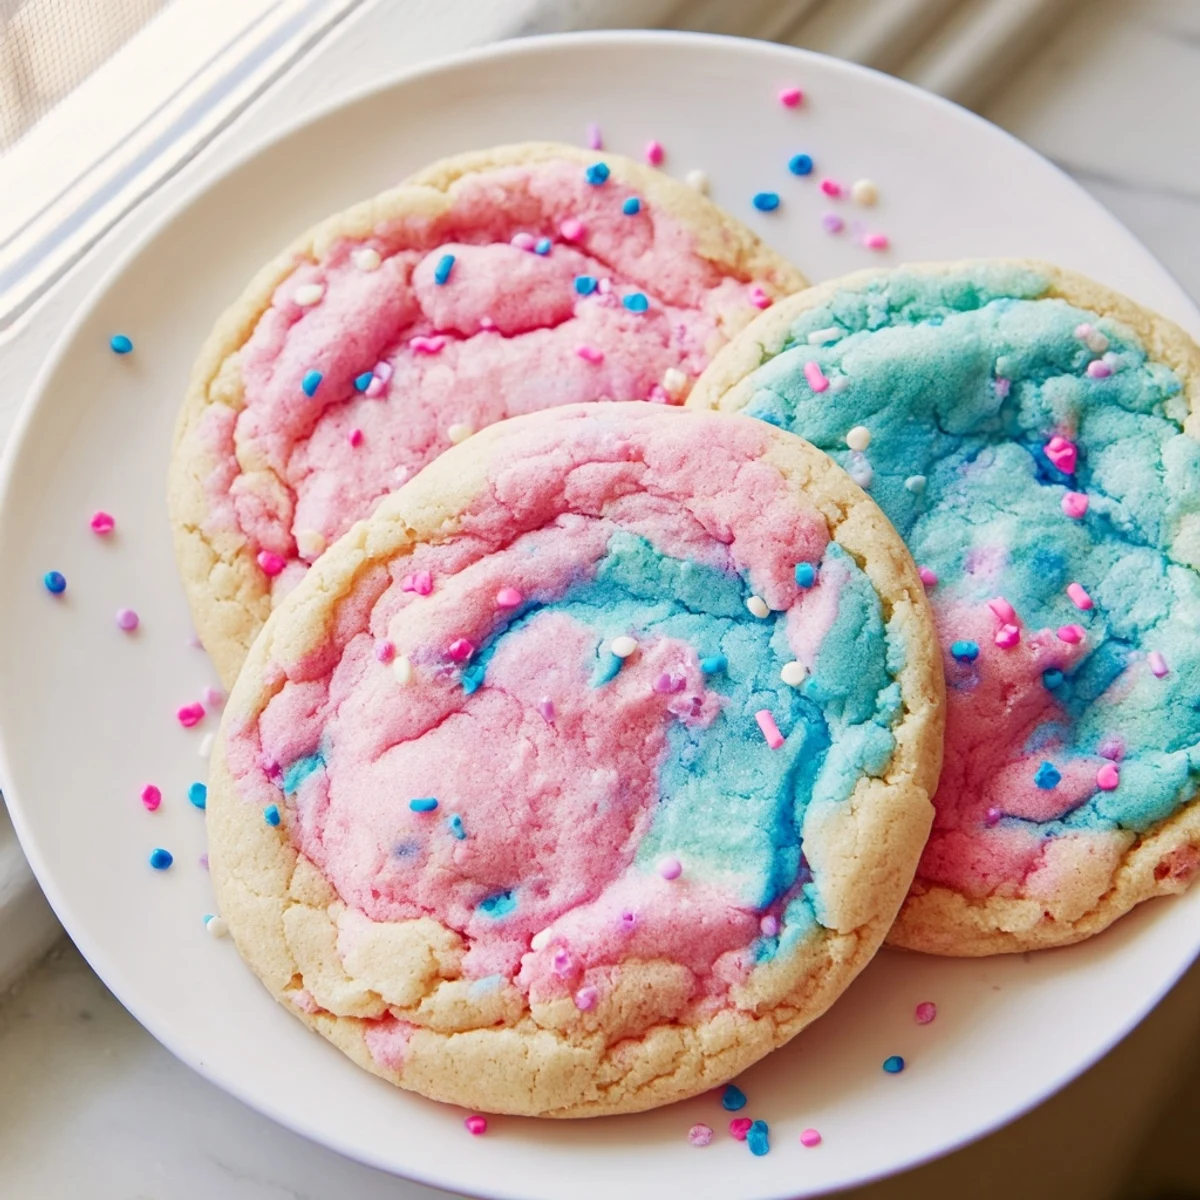
 Pin it
 These cotton candy cookies combine a soft, buttery sugar cookie base with playful pink and blue pastel swirls. Cotton candy flavoring gives each bite a sweet, nostalgic taste that kids and adults love.
Ready in just 30 minutes with simple ingredients, they're ideal for birthday parties, baby showers, or anytime you want a whimsical treat. The dough is split and tinted, then gently pressed together for that signature marbled look.
My niece turned seven last spring and asked for a carnival themed birthday party complete with a cotton candy machine that we never ended up using because nobody could figure out how to operate it. Instead I whipped up these pastel swirled cookies at midnight the night before, half asleep and mildly panicked, and they wound up stealing the show. The flavor is surprisingly delicate, like eating a sugar cloud with vanishing hints of that classic spun sugar taste.
I brought a batch to a neighborhood potluck and three separate people pulled me aside to ask where I ordered them from, which remains one of my proudest kitchen moments.
Ingredients
- All-purpose flour (2 1/4 cups): The backbone of the cookie and spooning it into the cup rather than scooping prevents dense cookies.
- Baking powder (1/2 teaspoon) and baking soda (1/2 teaspoon): This dual leavening combo gives a gentle lift without spreading too much.
- Salt (1/4 teaspoon): Just enough to keep the sweetness from becoming cloying.
- Unsalted butter (3/4 cup, softened): Room temperature butter creams properly and creates those tiny air pockets that make cookies tender.
- Granulated sugar (1 cup) and light brown sugar (1/4 cup, packed): Mostly white sugar keeps the colors bright while a touch of brown adds depth.
- Large egg (1): Binds everything together and contributes to chewiness.
- Vanilla extract (2 teaspoons): Rounds out the cotton candy flavor so it does not taste purely artificial.
- Cotton candy flavoring (1 teaspoon): The star ingredient and a little goes a long way so taste as you go.
- Pink and blue gel food coloring: Gel is essential because liquid coloring will thin the dough and muddy the shades.
- Colored sprinkles (1/4 cup, optional): A cheerful finishing touch that makes these feel like a celebration.
Instructions
- Set the stage:
- Preheat your oven to 350 degrees Fahrenheit and line two baking sheets with parchment paper so nothing sticks.
- Whisk the dry:
- In a medium bowl combine the flour, baking powder, baking soda, and salt with a whisk until evenly distributed.
- Cream the butter and sugars:
- Beat the softened butter with both sugars in a large bowl until the mixture turns pale and looks cloudlike, about two minutes with an electric mixer.
- Add the wet magic:
- Beat in the egg, vanilla, and cotton candy flavoring until everything is silky and fragrant.
- Bring it all together:
- Gradually fold in the dry ingredients just until no white streaks remain because overmixing makes tough cookies.
- Color and swirl:
- Split the dough evenly into two bowls, tint one pink and one blue with gel coloring, and mix each gently until you reach soft pastel shades.
- Shape the two tone balls:
- Pinch off a small piece from each colored dough, press them together loosely into a ball, and place on the baking sheet two inches apart, rolling in sprinkles if you like.
- Bake with restraint:
- Bake for 9 to 11 minutes until the edges are barely set and the centers still look slightly underdone because they will firm up as they cool.
- Cool properly:
- Let the cookies rest on the baking sheet for five minutes then transfer to a wire rack to cool completely so the bottoms do not sog out.
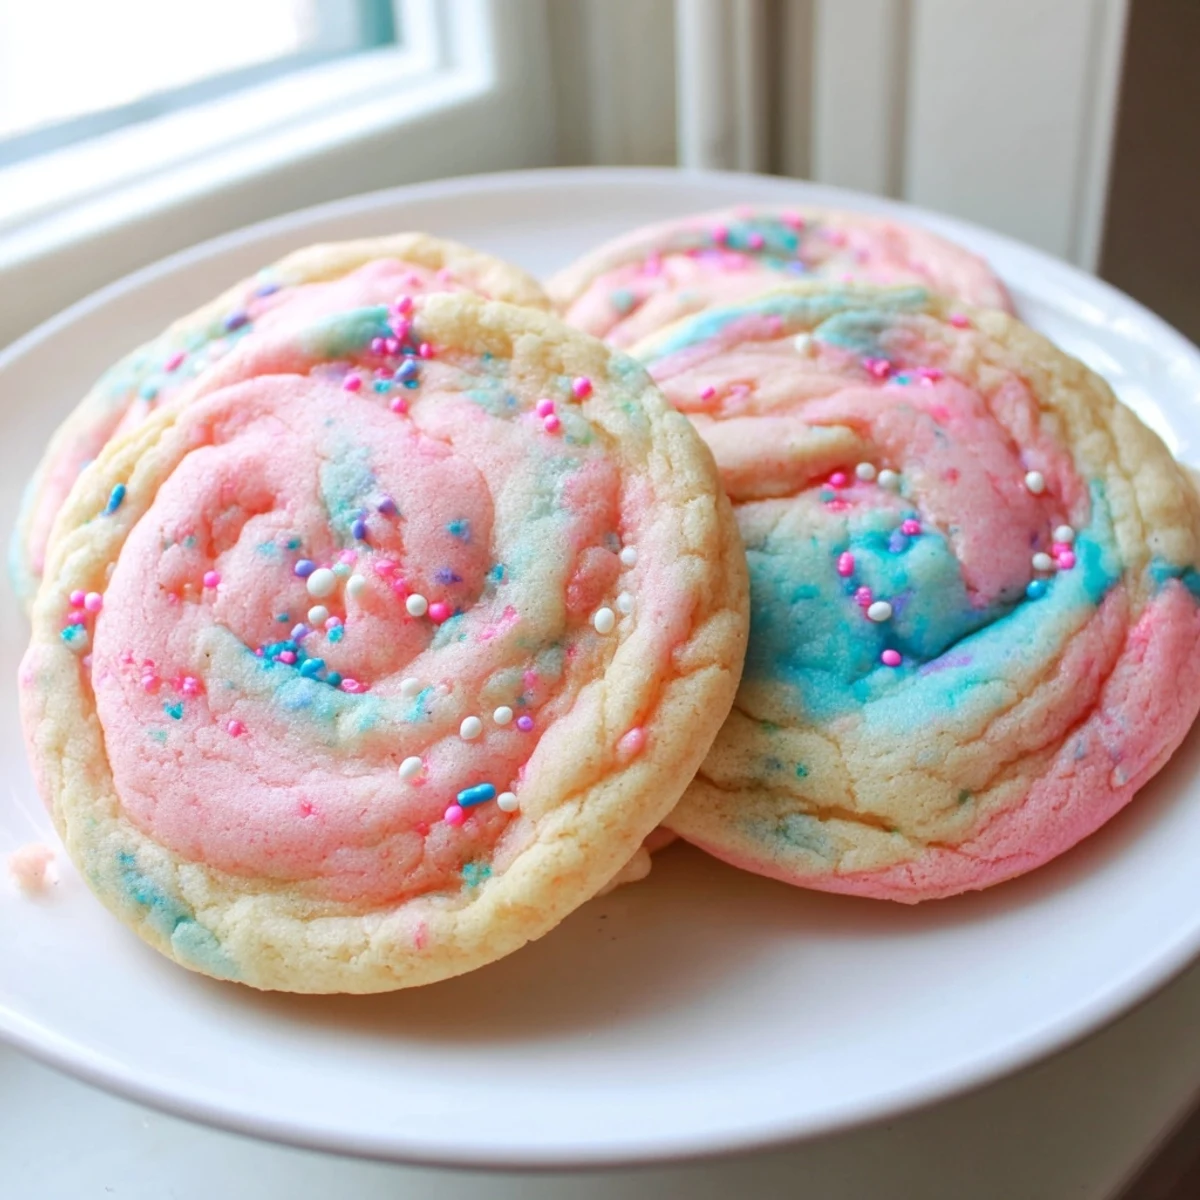 Pin it
 The morning of the party my niece walked into the kitchen, spotted the tray of pink and blue swirls cooling on the counter, and gasped like she had just seen actual magic.
Getting the Color Just Right
Start with a tiny dab of gel coloring on the end of a toothpick and build up slowly because you can always add more but you cannot take it away. The goal is a soft baby pink and a pale sky blue, not neon. I learned this the embarrassing way when my first batch looked more like radioactive slime than something you would serve at a childrens party.
Finding Cotton Candy Flavoring
Most grocery stores do not carry it in the baking aisle so check online retailers or specialty cake supply shops. LorAnn is a reliable brand and their cotton candy emulsion holds up beautifully under heat. If you absolutely cannot find it, a combination of vanilla and a drop of bubblegum flavoring gets surprisingly close.
Storing and Serving
These cookies stay wonderfully soft for up to five days in an airtight container at room temperature, though in my experience they rarely last beyond day two. Layer them between sheets of parchment if you need to stack them so the sprinkles do not smear.
- Freeze unbaked dough balls for up to three months and bake straight from frozen, adding one extra minute.
- A light dusting of edible glitter before baking adds a fairy tale shimmer.
- Always let the baking sheet cool between batches so the dough does not spread prematurely.
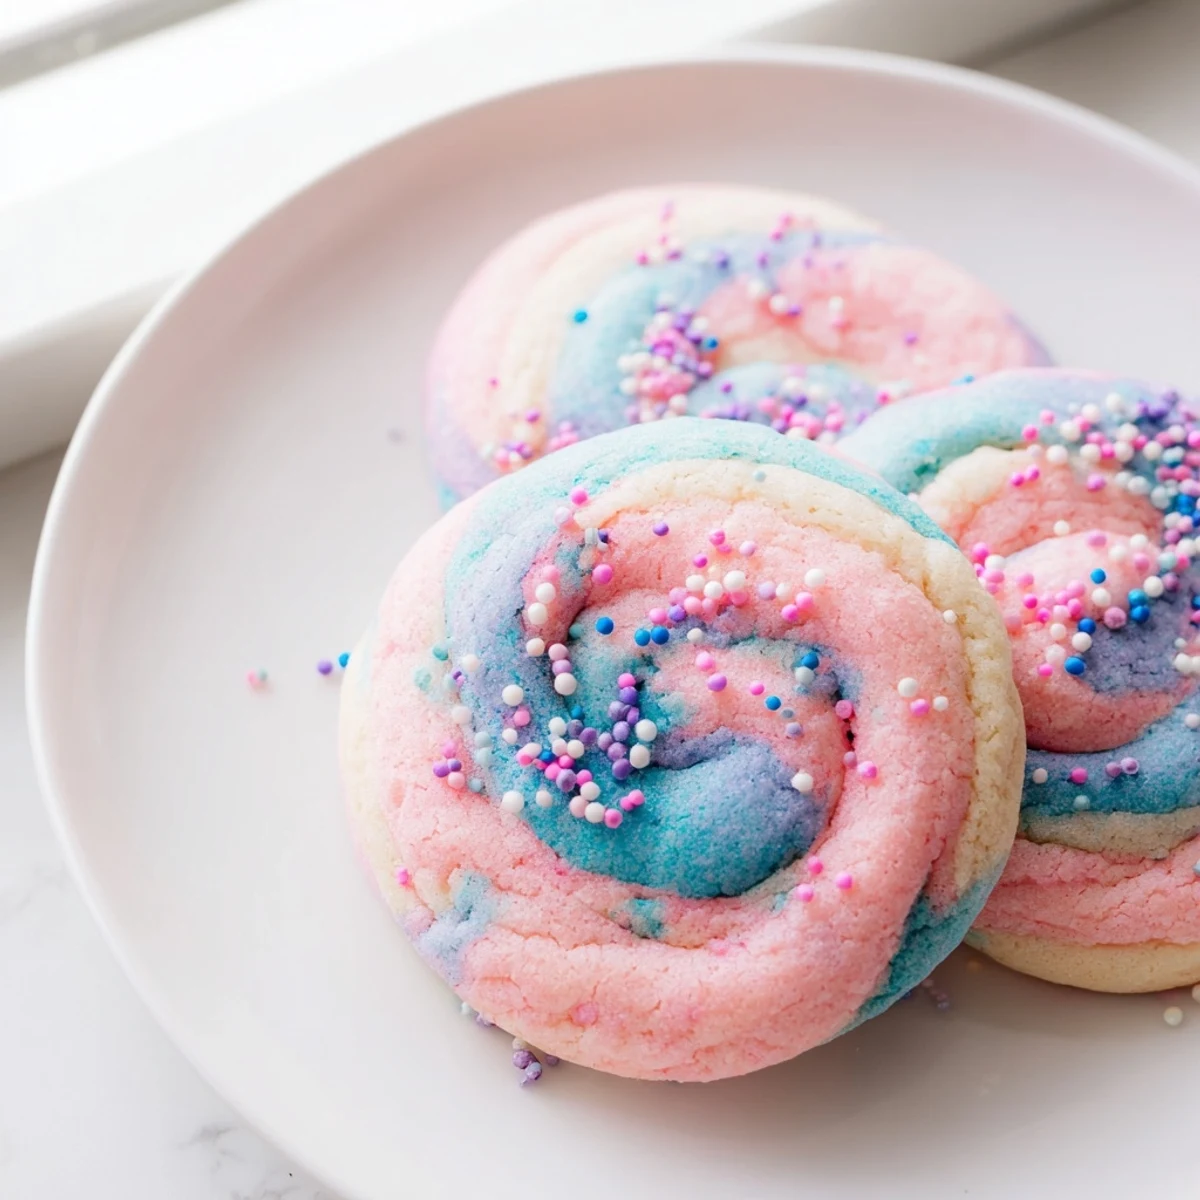 Pin it
 Every time I make these I think about that tiny gasp in my kitchen and it reminds me that the best recipes are the ones that make people feel like kids again.
Recipe FAQs
- → Where can I find cotton candy flavoring?
-
Cotton candy flavoring is available online through retailers like Amazon or in the baking aisle of specialty grocery stores. Brands such as LorAnn and Watkins offer concentrated options that work well in cookie dough.
- → Can I make these without gel food coloring?
-
Yes, you can use liquid food coloring, but gel coloring produces more vibrant pastel shades with less liquid added to the dough. If using liquid coloring, add just a few drops to avoid altering the cookie texture.
- → How should I store cotton candy cookies?
-
Store them in an airtight container at room temperature for up to 5 days. Layer parchment paper between rows to prevent the colors from smudging. You can also freeze them for up to 3 months in a freezer-safe container.
- → Can I freeze the cookie dough ahead of time?
-
Absolutely. Shape the colored dough balls and freeze them on a baking sheet until solid, then transfer to a freezer bag. Bake from frozen, adding 1-2 extra minutes to the baking time. This is great for preparing ahead of parties.
- → Why did my cookies spread too much while baking?
-
Over-spreading usually means the butter was too warm when mixed or the dough wasn't chilled. Try refrigerating the shaped dough balls for 15-20 minutes before baking. Also ensure you're measuring flour correctly using the spoon-and-level method.
