 Pin it
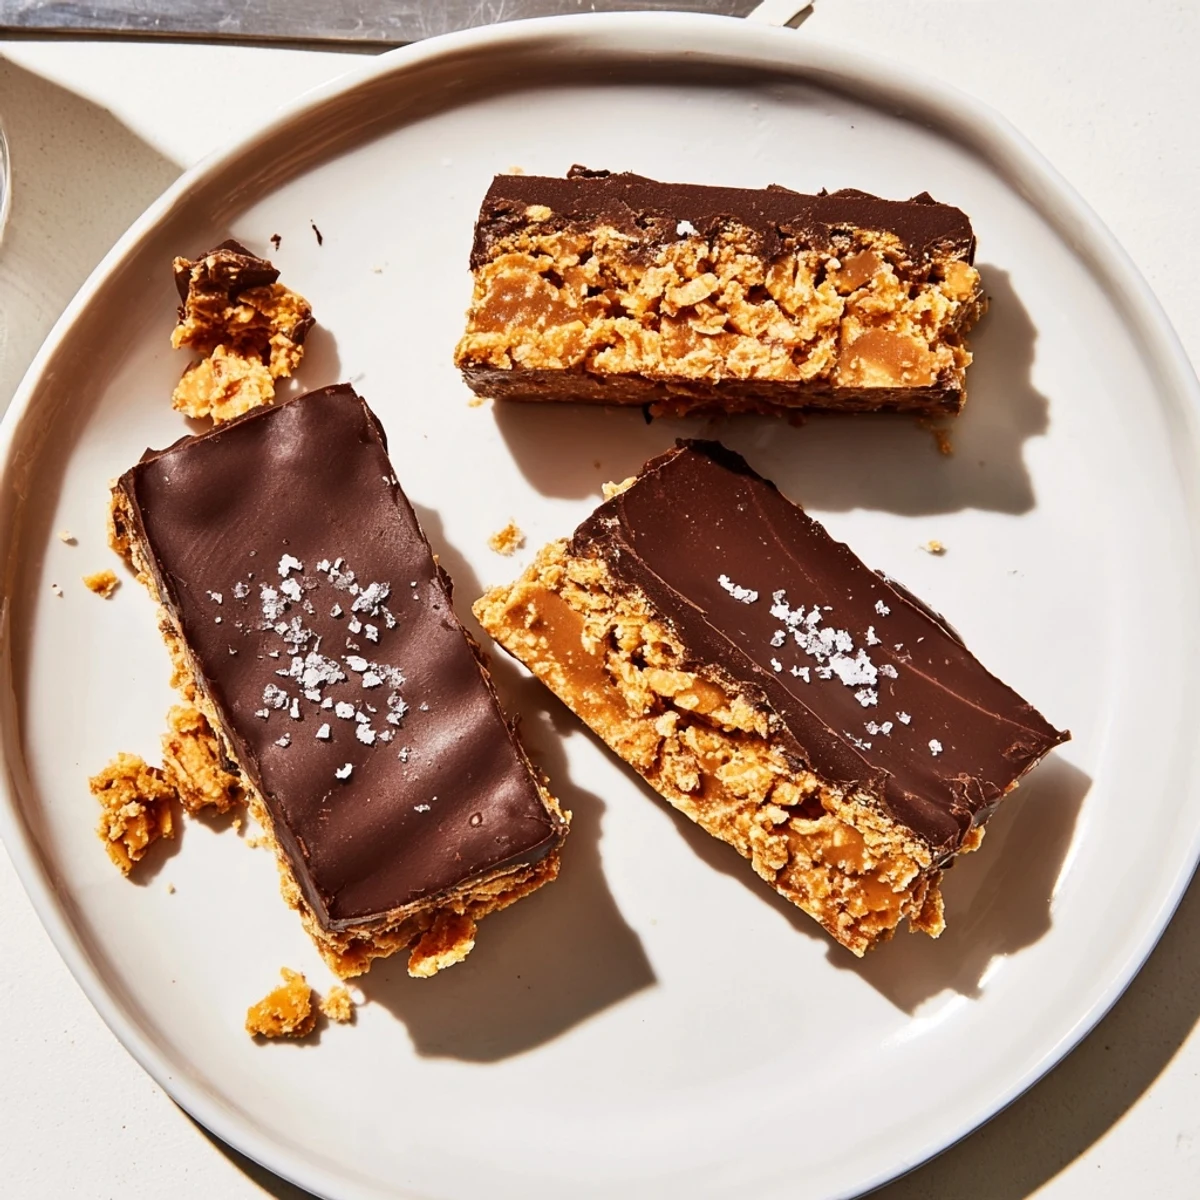
 These healthier homemade Butterfinger bars deliver all the crunchy, peanut-buttery satisfaction of the classic candy without the artificial ingredients. A simple mixture of creamy peanut butter, maple syrup, and crushed cornflakes creates that signature crisp texture, while a generous coating of dark chocolate adds richness.
The entire process takes about 30 minutes of hands-on time, making them perfect for meal prep or weekend treats. They're naturally vegetarian and easily adapted for vegan and gluten-free diets.
The candy aisle at the grocery store always gets me, especially those orange Butterfinger wrappers stacked in perfect rows, but one glance at the ingredient list was enough to send me searching for a better way. My kitchen experiment started on a rainy Tuesday with a jar of peanut butter and a box of cornflakes that had gone stale beyond breakfast salvation. What came out of the freezer thirty minutes later was something dangerously close to the real thing, only shinier and without the paragraph of unpronounceable additives.
I brought a batch of these to a movie night with friends, fully expecting them to sit beside the store bought candy and go ignored. They vanished before the opening credits finished rolling, and my friend Carlos held up the last crumb covered wrapper and asked if I had secretly ordered them from a bakery. That moment of disbelief on his face is the reason I keep making them.
Ingredients
- Natural creamy peanut butter (1 cup): Use the kind with just peanuts and salt on the label, because the stabilized sweetened kinds throw off the texture and make the center greasy instead of crisp.
- Pure maple syrup or honey (1/2 cup): Maple syrup keeps it vegan and adds a gentle caramel note, while honey brings a rounder sweetness, so choose based on who is eating.
- Vanilla extract (1 teaspoon): A small amount but it rounds out the flavor and keeps the maple syrup from tasting too earthy.
- Cornflakes, lightly crushed (2 cups): Crush them with your hands, not a blender, because you want irregular shards that mimic that flaky Butterfinger bite, not dust.
- Sea salt (pinch): Just a pinch in the mixture makes the peanut butter taste louder and more balanced.
- Dark chocolate chips (1 1/2 cups): Dark chocolate contrasts the sweet filling beautifully, and if you want a more nostalgic flavor, milk chocolate works too.
- Coconut oil (1 tablespoon): This thins the chocolate into a dippable coating that sets with a satisfying snap.
Instructions
- Prepare the pan:
- Line an 8x8 inch baking dish with parchment paper, leaving overhang on two sides like handles so you can lift the whole slab out later without fighting it.
- Warm the base:
- In a saucepan over medium low heat, stir the peanut butter and maple syrup together until they melt into one silky golden liquid, about two to three minutes, then pull it off the heat before it starts to bubble.
- Build the crunch:
- Mix the vanilla and salt into the warm liquid, then fold in the crushed cornflakes gently but thoroughly, pressing the spoon into every corner so nothing escapes the coating.
- Freeze the slab:
- Spread the mixture into the prepared pan and press it flat and tight with a spatula, then slide it into the freezer for twenty to thirty minutes until it holds its shape when you press it with a fingertip.
- Cut into bars:
- Lift the set slab out using the parchment handles and transfer it to a cutting board, then slice it into sixteen bars with a sharp knife, wiping the blade between cuts for clean edges.
- Melt the chocolate:
- Combine the chocolate chips and coconut oil in a microwave safe bowl and heat in thirty second bursts, stirring between each, until the mixture is glossy and smooth with no lumps remaining.
- Coat each bar:
- Drop a bar into the chocolate and flip it with a fork, tapping the fork on the bowl edge to shake off excess, then set it on a fresh parchment lined tray and repeat with the rest.
- Set and store:
- Place the tray in the fridge for fifteen to twenty minutes until the chocolate shell hardens completely, then transfer the bars to an airtight container and keep them chilled until you are ready to share.
 Pin it
 There is something quietly thrilling about pulling a tray of handmade candy bars from the fridge, each one glossy and exact, knowing you made them from a jar of peanut butter and cereal. They feel like a secret worth keeping.
Storage and Freezing
These bars are happiest living in the refrigerator, where the chocolate stays firm and the center stays snappy for at least two weeks, though they rarely last that long in my house. If you want to stash some for a future craving, wrap each bar individually in parchment and tuck them into a freezer safe bag for up to three months.
Swaps and Variations
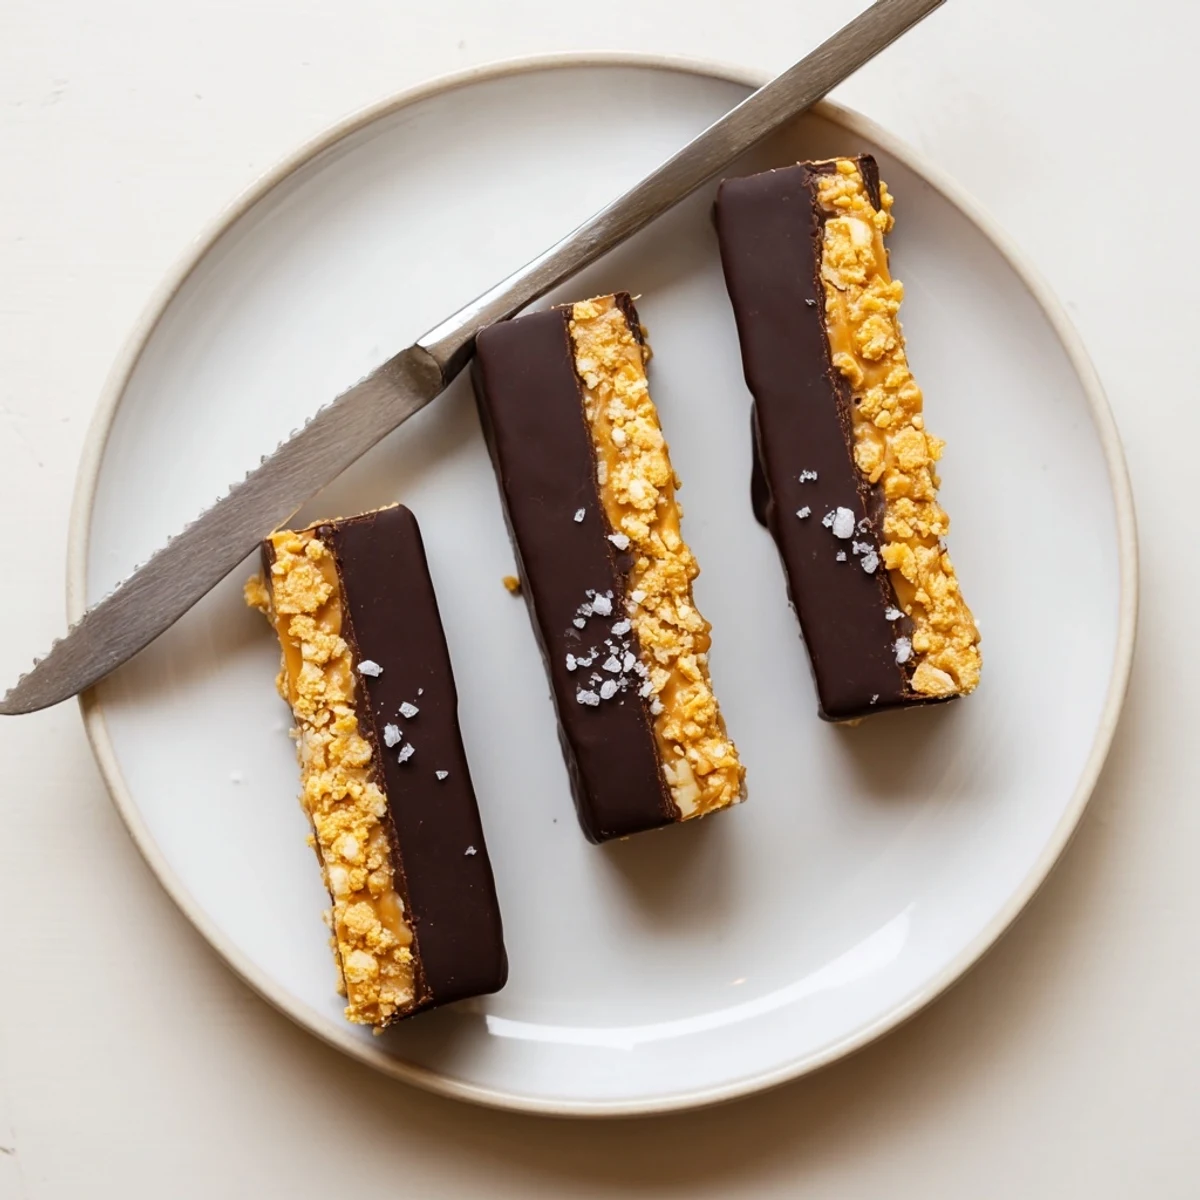
Milk chocolate instead of dark gives you a sweeter, more traditional candy bar flavor that kids tend to gravitate toward. A generous sprinkle of flaky sea salt on top of the wet chocolate coating turns each bar into something that tastes almost grown up, which is a fun contradiction for a candy inspired by a childhood favorite.
What to Watch For
The biggest pitfall is overheating the peanut butter mixture, which can cause the maple syrup to seize and turn grainy, so keep the heat low and your attention close. Stick to medium low and stir constantly and you will be rewarded with a smooth, pourable base that coats every flake evenly.
- Use a silicone spatula for pressing the mixture into the pan because it gets into corners better than metal.
- Let the coated bars sit at room temperature for five minutes before serving so the chocolate is not tooth shatteringly hard.
- Always check your chocolate chip labels if you are serving someone with allergies because cross contamination is common in manufacturing.
 Pin it
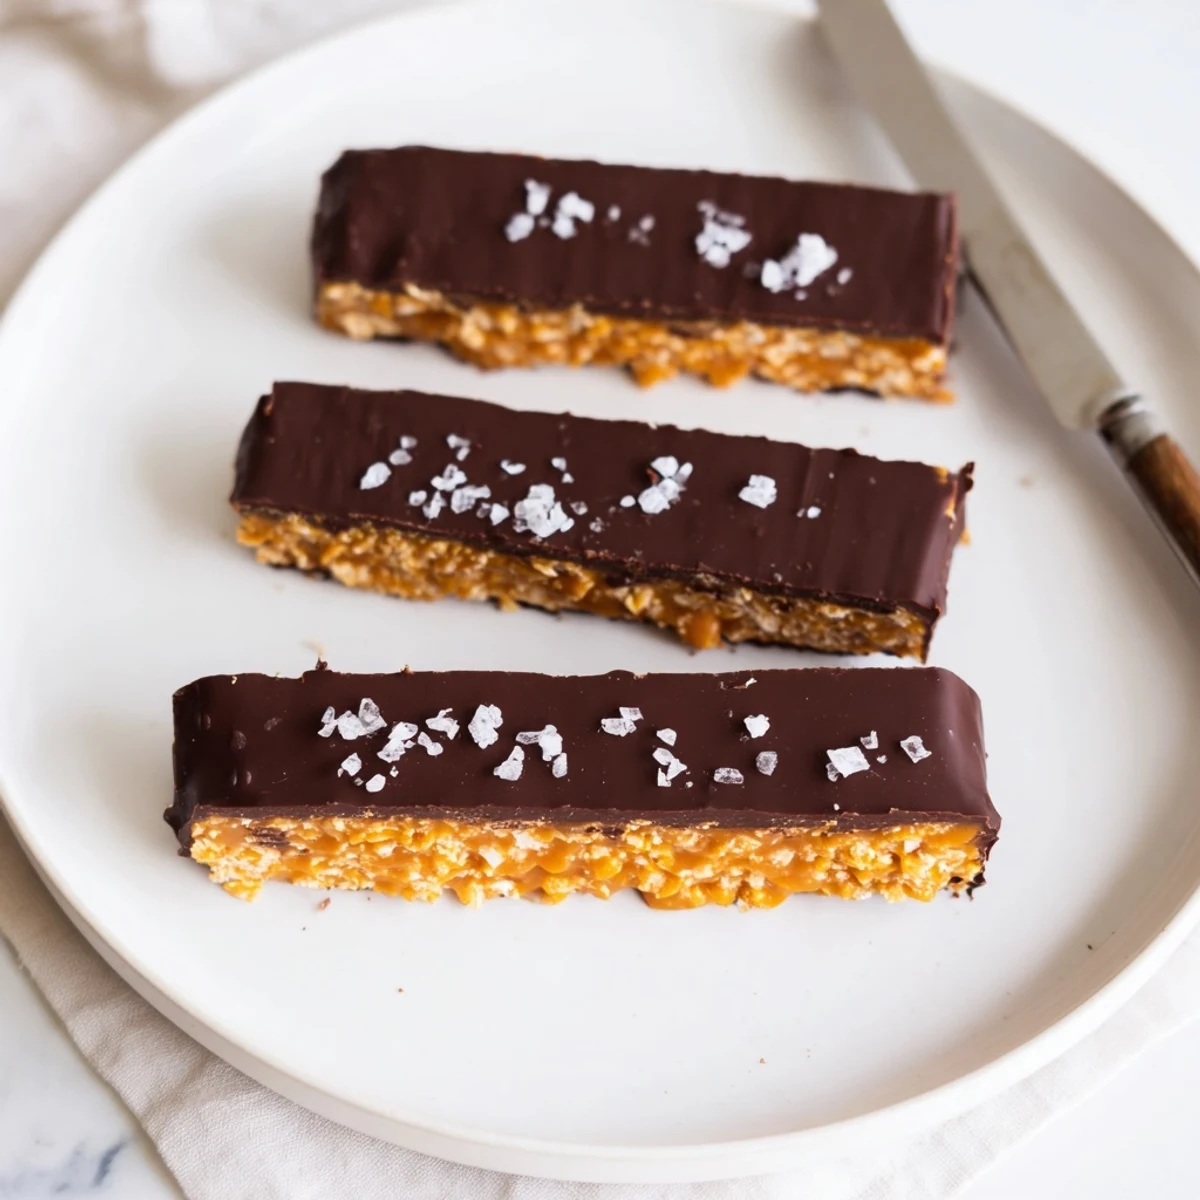
 Every time I make these, I am reminded that the best homemade treats are not about perfection but about that moment when someone bites in and their eyes go wide with surprise. Keep a batch in your fridge and you will always have that moment ready.
Recipe FAQs
- → Can I make these Butterfinger bars vegan?
-
Yes, simply use maple syrup instead of honey and choose dairy-free dark chocolate chips. The rest of the ingredients are naturally plant-based.
- → How should I store the finished bars?
-
Store the bars in an airtight container in the refrigerator for up to 2 weeks. They can also be frozen for up to 3 months — just let them thaw for a few minutes before enjoying.
- → What can I substitute for cornflakes?
-
Rice cereal works as a gluten-free alternative. You could also try crushed pretzels or graham crackers for a different texture and flavor profile.
- → Why do my bars fall apart when dipping?
-
Make sure the peanut butter mixture is fully chilled and firm before cutting. Freezing for the full 30 minutes helps the bars hold their shape during the chocolate dipping step.
- → Can I use milk chocolate instead of dark?
-
Absolutely. Milk or semi-sweet chocolate both work well for coating. Keep in mind milk chocolate will make the bars sweeter and slightly less firm at room temperature.
